Whats this about
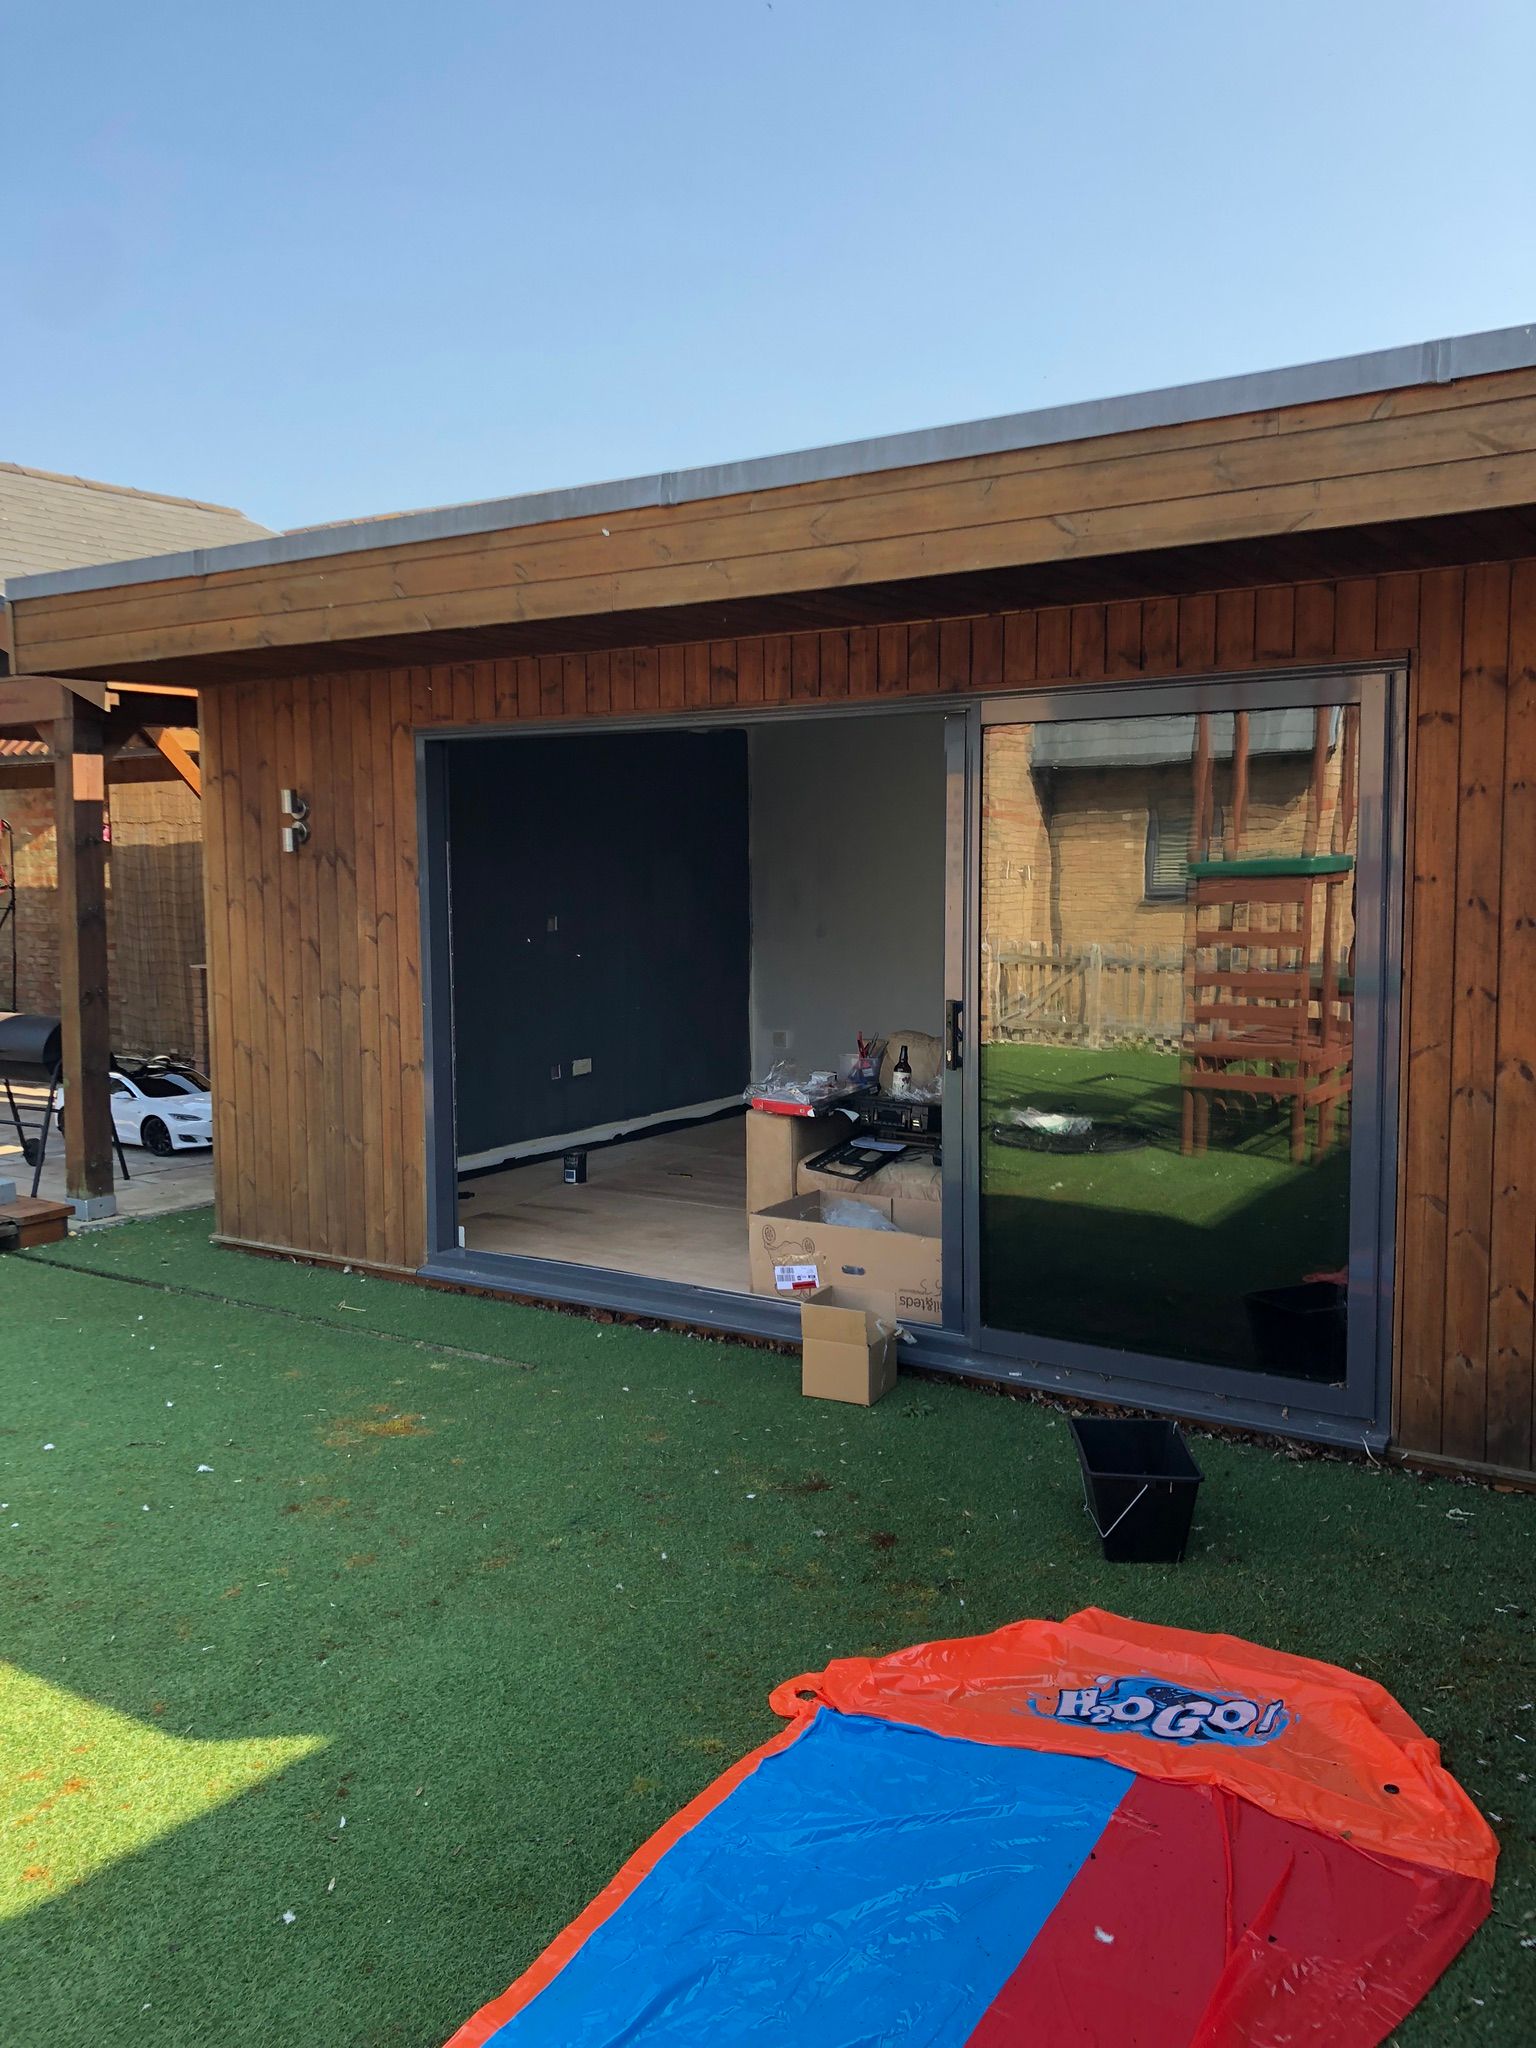
When I moved into my new house there was an office shed out back that was previously used as a home gym. It was a great size, insulated and would make the perfect home office, so I set about creating my own space away from the house to do my coding.
This post will be picture heavy and contain numerous photos of the office as it is. I still have a few tweaks I want to make so expect a future post when the new additions arrive.
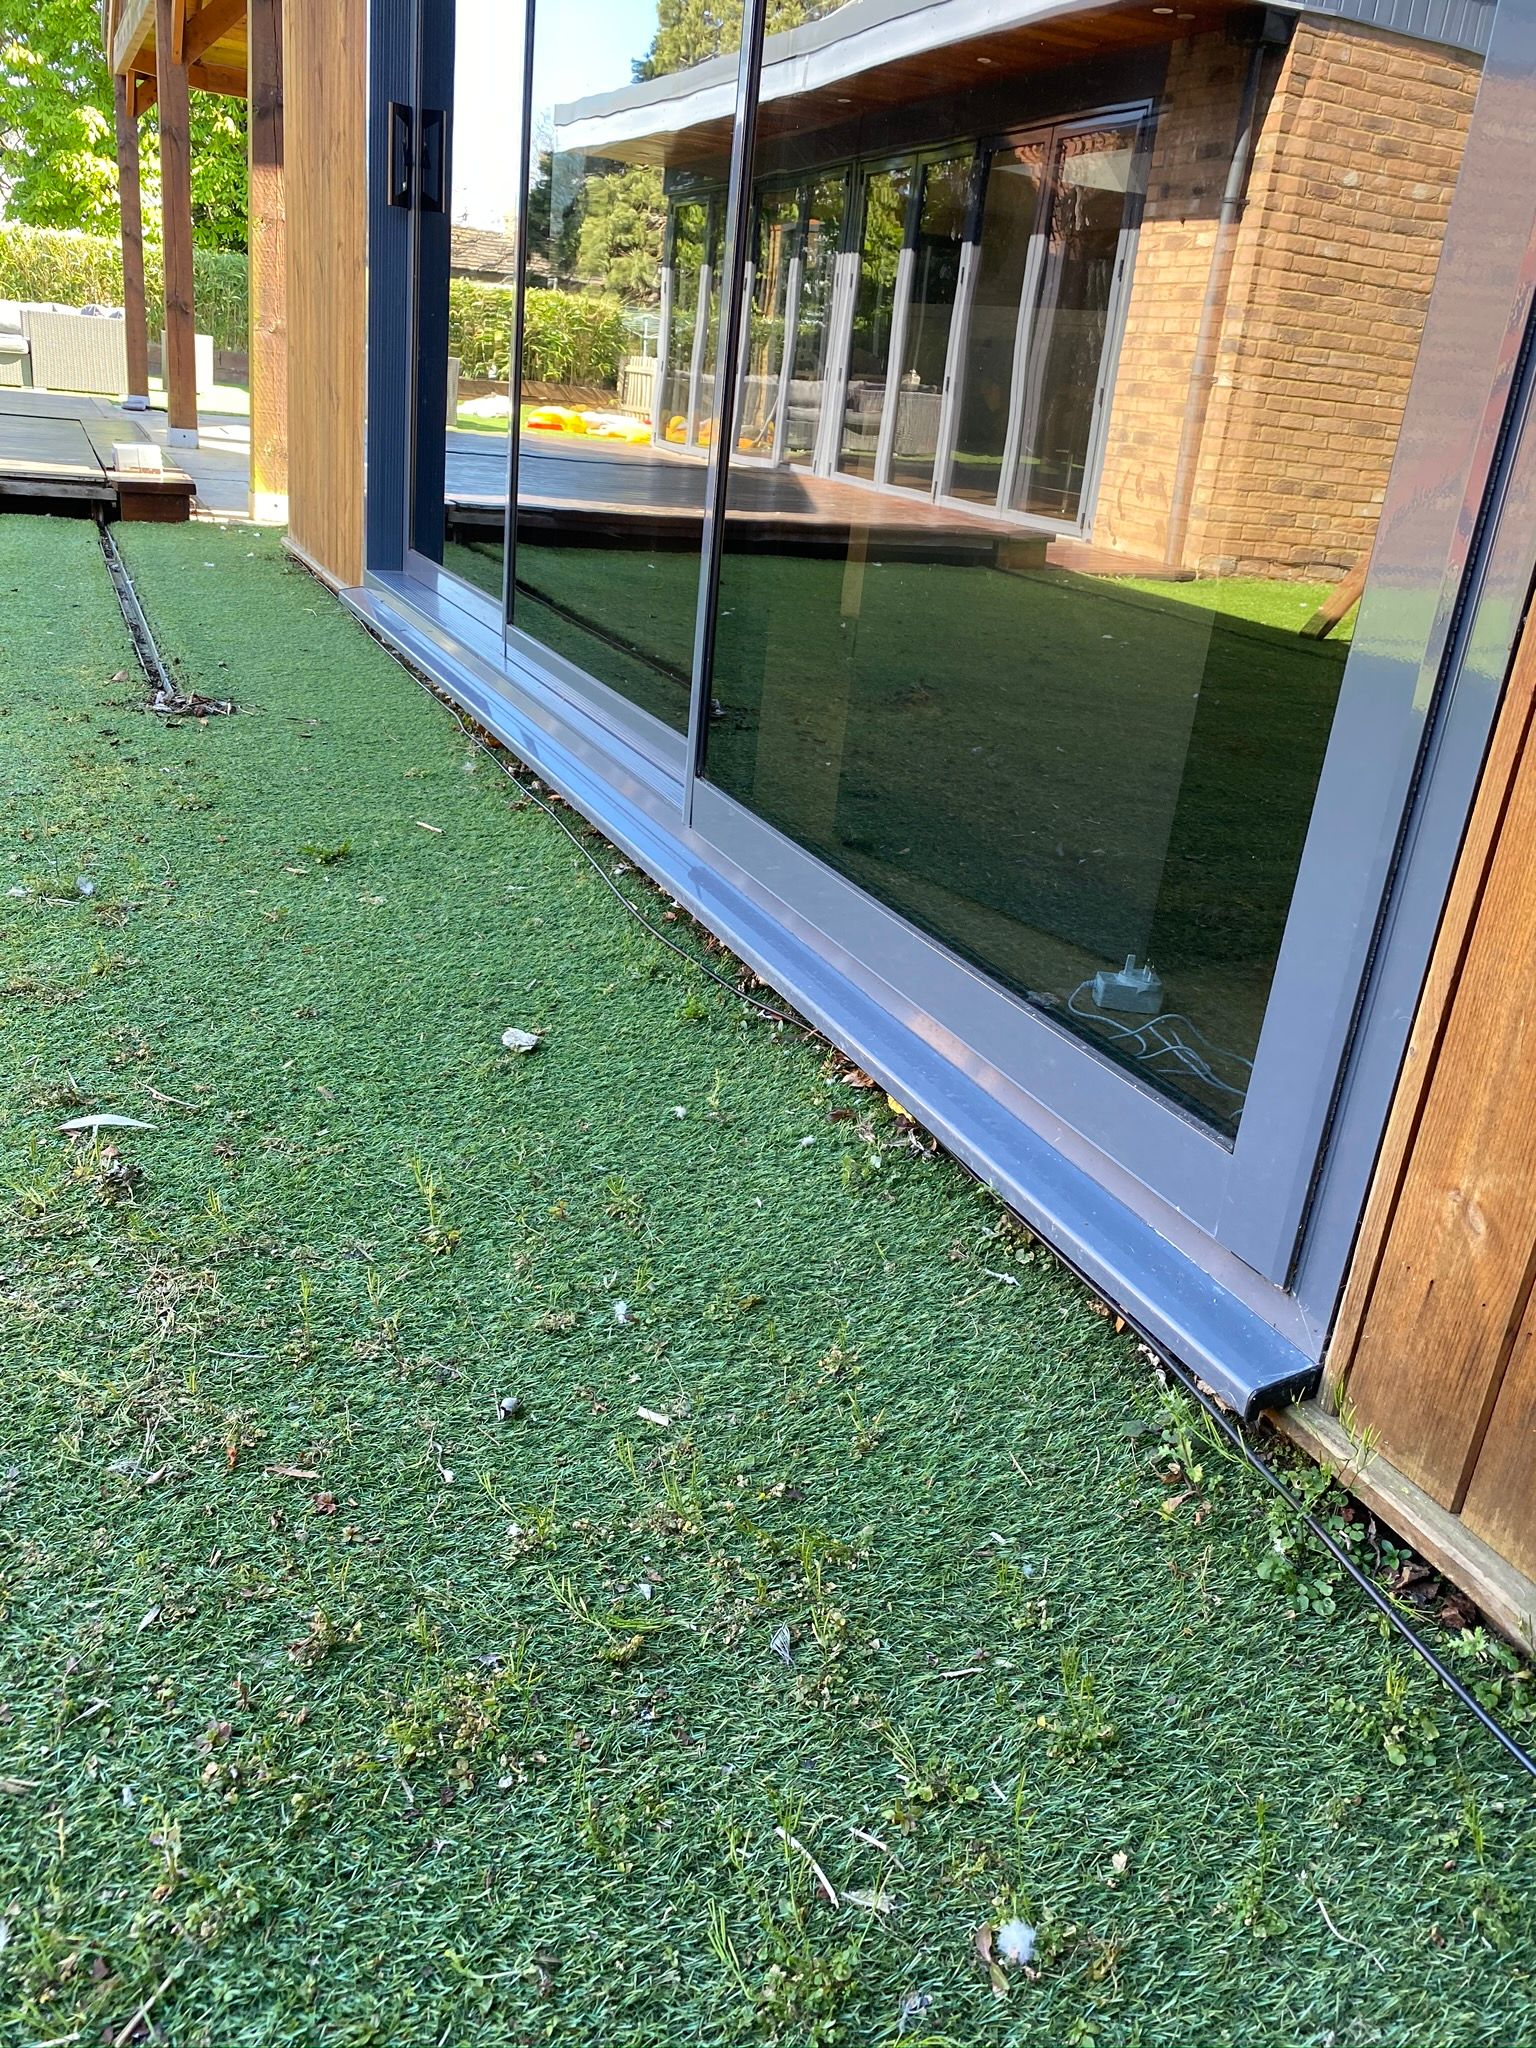
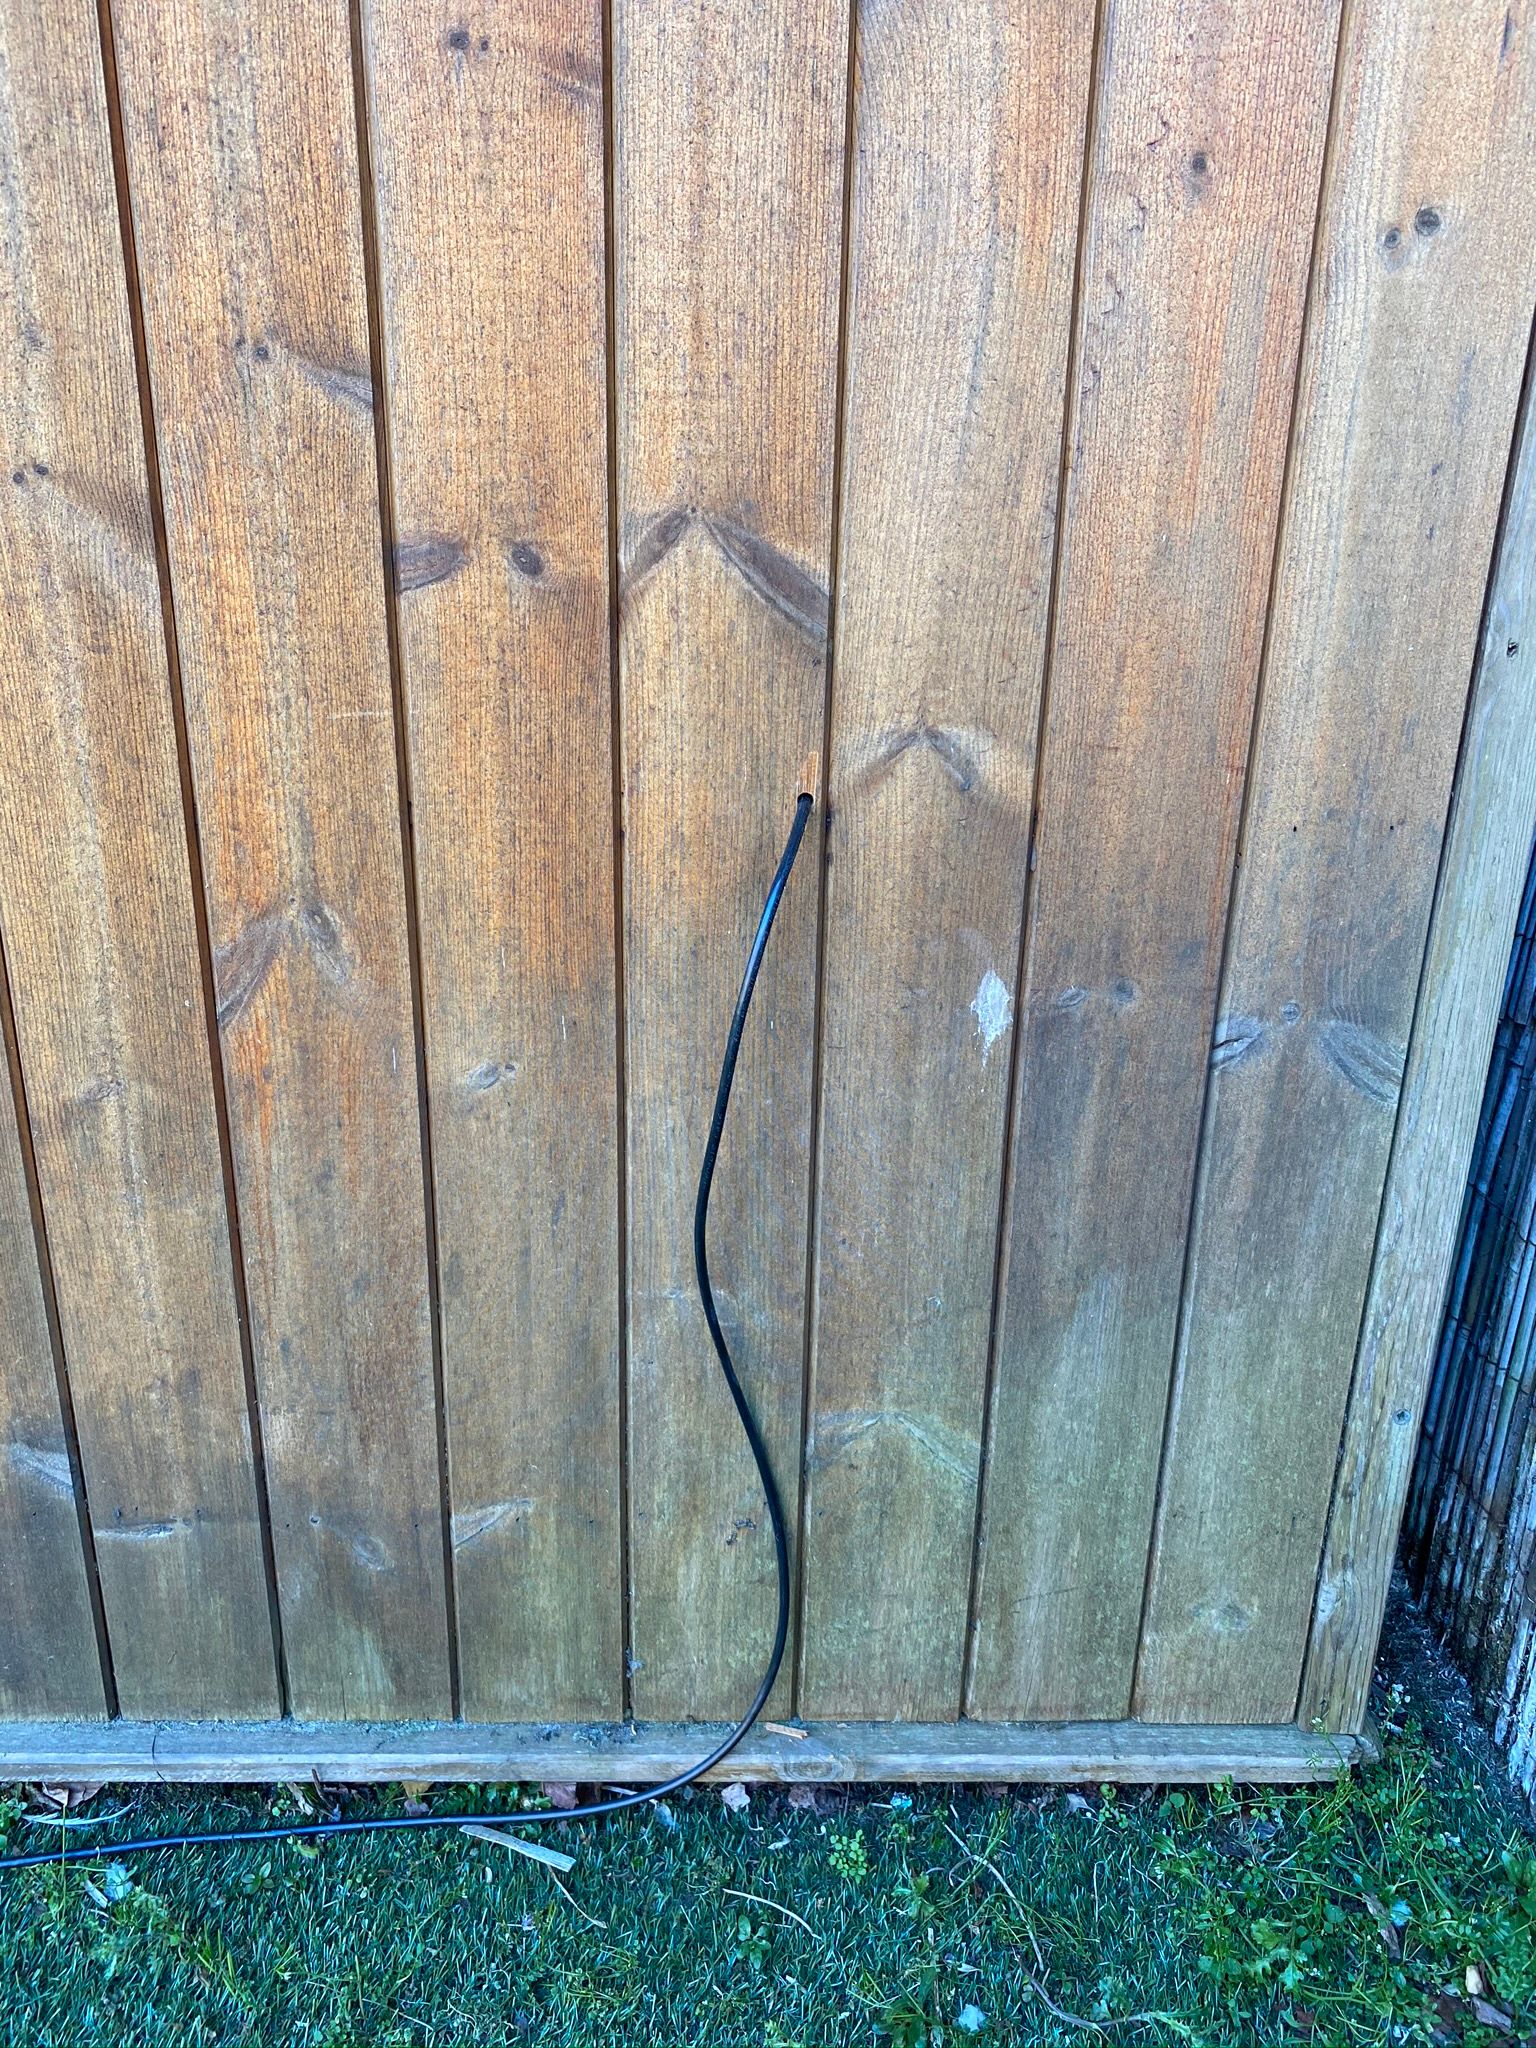
The office was quite a distance from where my WiFi router was so to start with I had to run a cat6 cable all around the house which ended up been just under 50m in length. Below is some pictures of how the office started and my network cable run.

The Desk
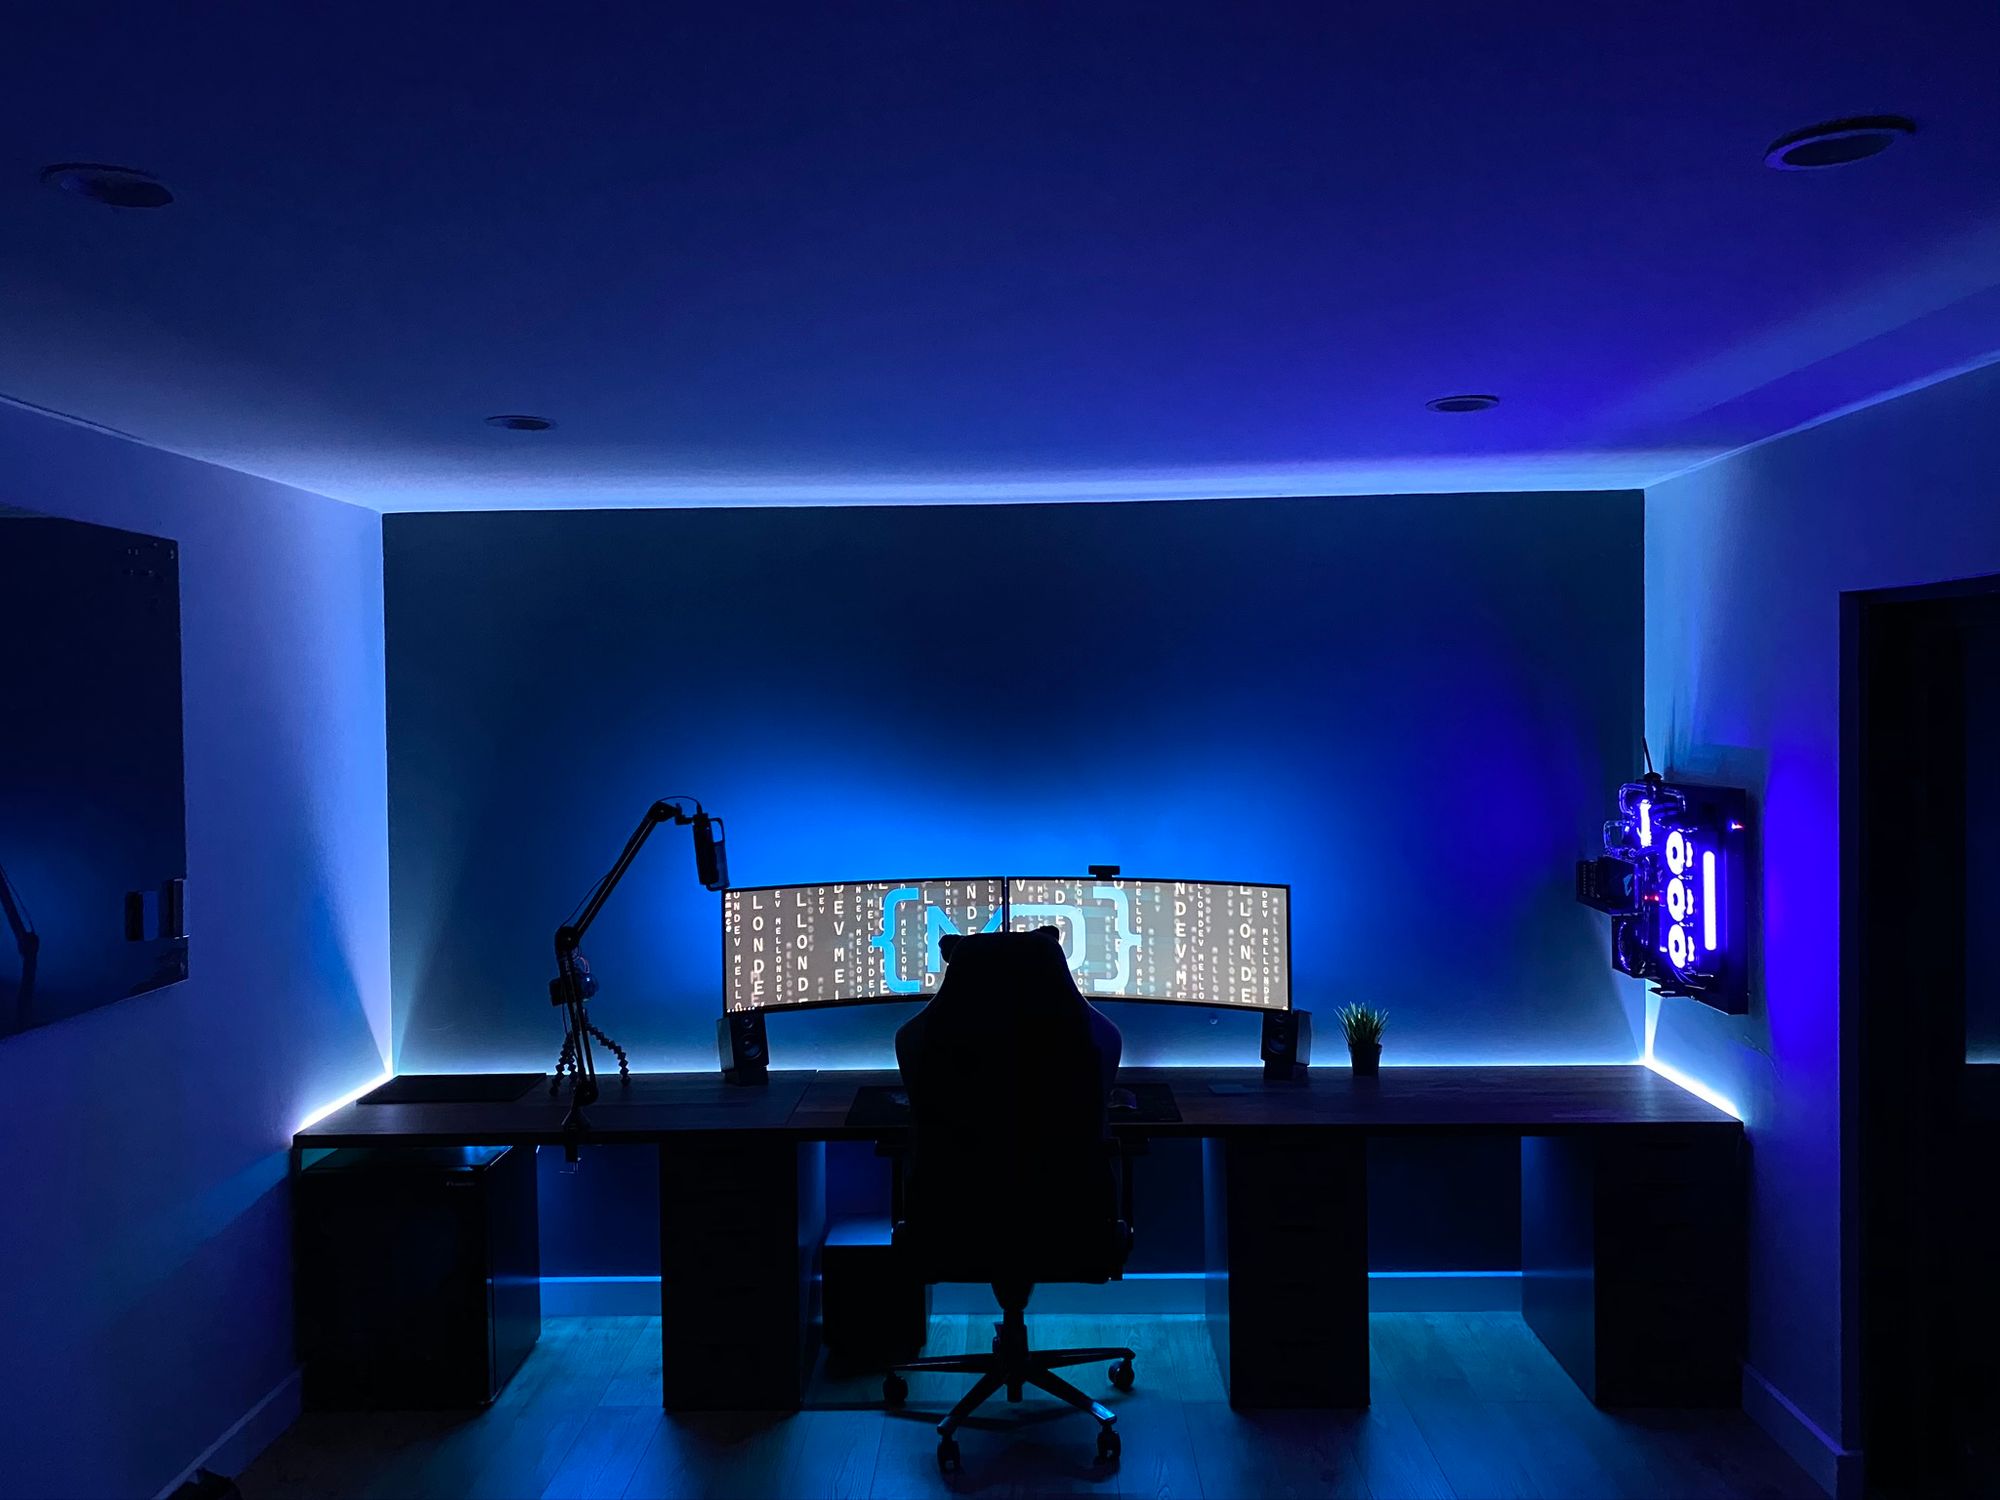
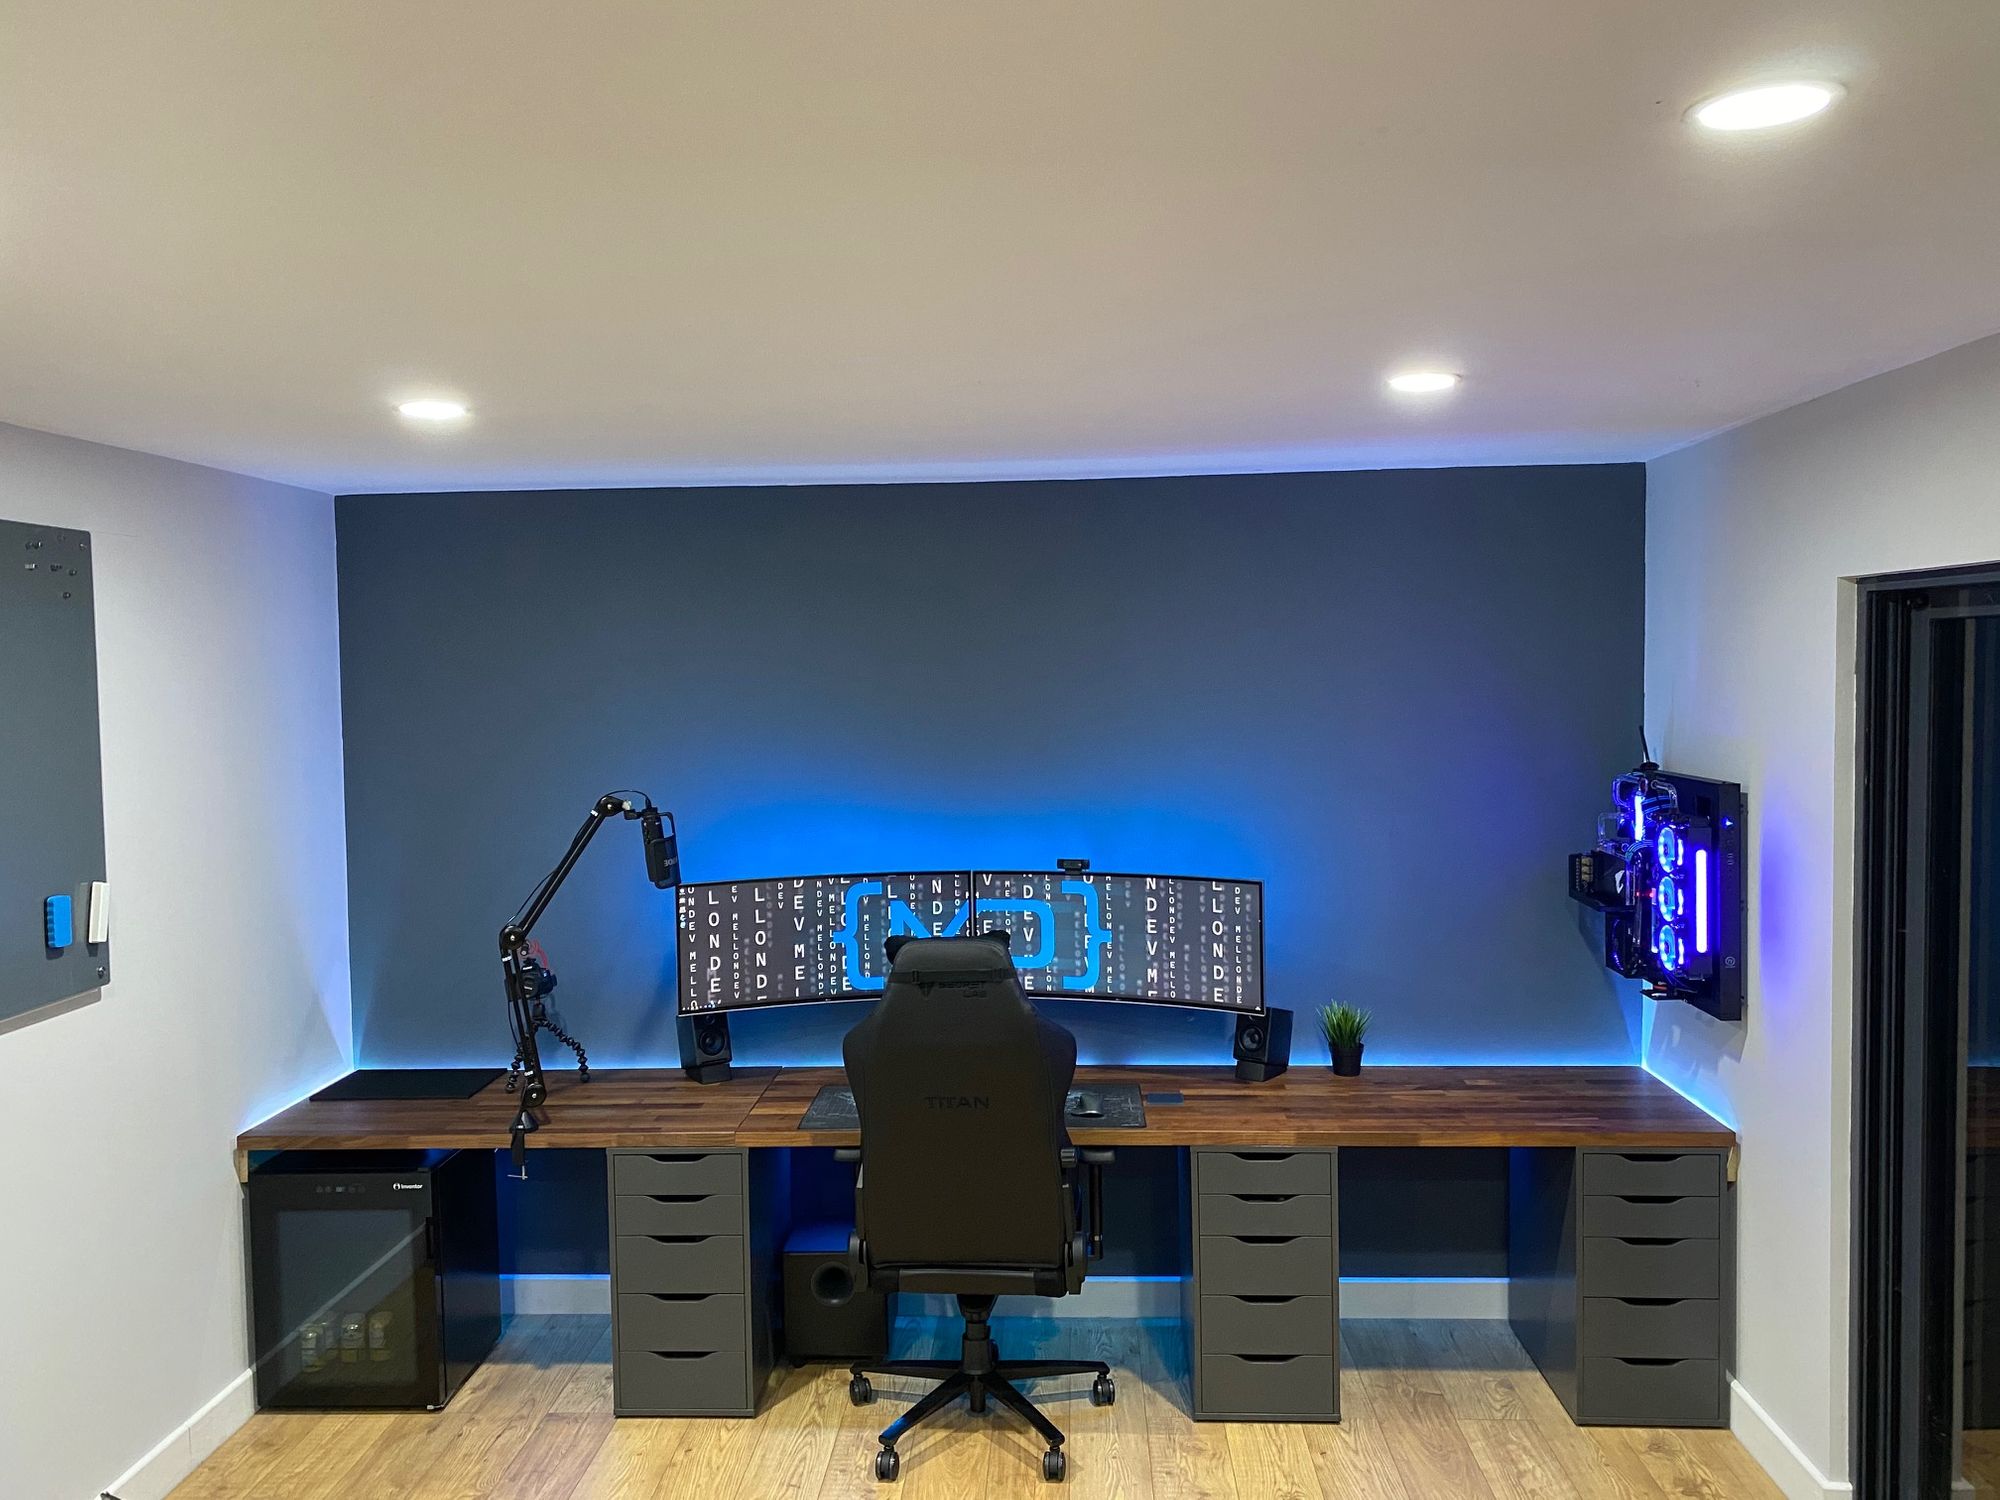
I spent many hours looking for the right desk, I really liked the all white setups but at the same time thought they looked a bit cold and not very relaxing. I saw a great picture on Pinterest which featured a dark brown desktop with dark grey walls, as soon as I saw it I had decided that was the look I want. The dark wood with grey drawers and walls looked calming and relaxing.
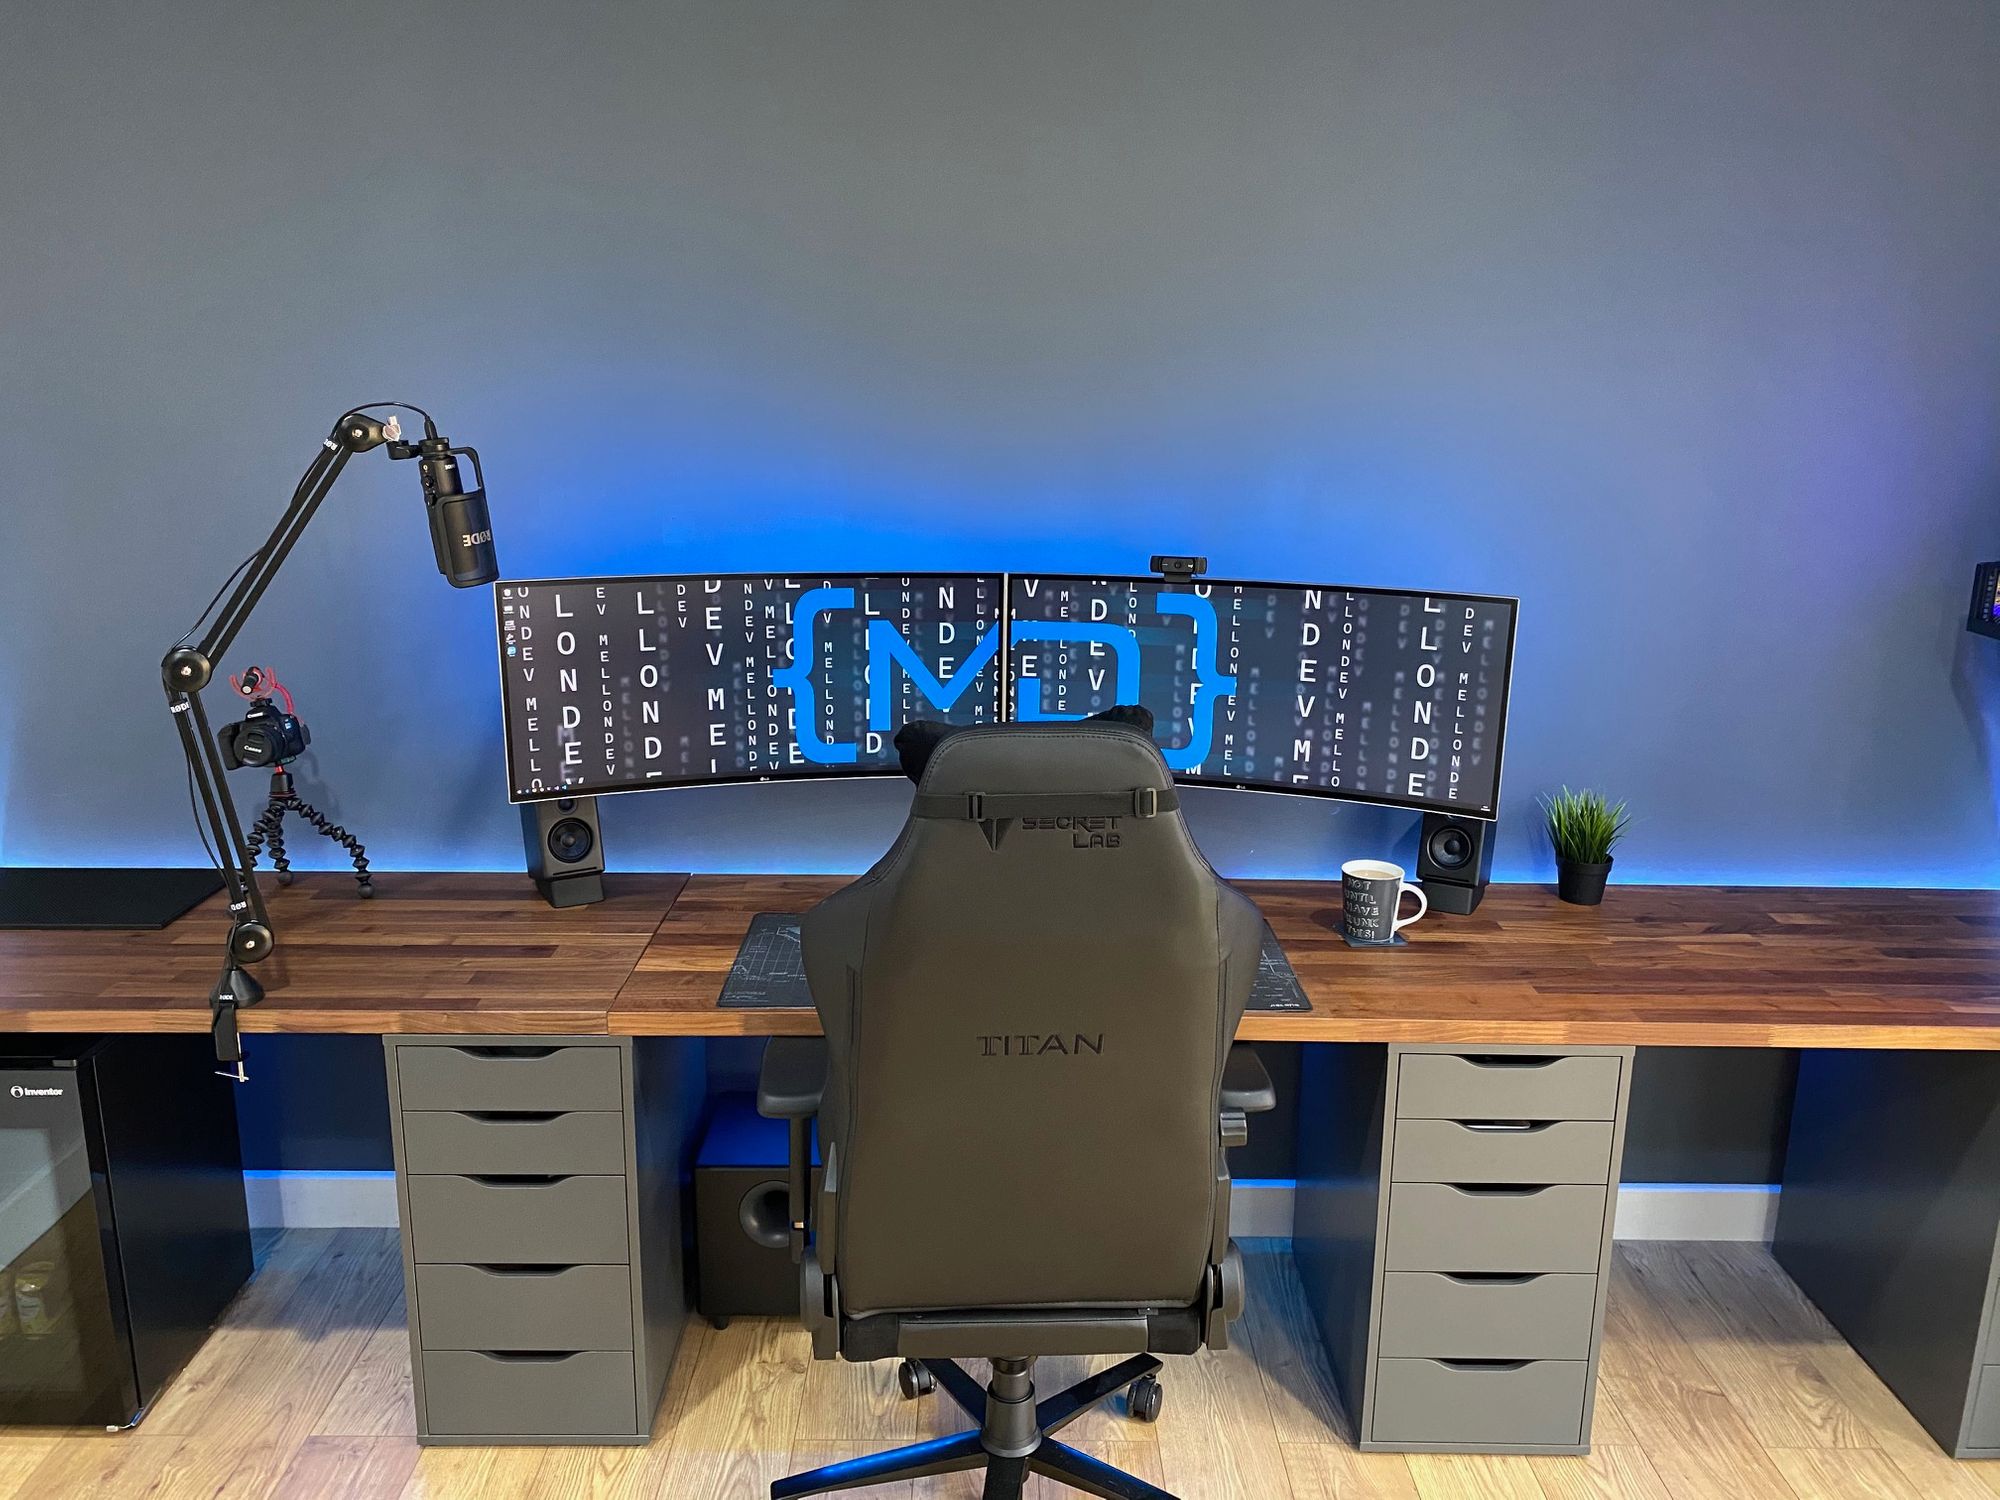
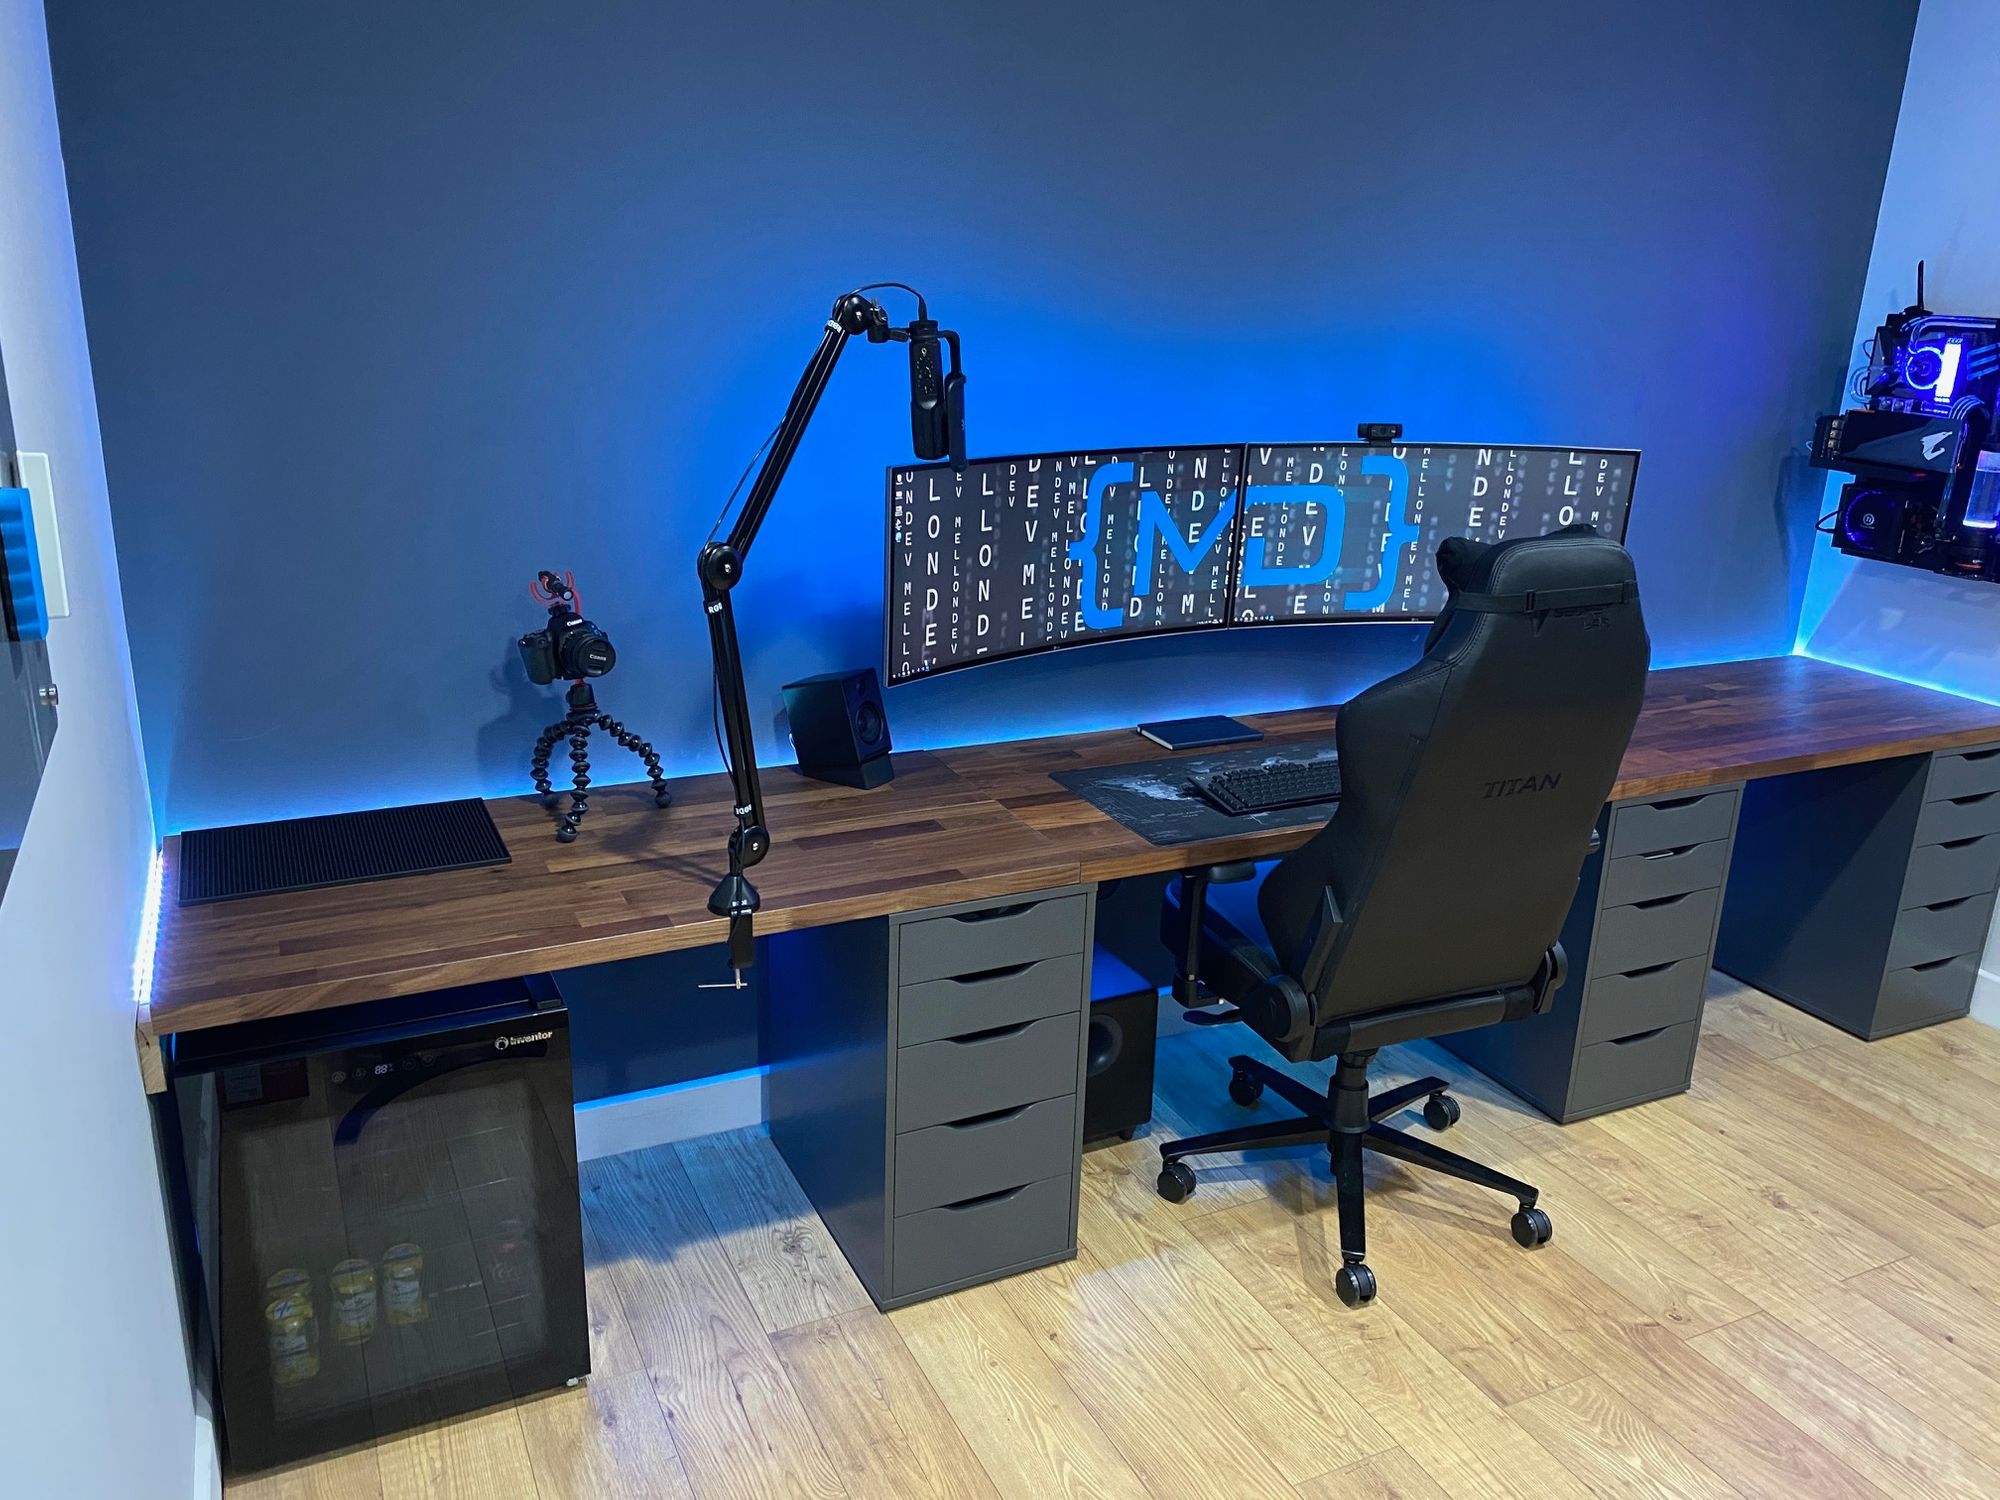
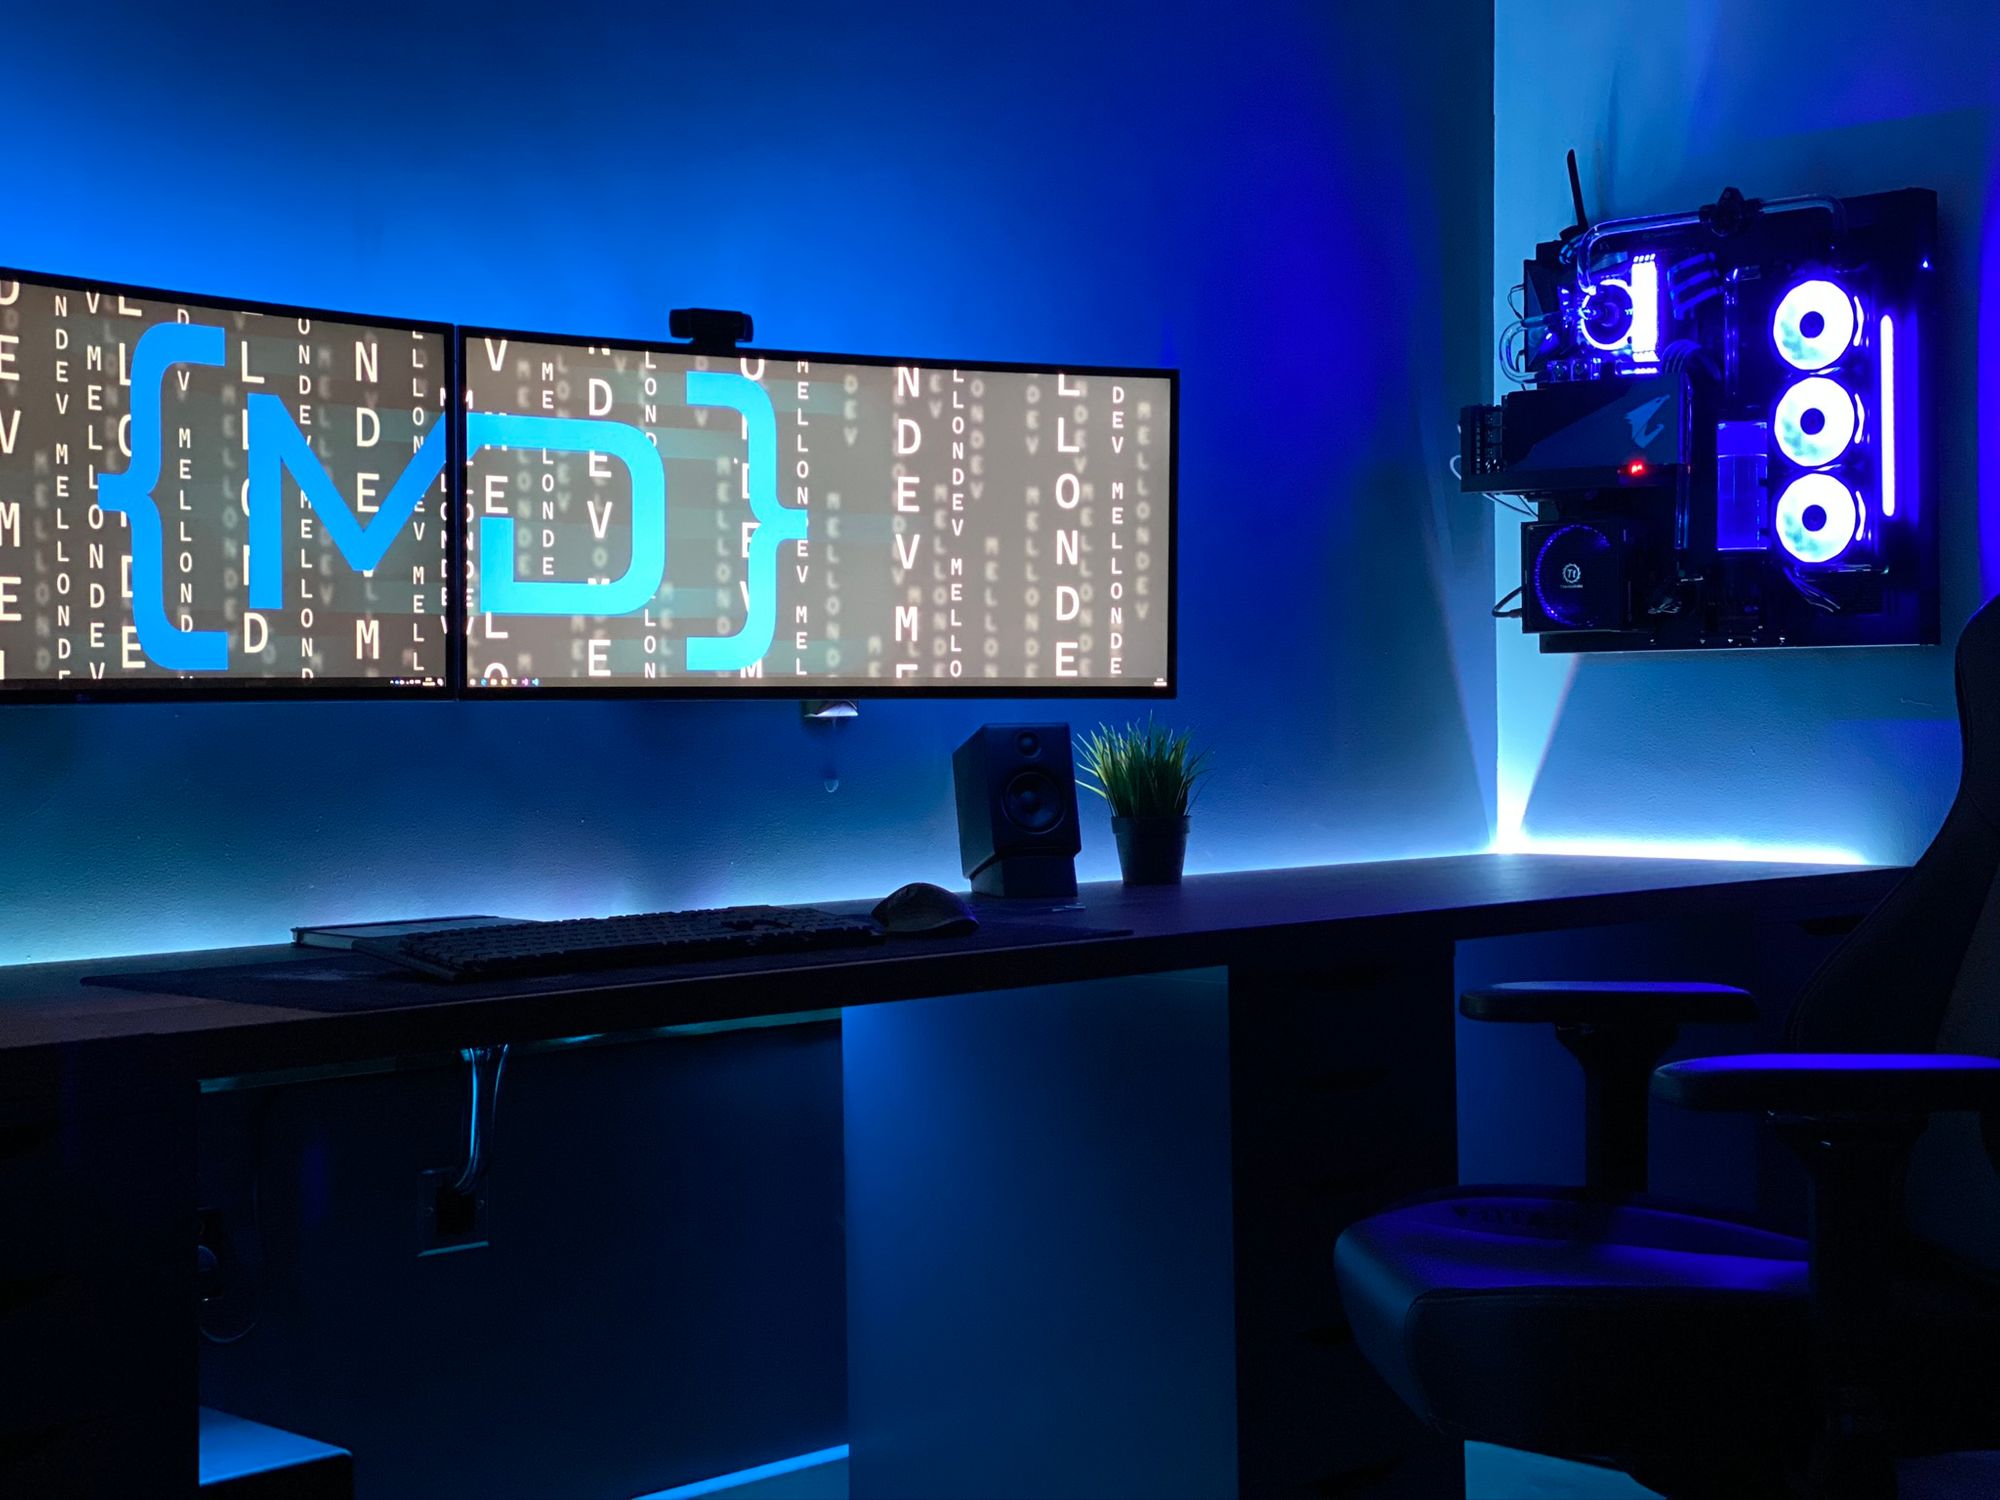
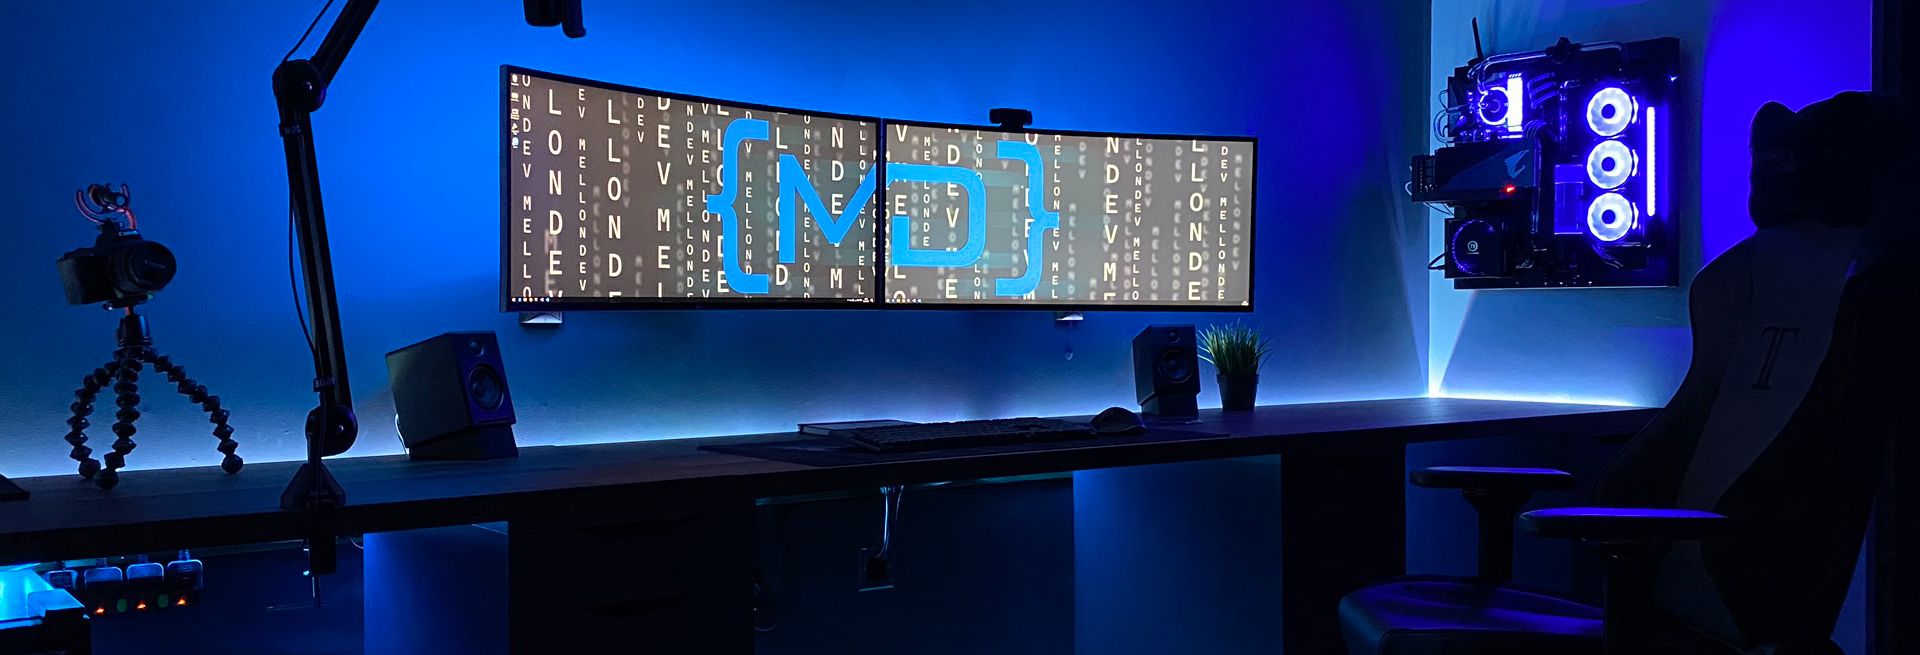
To build the desk I used 2 x Ikea Karlby worktops and 3 grey Alex Drawers and under counter beer fridge for my soft drinks and snacks. The reason for 2 worktops was the back wall was over 3 meters long and I wanted it to rung all along the back wall and the largest worktop available was 2.4 meters.
- Ikea Karlby Worktop
- Grey Alex Drawer (Grey colour no longer available)
- Inventor Beer Fridge


Lighting & Accessories
To enhance the experience while coding I wanted some accent lighting around the desk. I fitted some wooden planks around the wall and fitted the worktop with a 2 cm gap away from the wall to allow for an led strip to be fitted sunken behind the worktop. This gave a nice glow effect around the desk in both the day and night.
All LED lighting is Wifi enabled so can be adjusted using my phone and Alexa. Plan to code up some alexa skills to manage the lighting at some point
No wires!
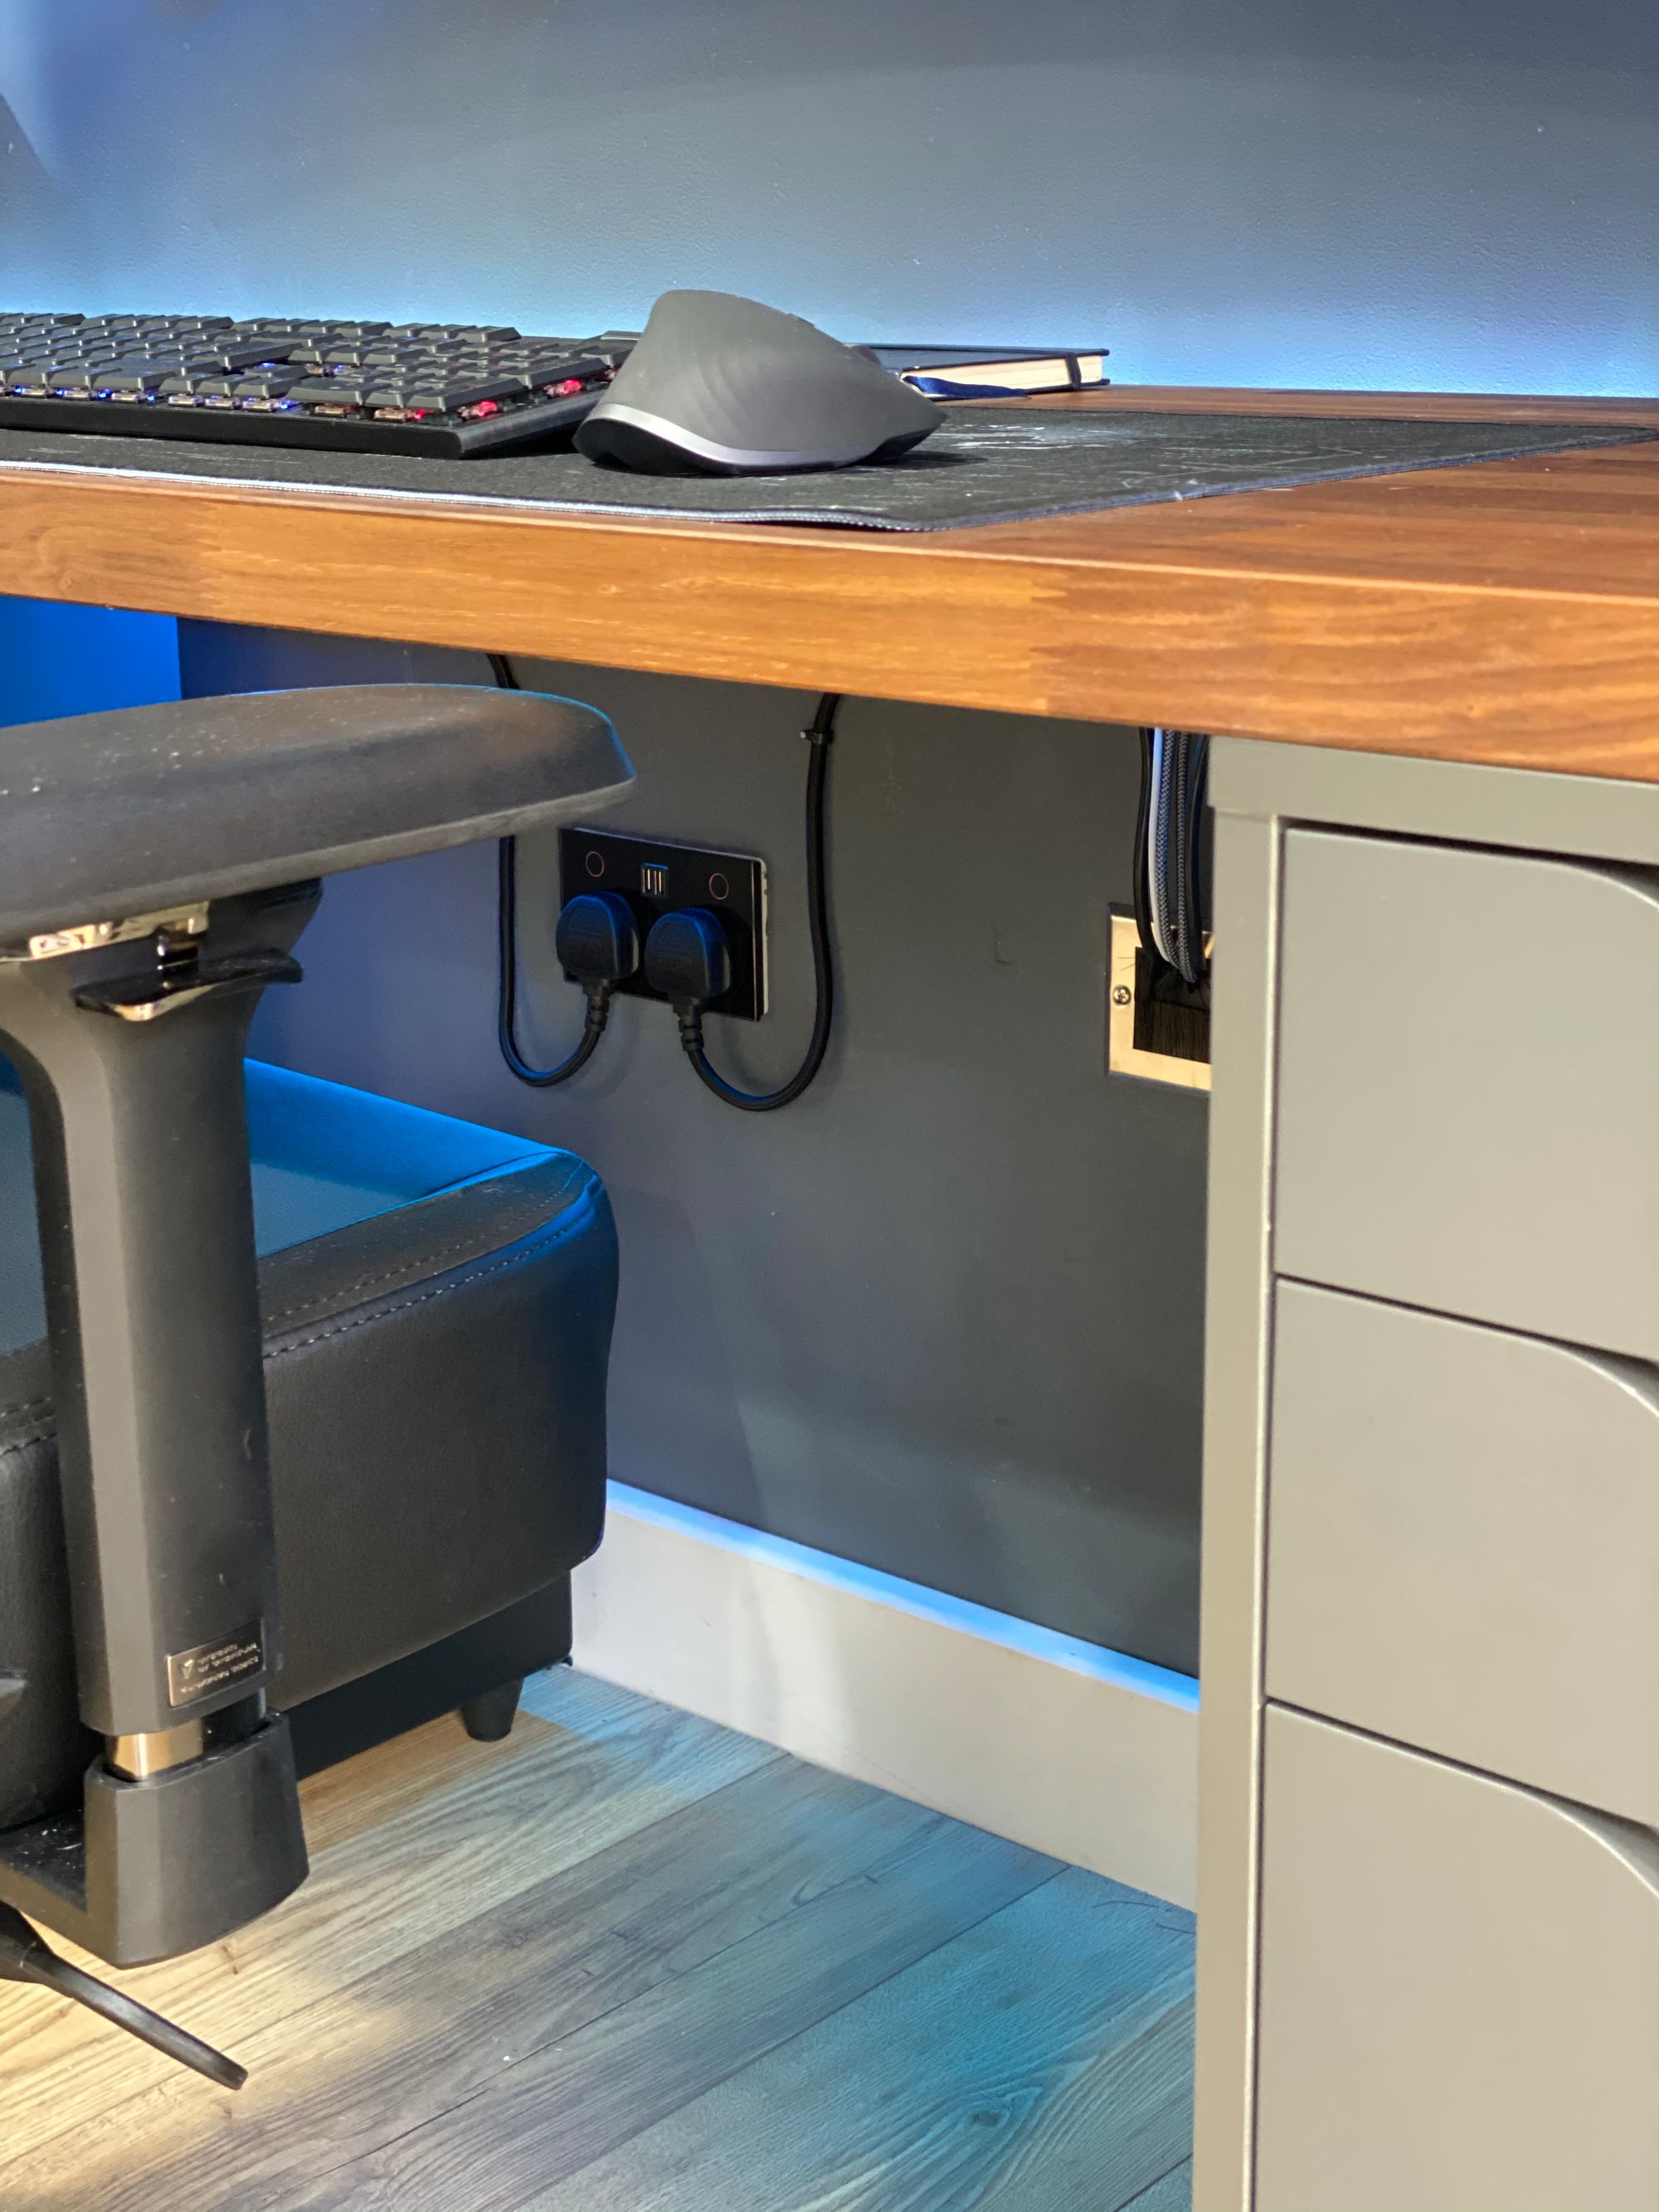
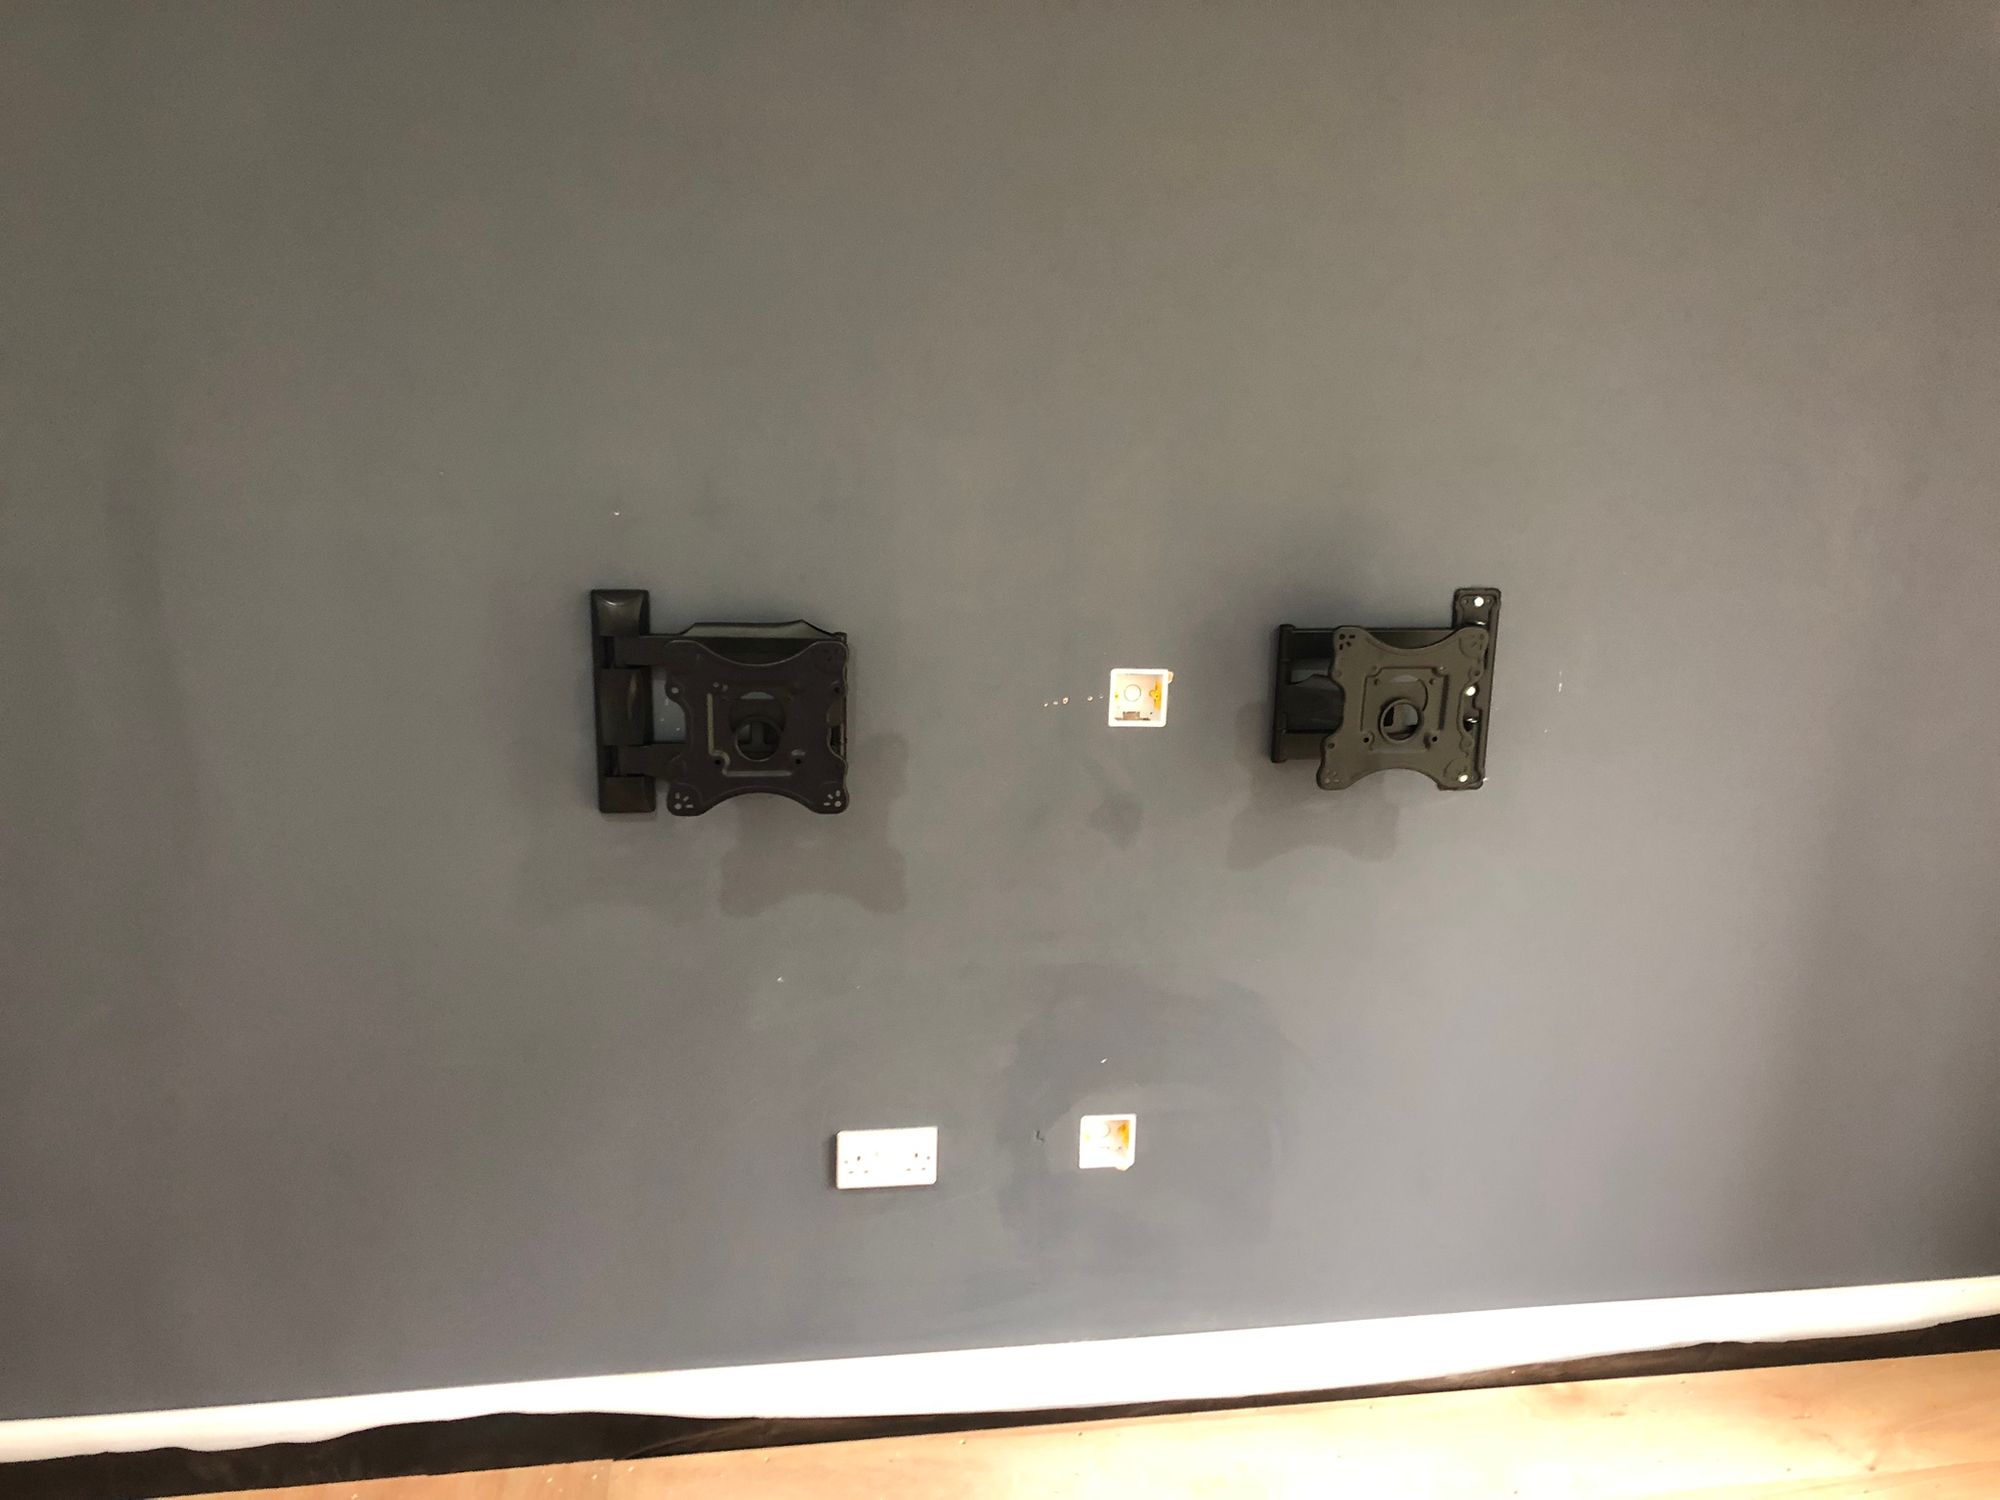
One of my main goals was to create a clean setup, I didn't want to see any wires anywhere. To achieve this I cutout some socket sized squares in the walls and ran the monitor and PC cables through the wall down under the desk. I got some nice chrome brush covers for the cutouts which look great.
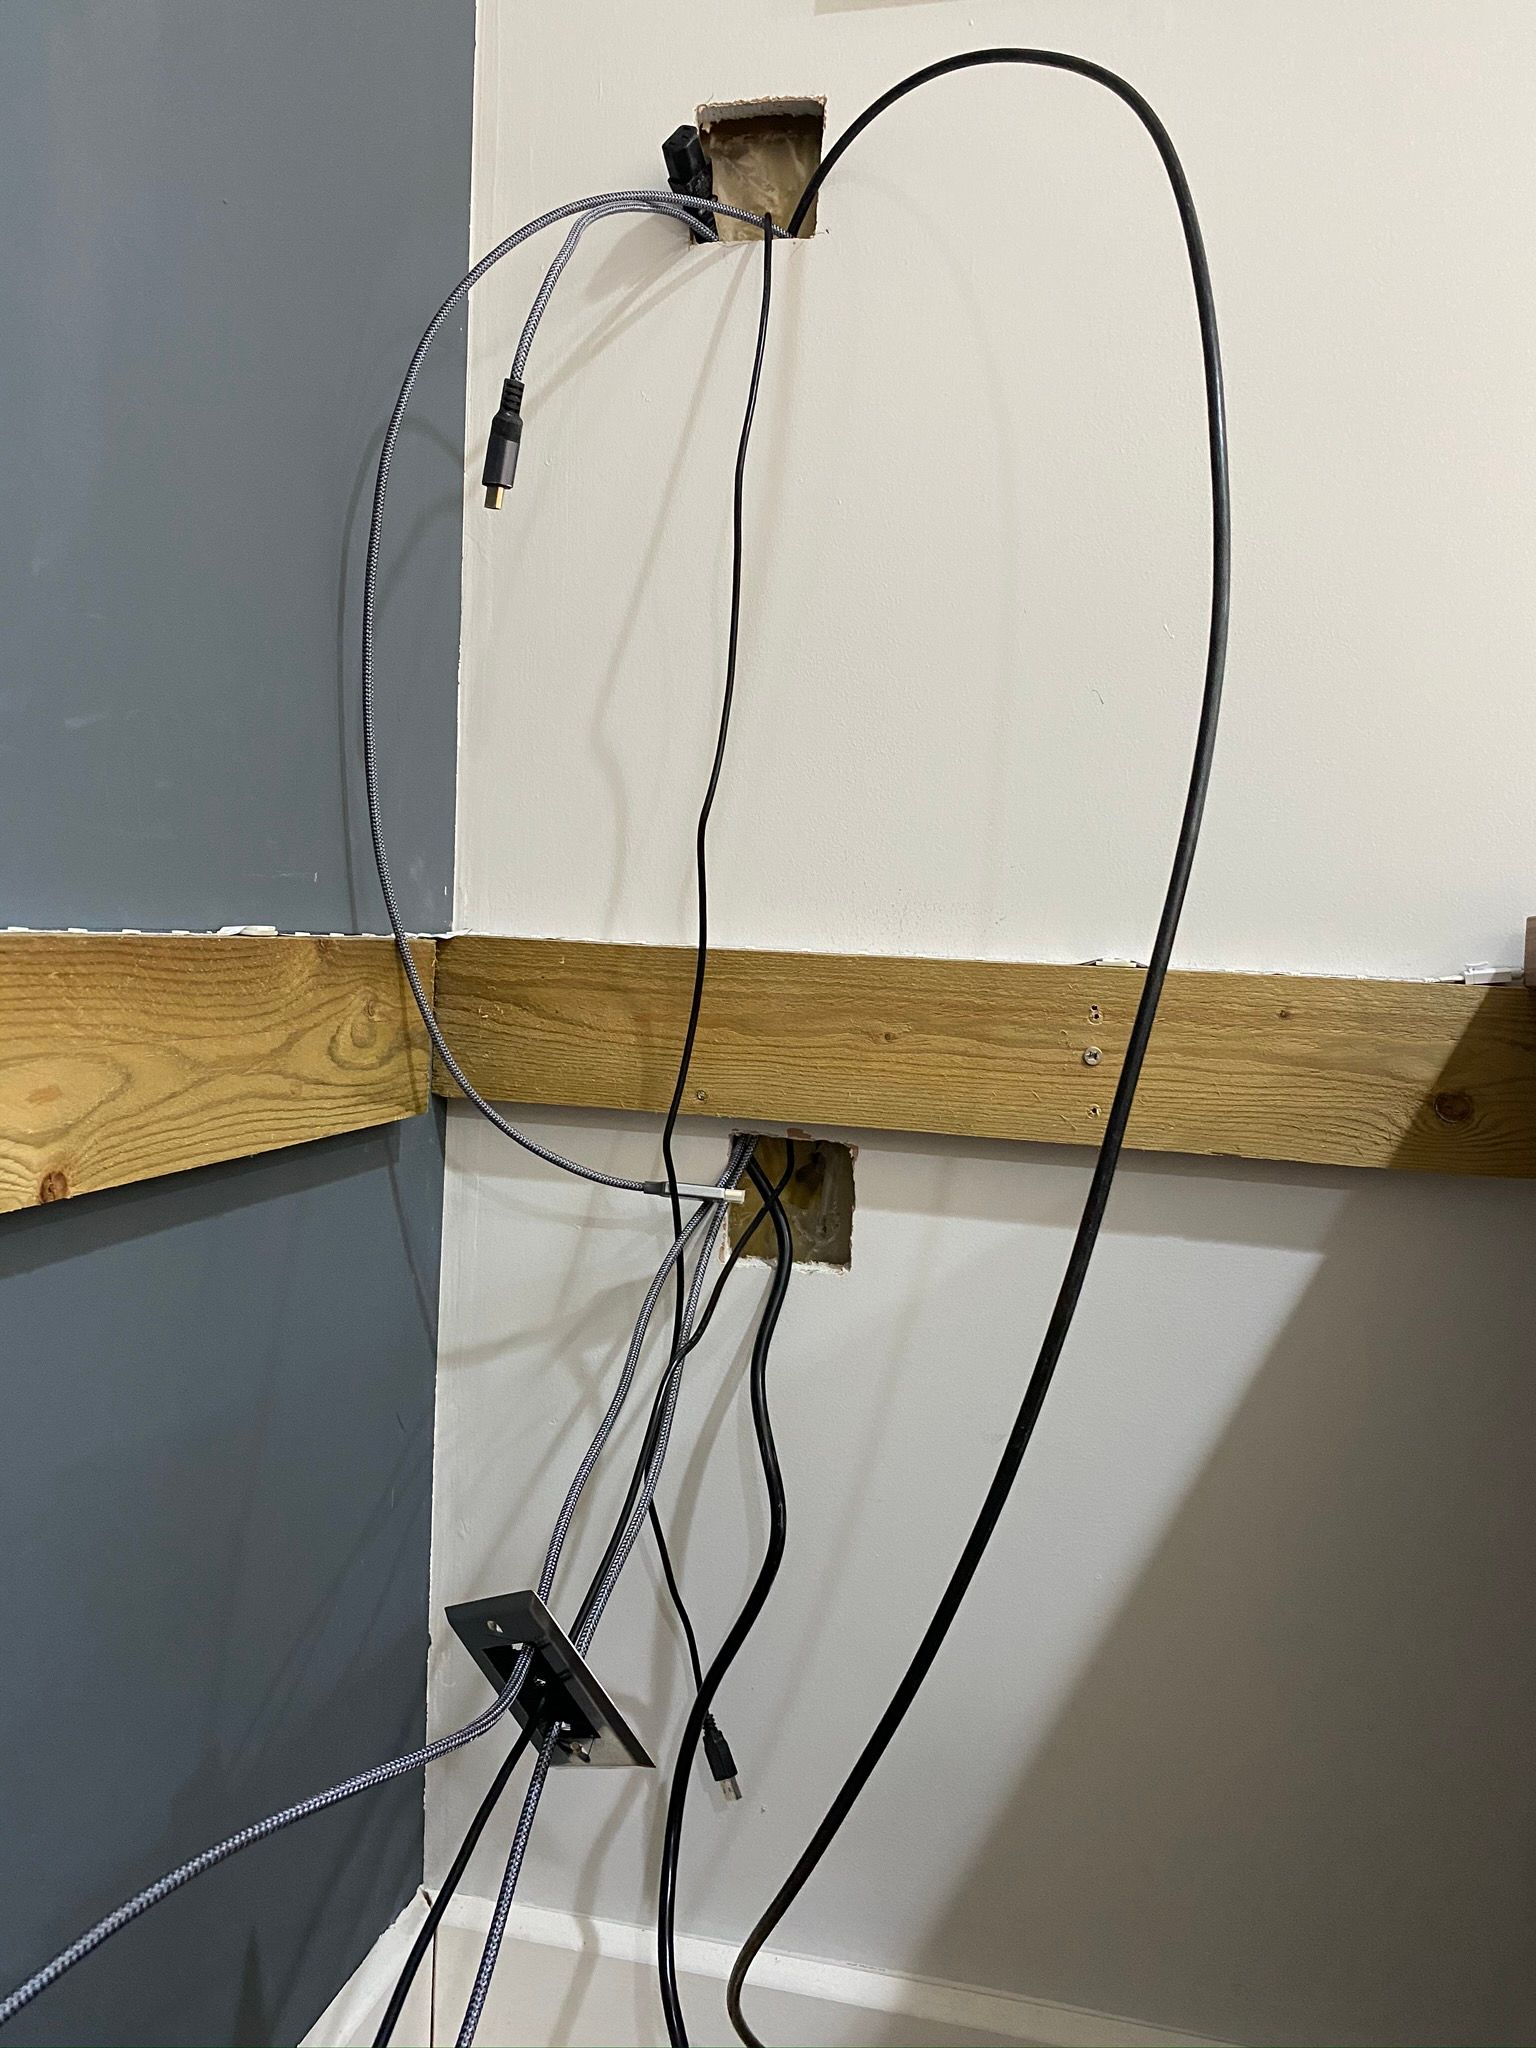
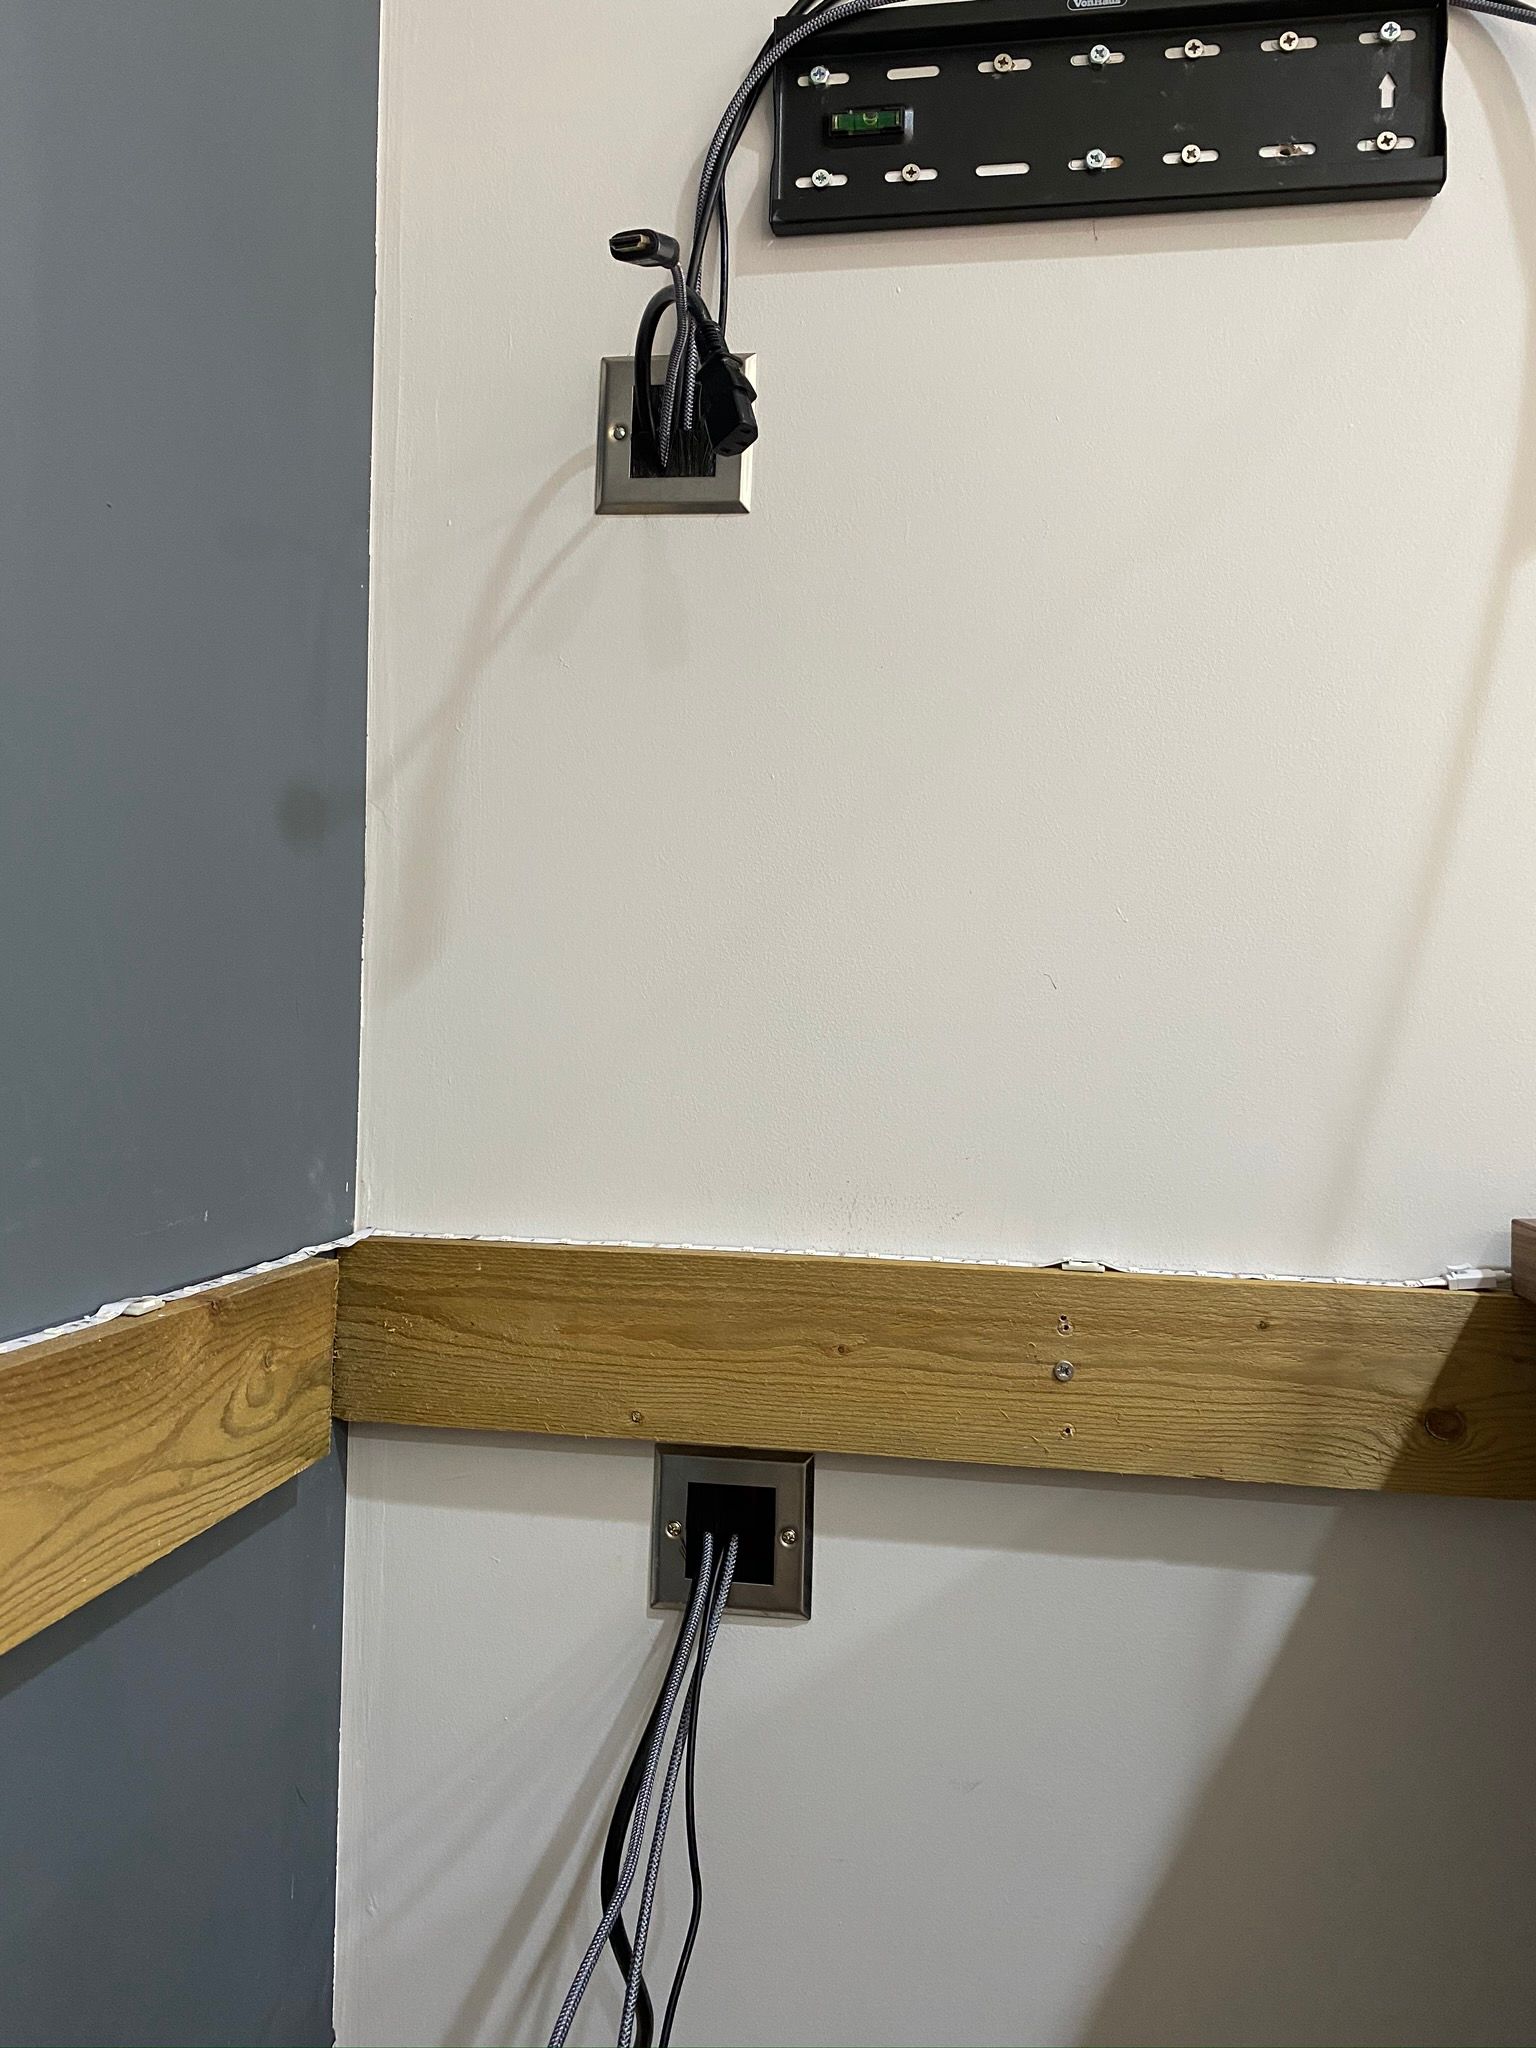
As well as hiding the monitor and PC cables I also wanted all the accessory and extension cables hidden. The plug socket was too low so I couldn't hide the plugs or wires for the extensions. To improve the look of this I installed a black glass double socket and purchased two 6 socket extensions with nylon braided cables and screwed them to the underneath of the desk. So all you can see when looking under the desk is two cables running up the wall, very minimal and saved having to get an electrician in to move the socket.
Parts List
- Brush steel wallplate cover
- Govee 5 meter LED strip
- Goove TV LED strips (monitors)
- 5m HDMI cable
- Nylon braided extension plug
- Livolo black glass socket
Office Essentials
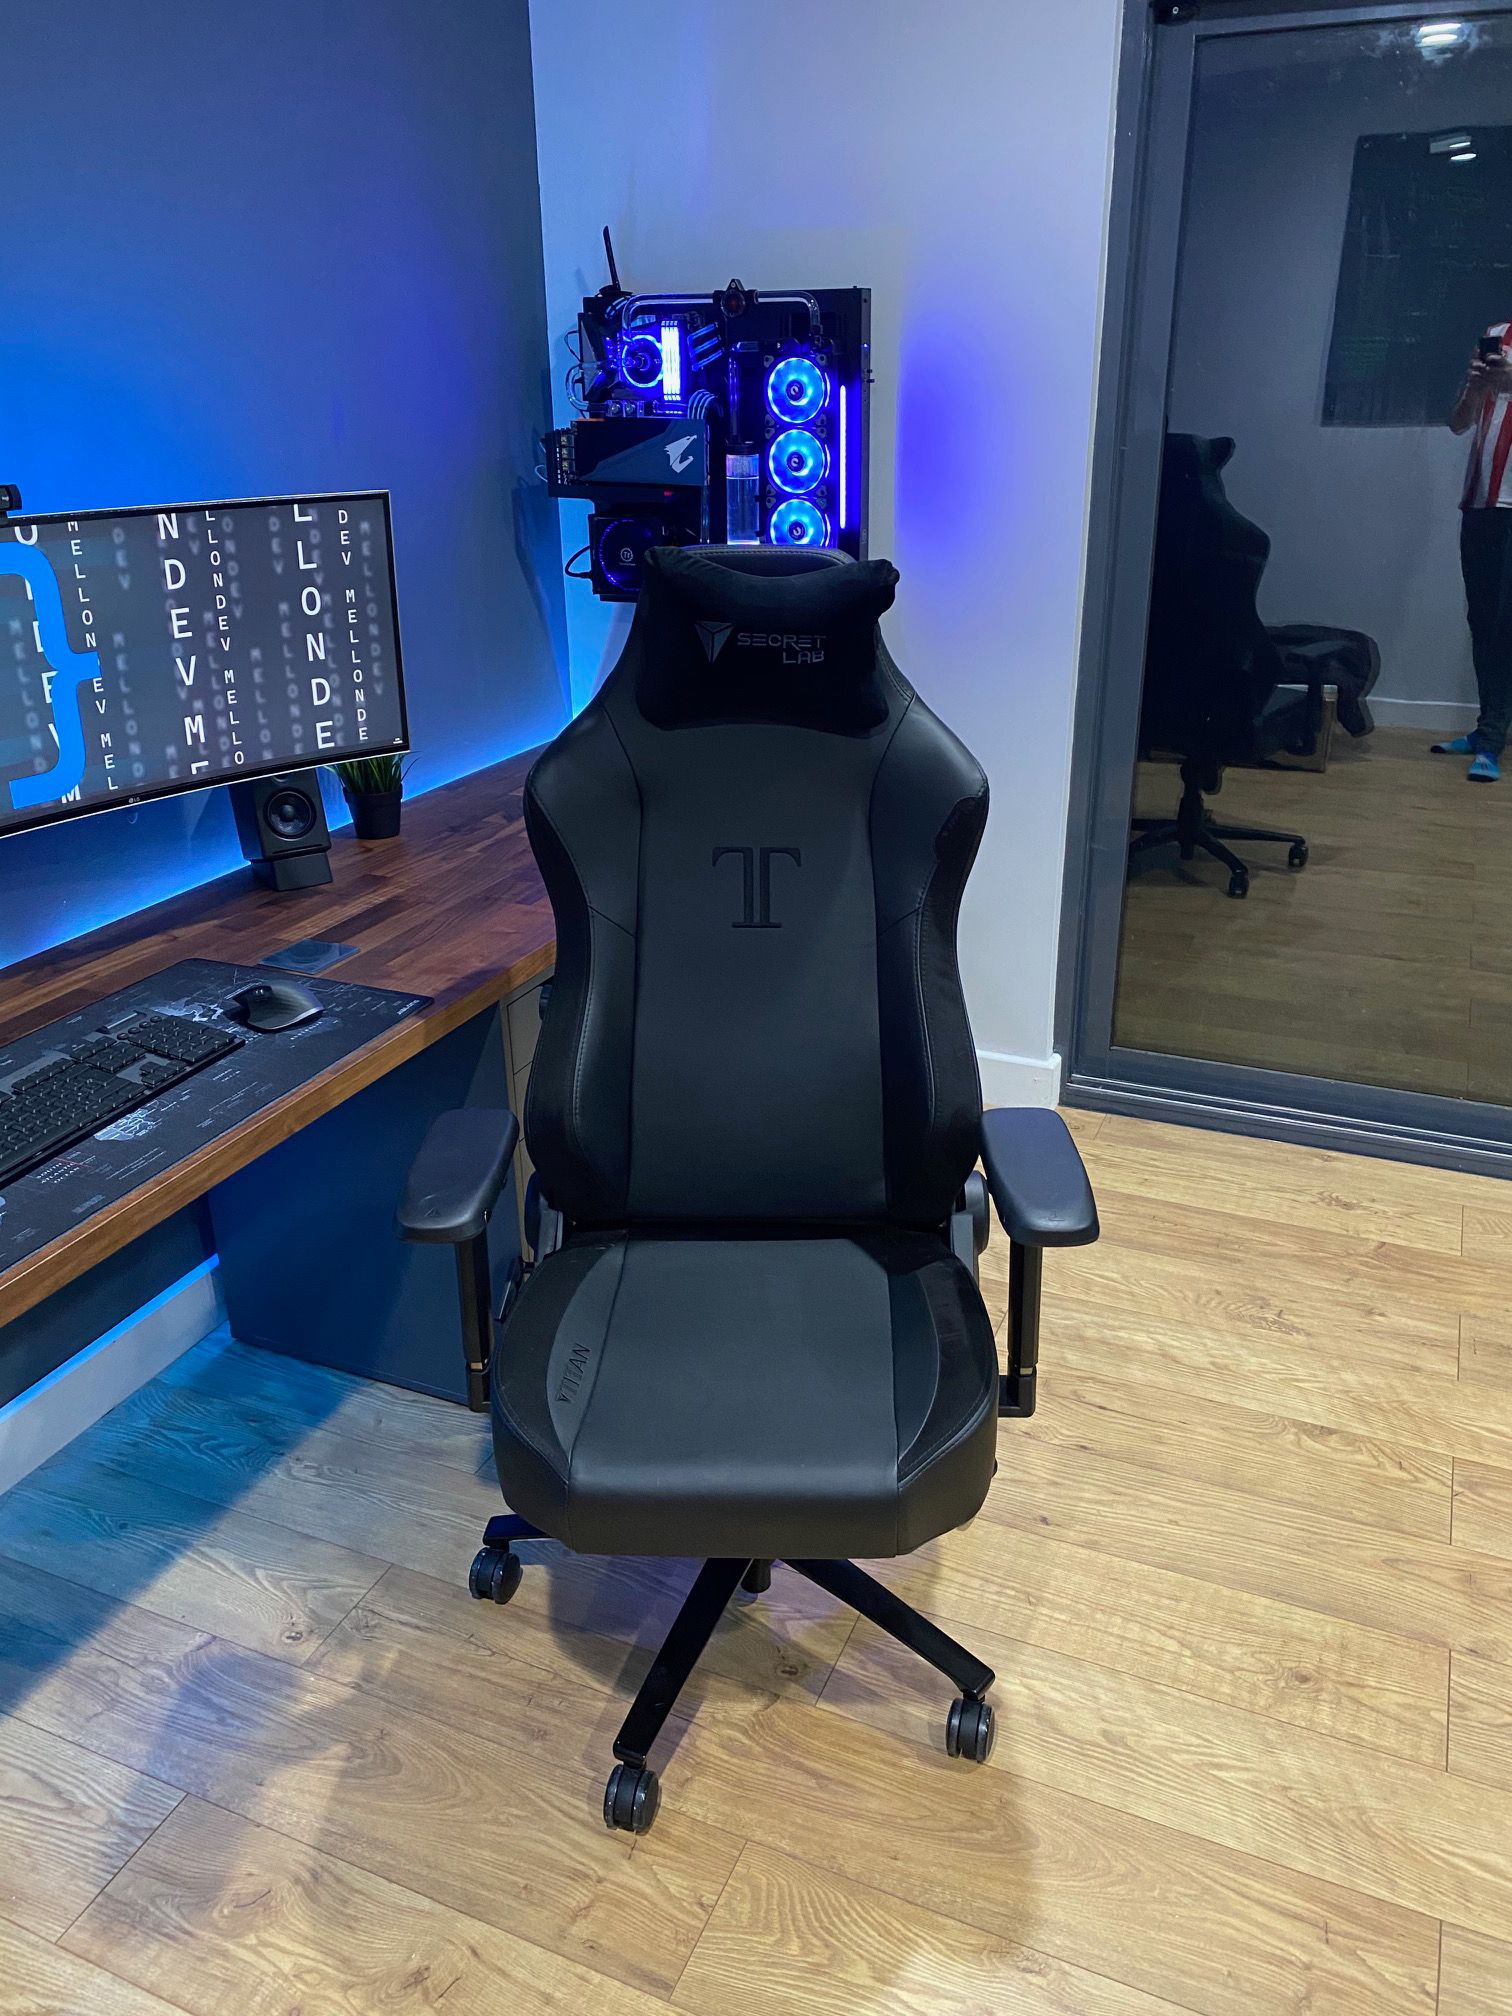
Other essentials for the office included a decent chair and a whiteboard. The chair is a SecretLabs Titan and although quite expensive at around £350 its well worth it.
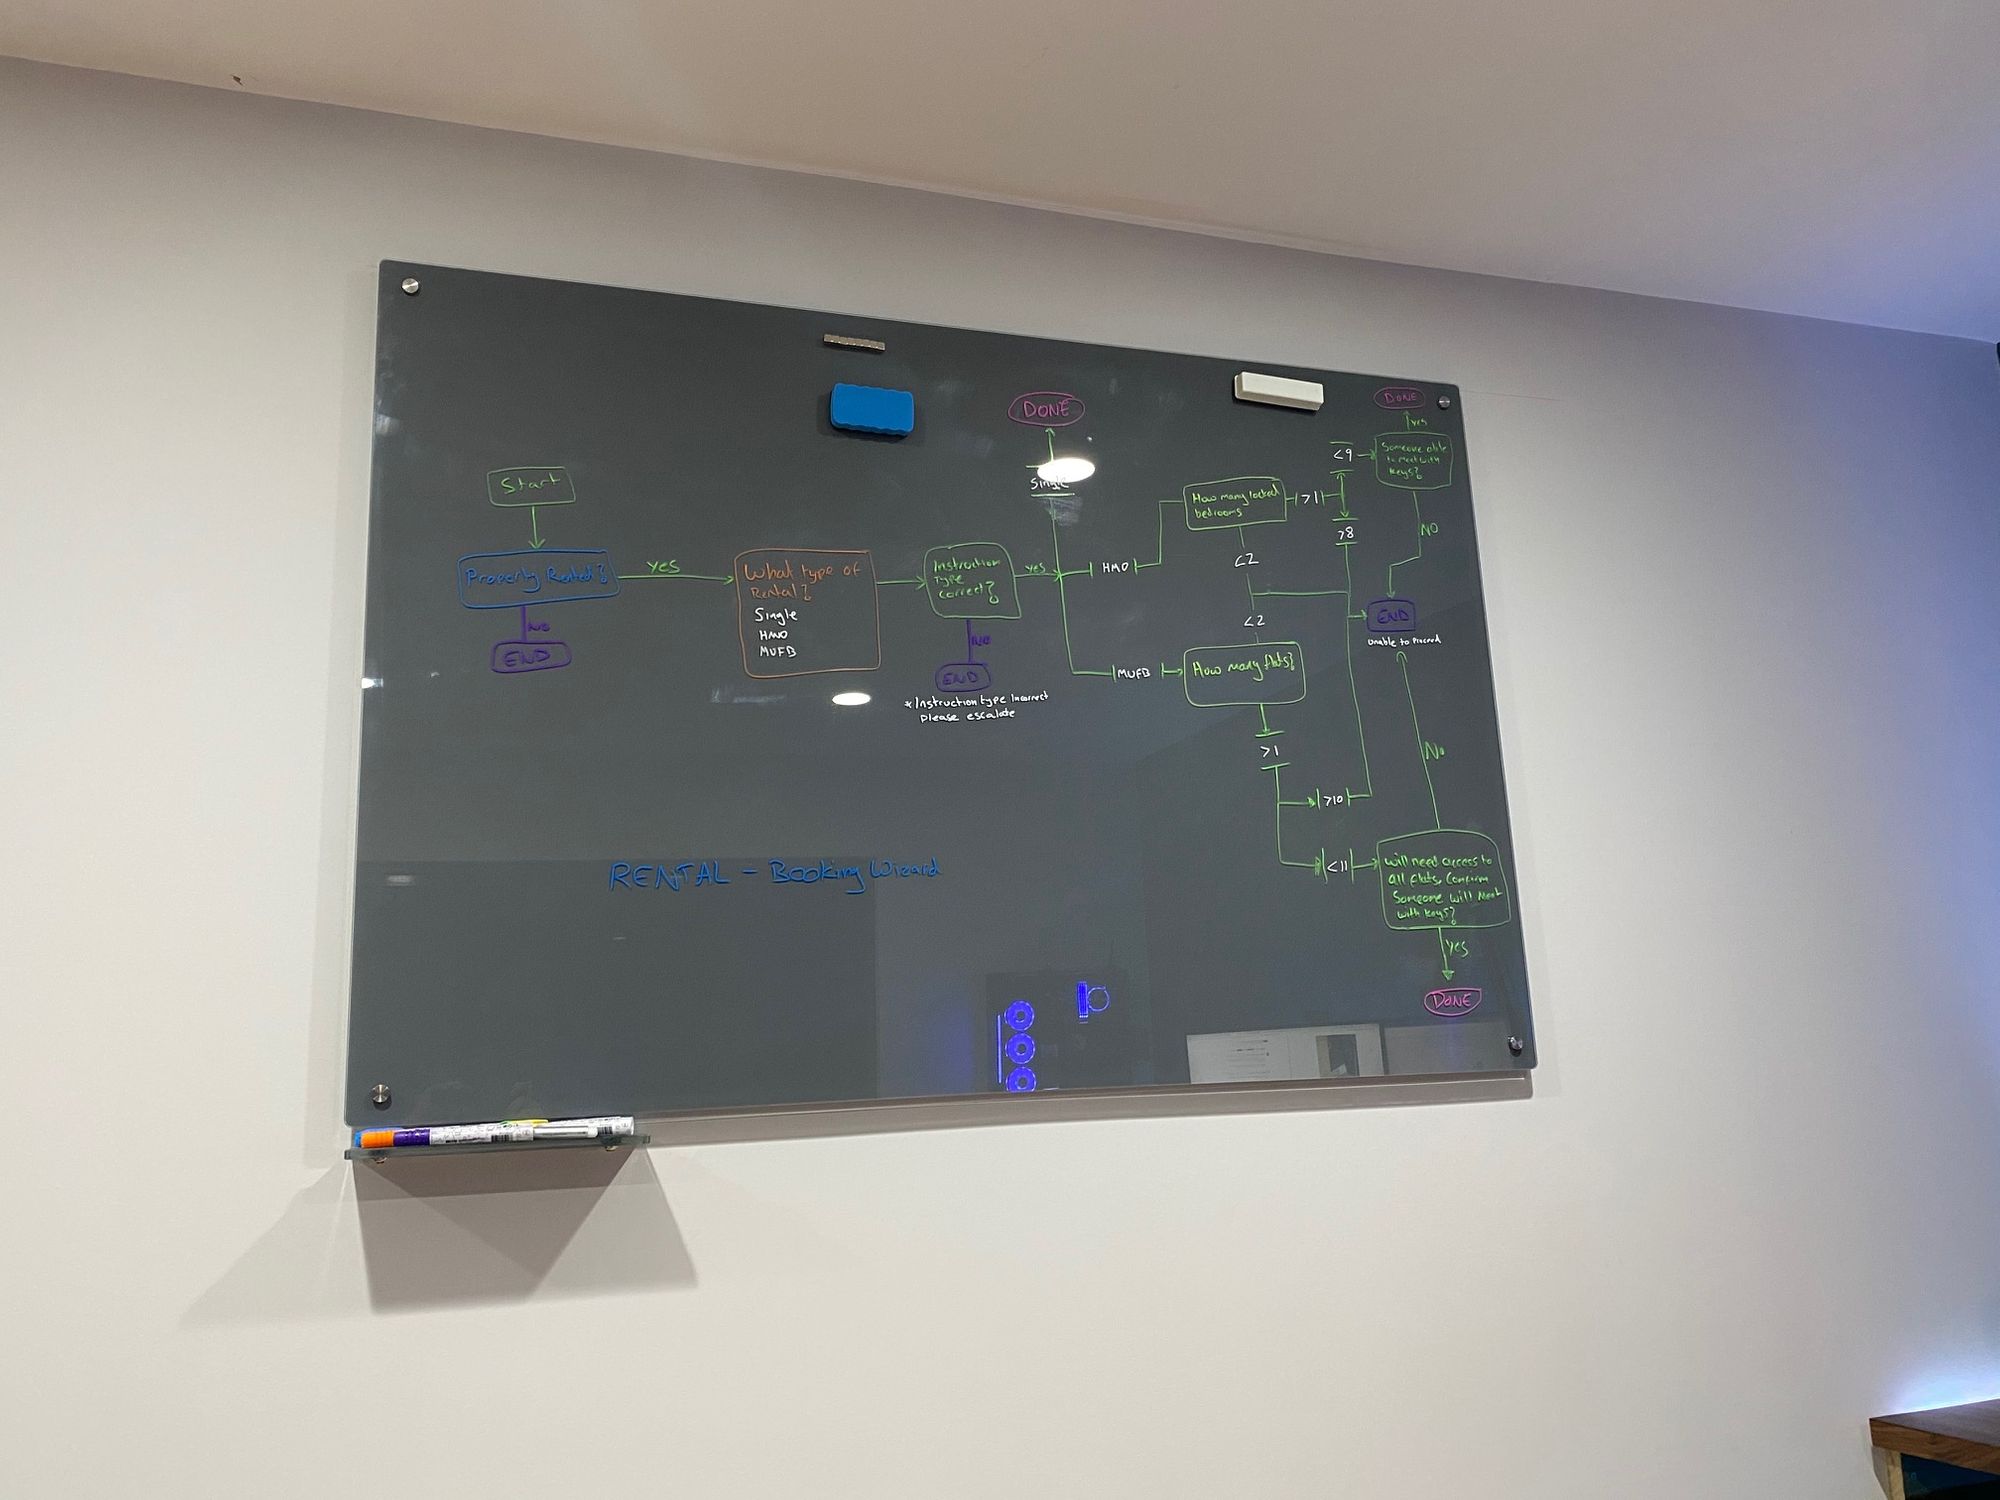
The whiteboard is a 1m x 1.5m magnetic glass board in grey which goes with the room and looks really good, especially with the chalk based pens.
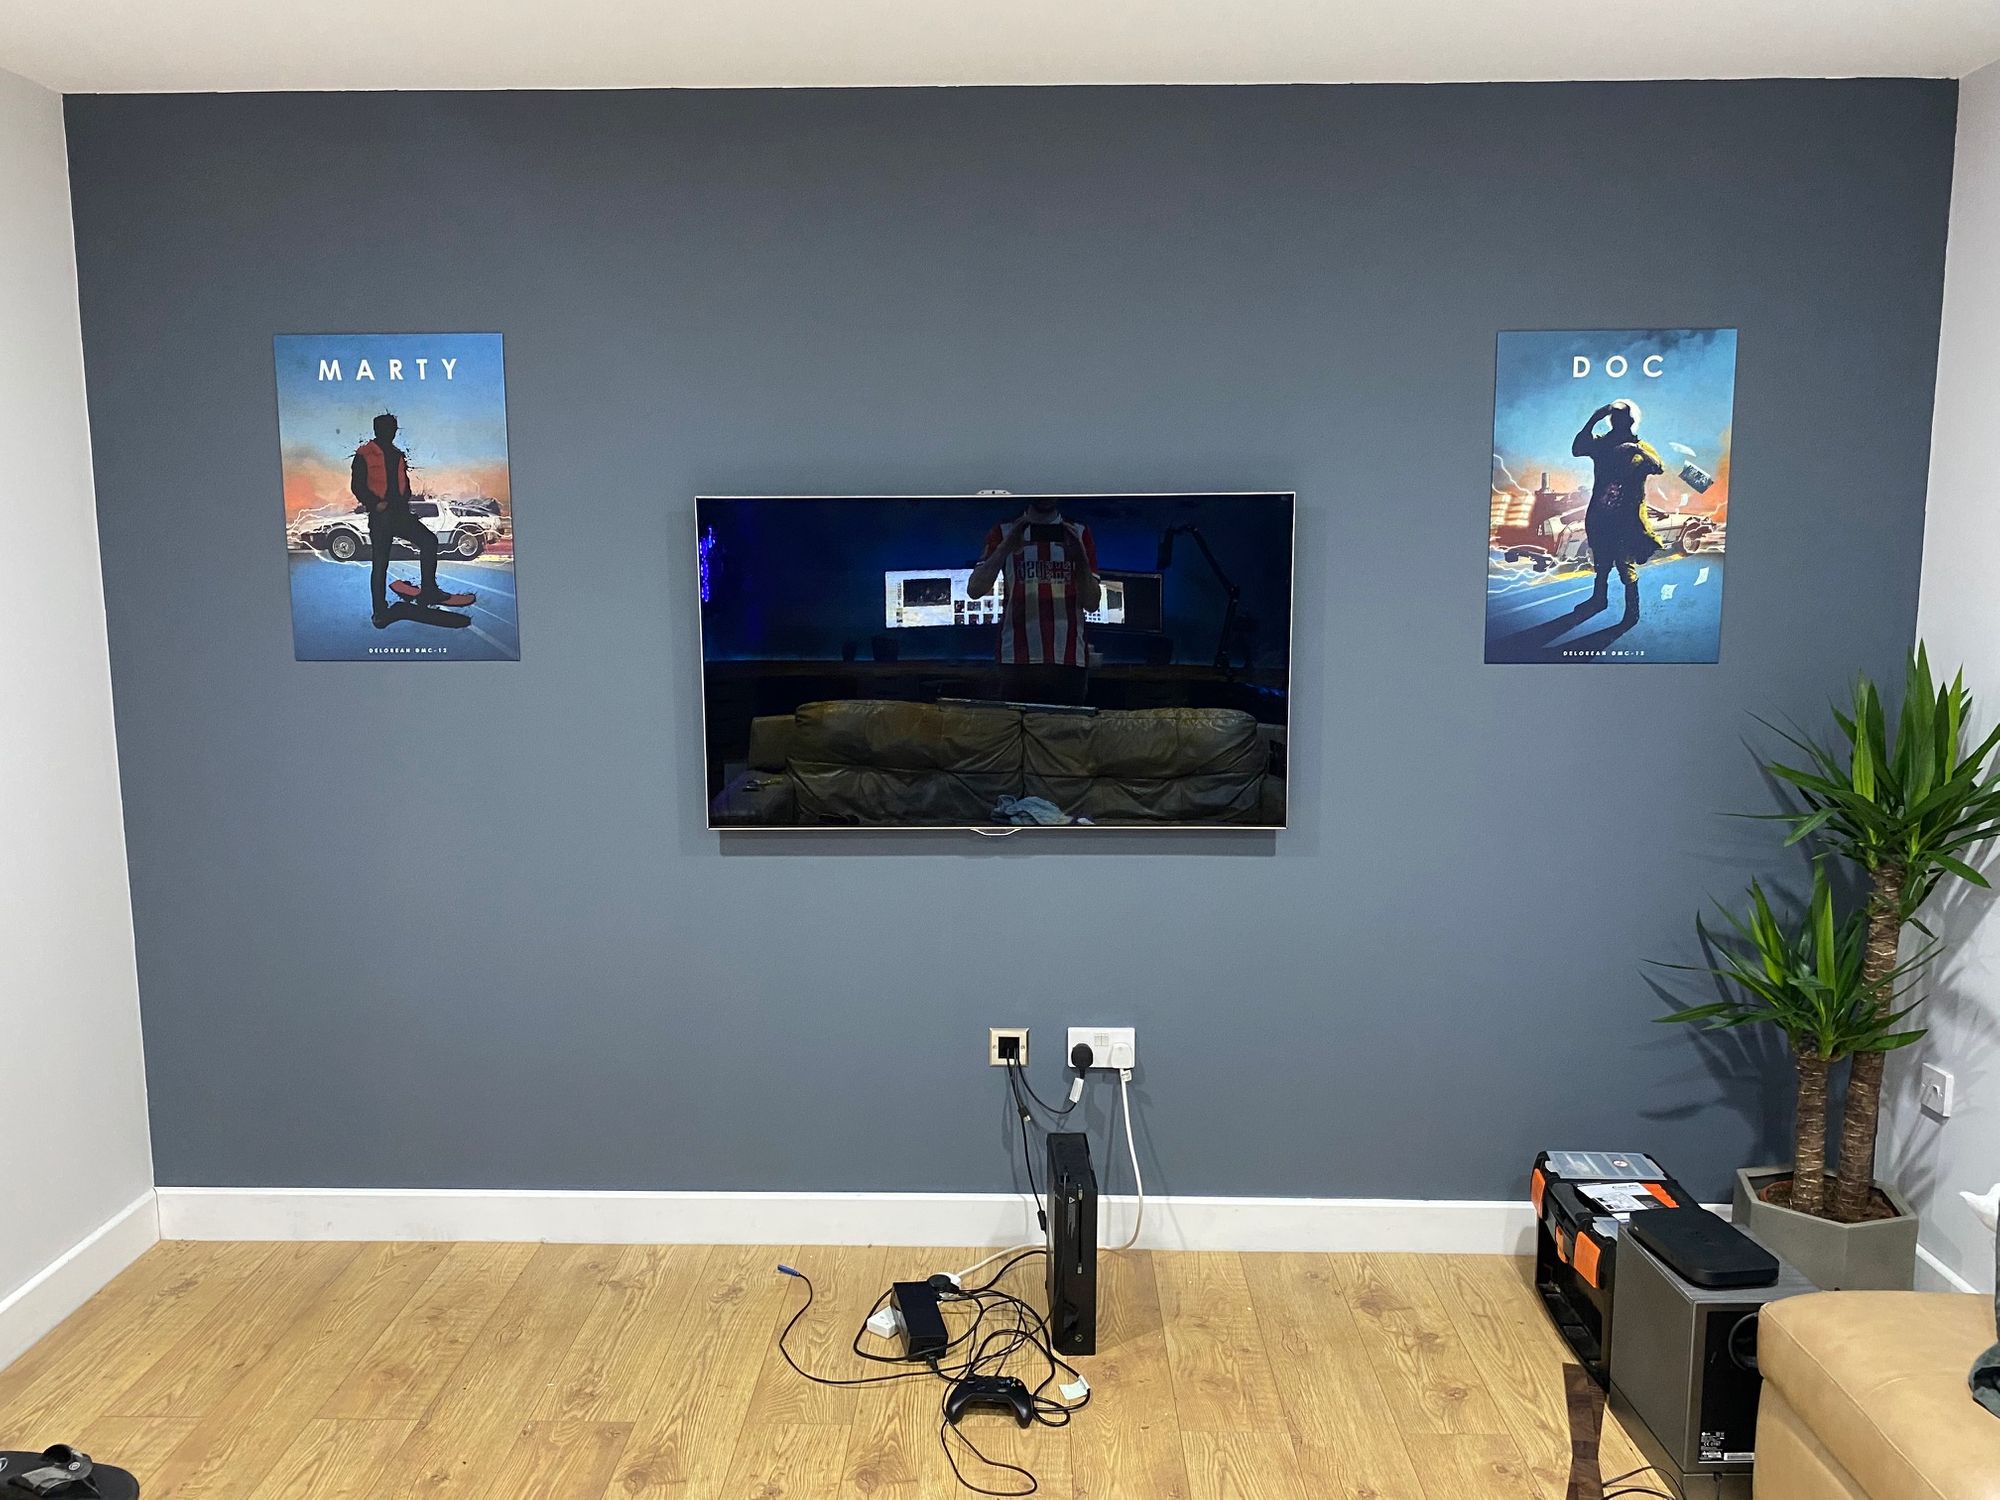
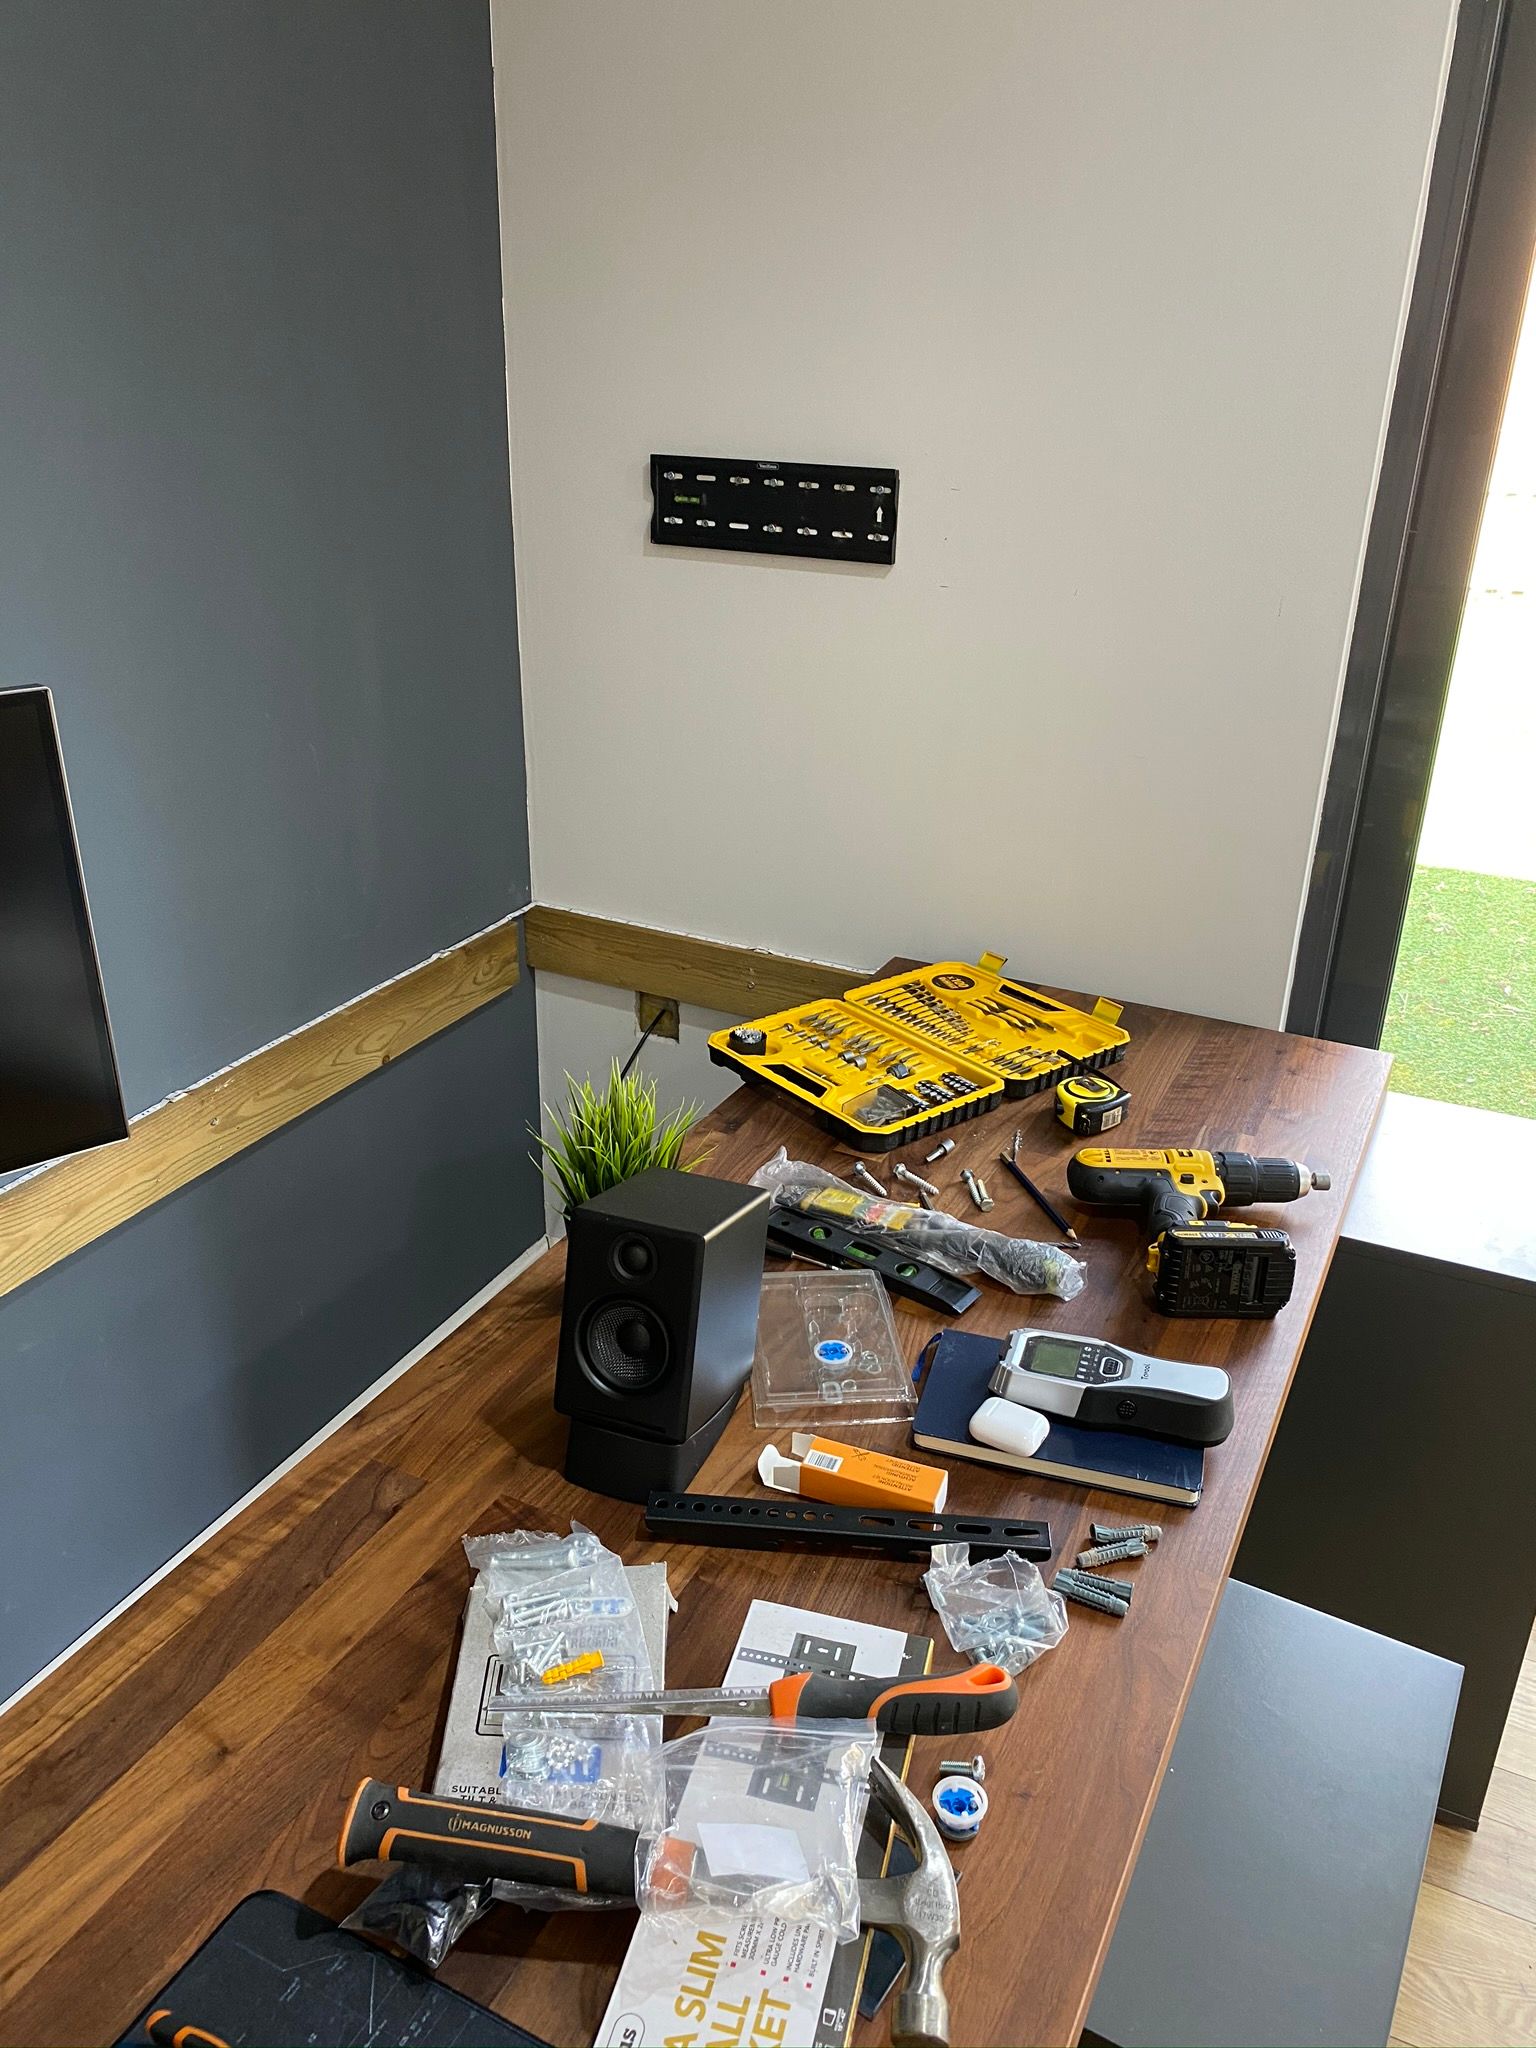
As well as my work space I also wanted a place to step away from the computer and watch some videos or read a book. I had a spare sofa and a spare 42" TV so created a separate space on the other side of the office. The TV is wall mounted and cables run through the walls again, ignore the cables on the floor I haven't got a TV unit yet :) I also got some large Displate metal posters featuring Doc and Marty from one of my favourite films Back To The Future.
Monitors
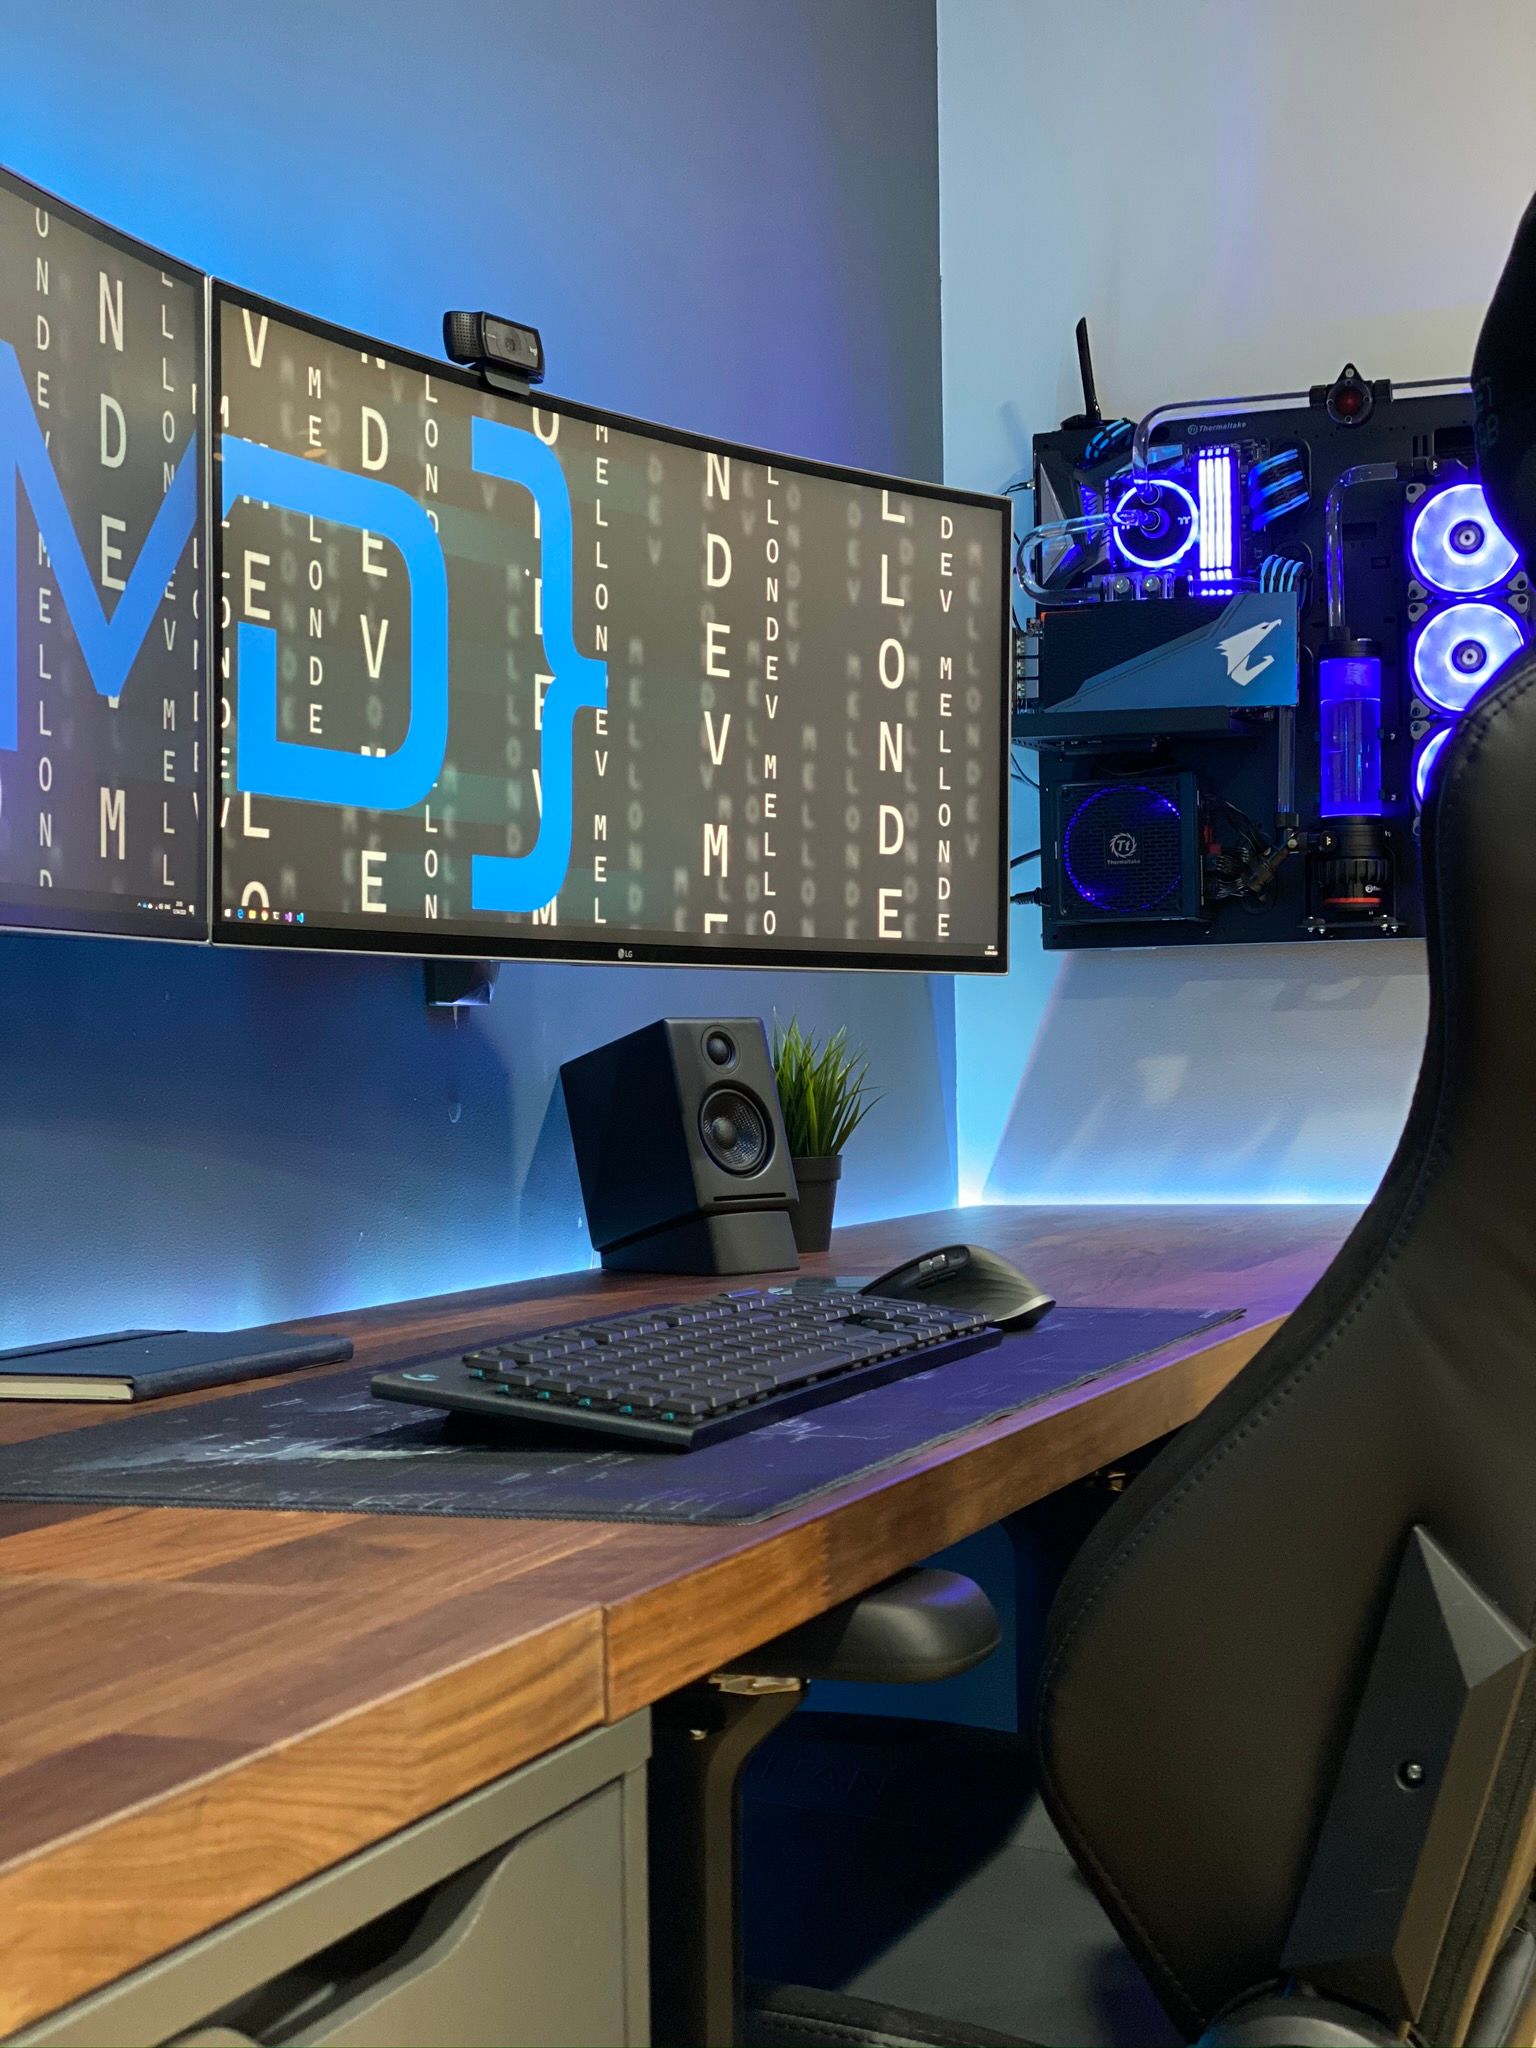
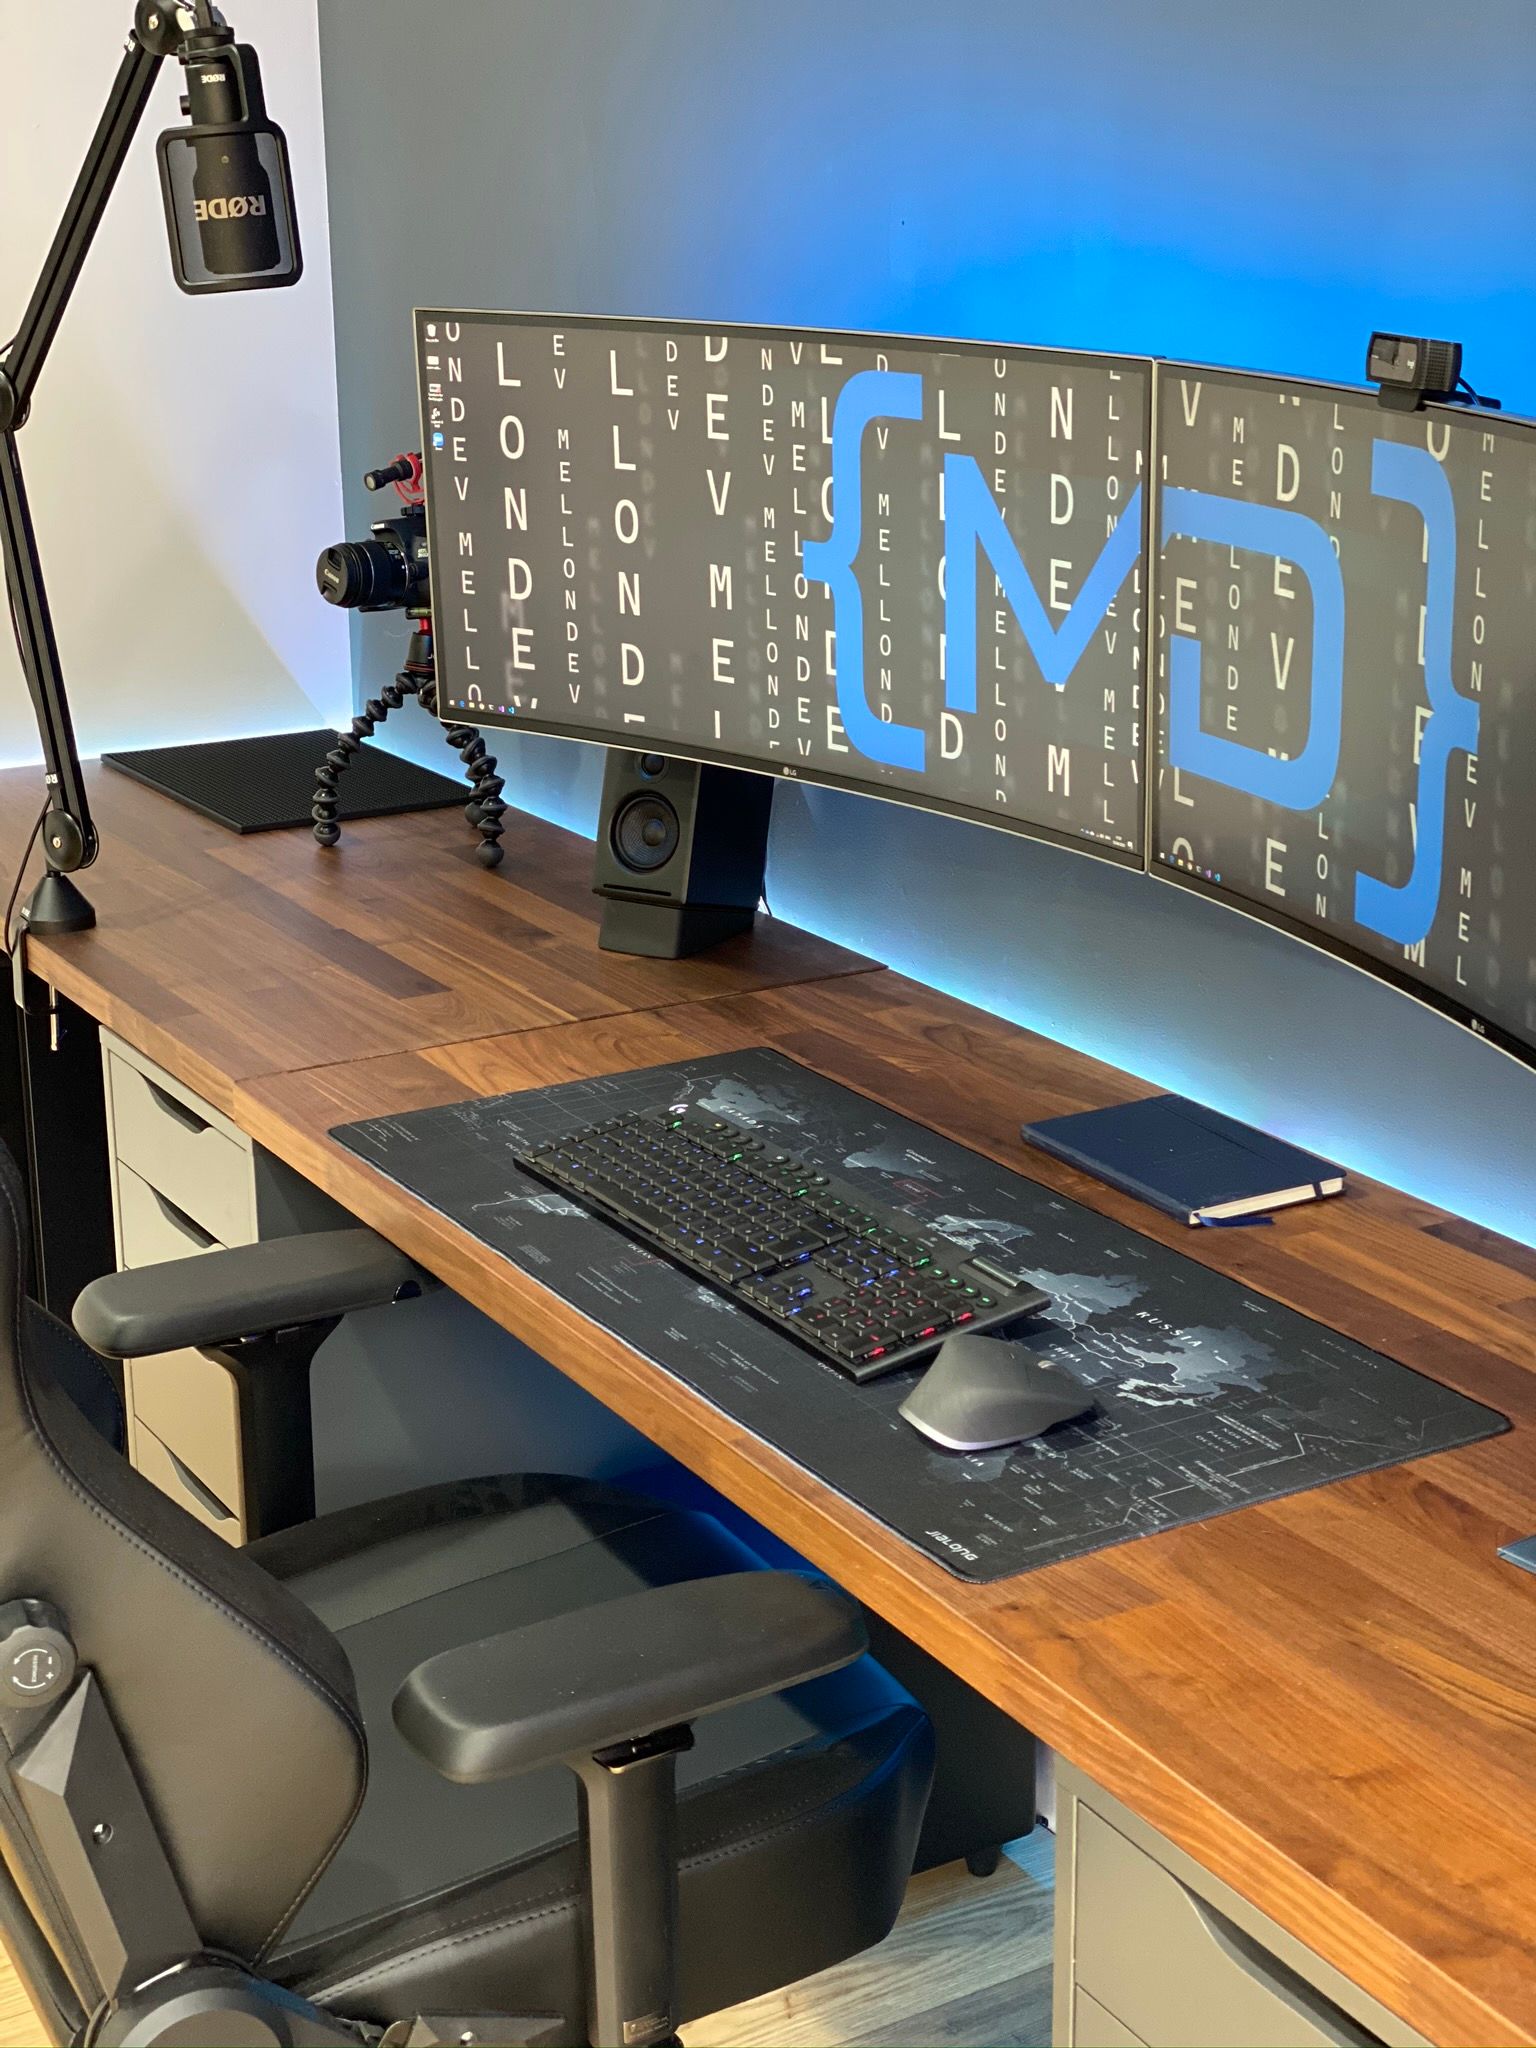
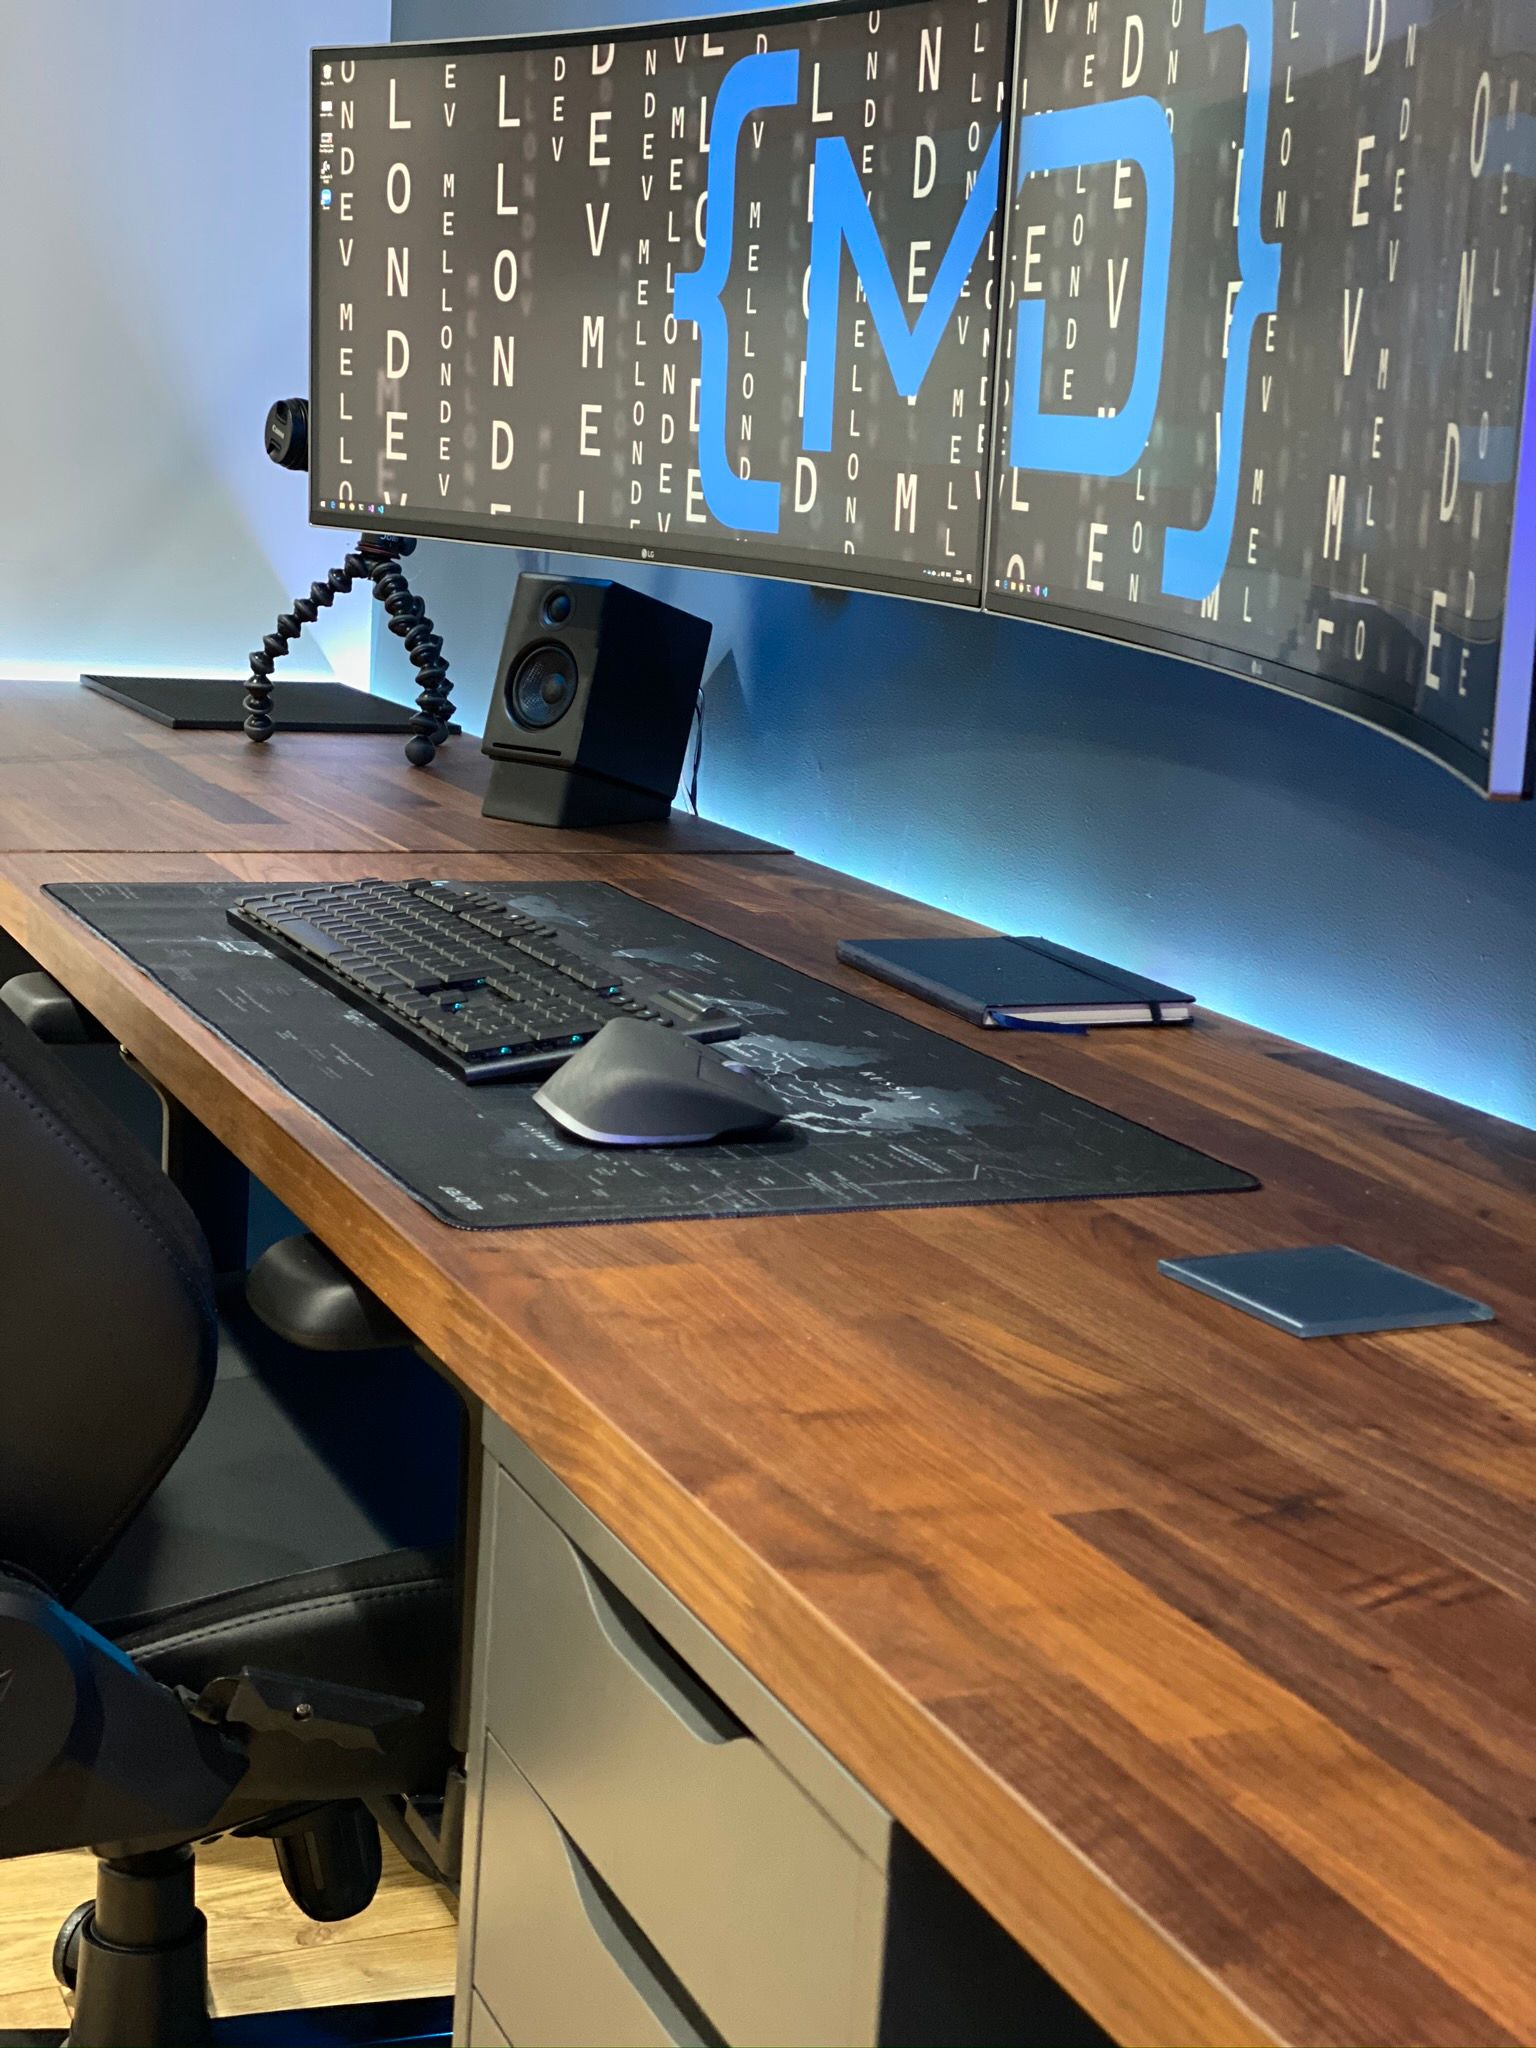
At work I have 3 monitors and they are great, but for my home office I wanted something different so went for dual 34" ultra-wide curved. They are huge monitors and great for coding, vs code and visual studio look awesome full screen with plenty of space for all those panels. I can have the explorer, code and the terminal open and still have plenty of free space.
The monitors are both wall mounted on adjustable monitor arms and with all cables hidden in the wall cavity. The PC is quite far from the monitors so I had to get some 5m HDMI cables so I could run the cables through the walls and under the desk.
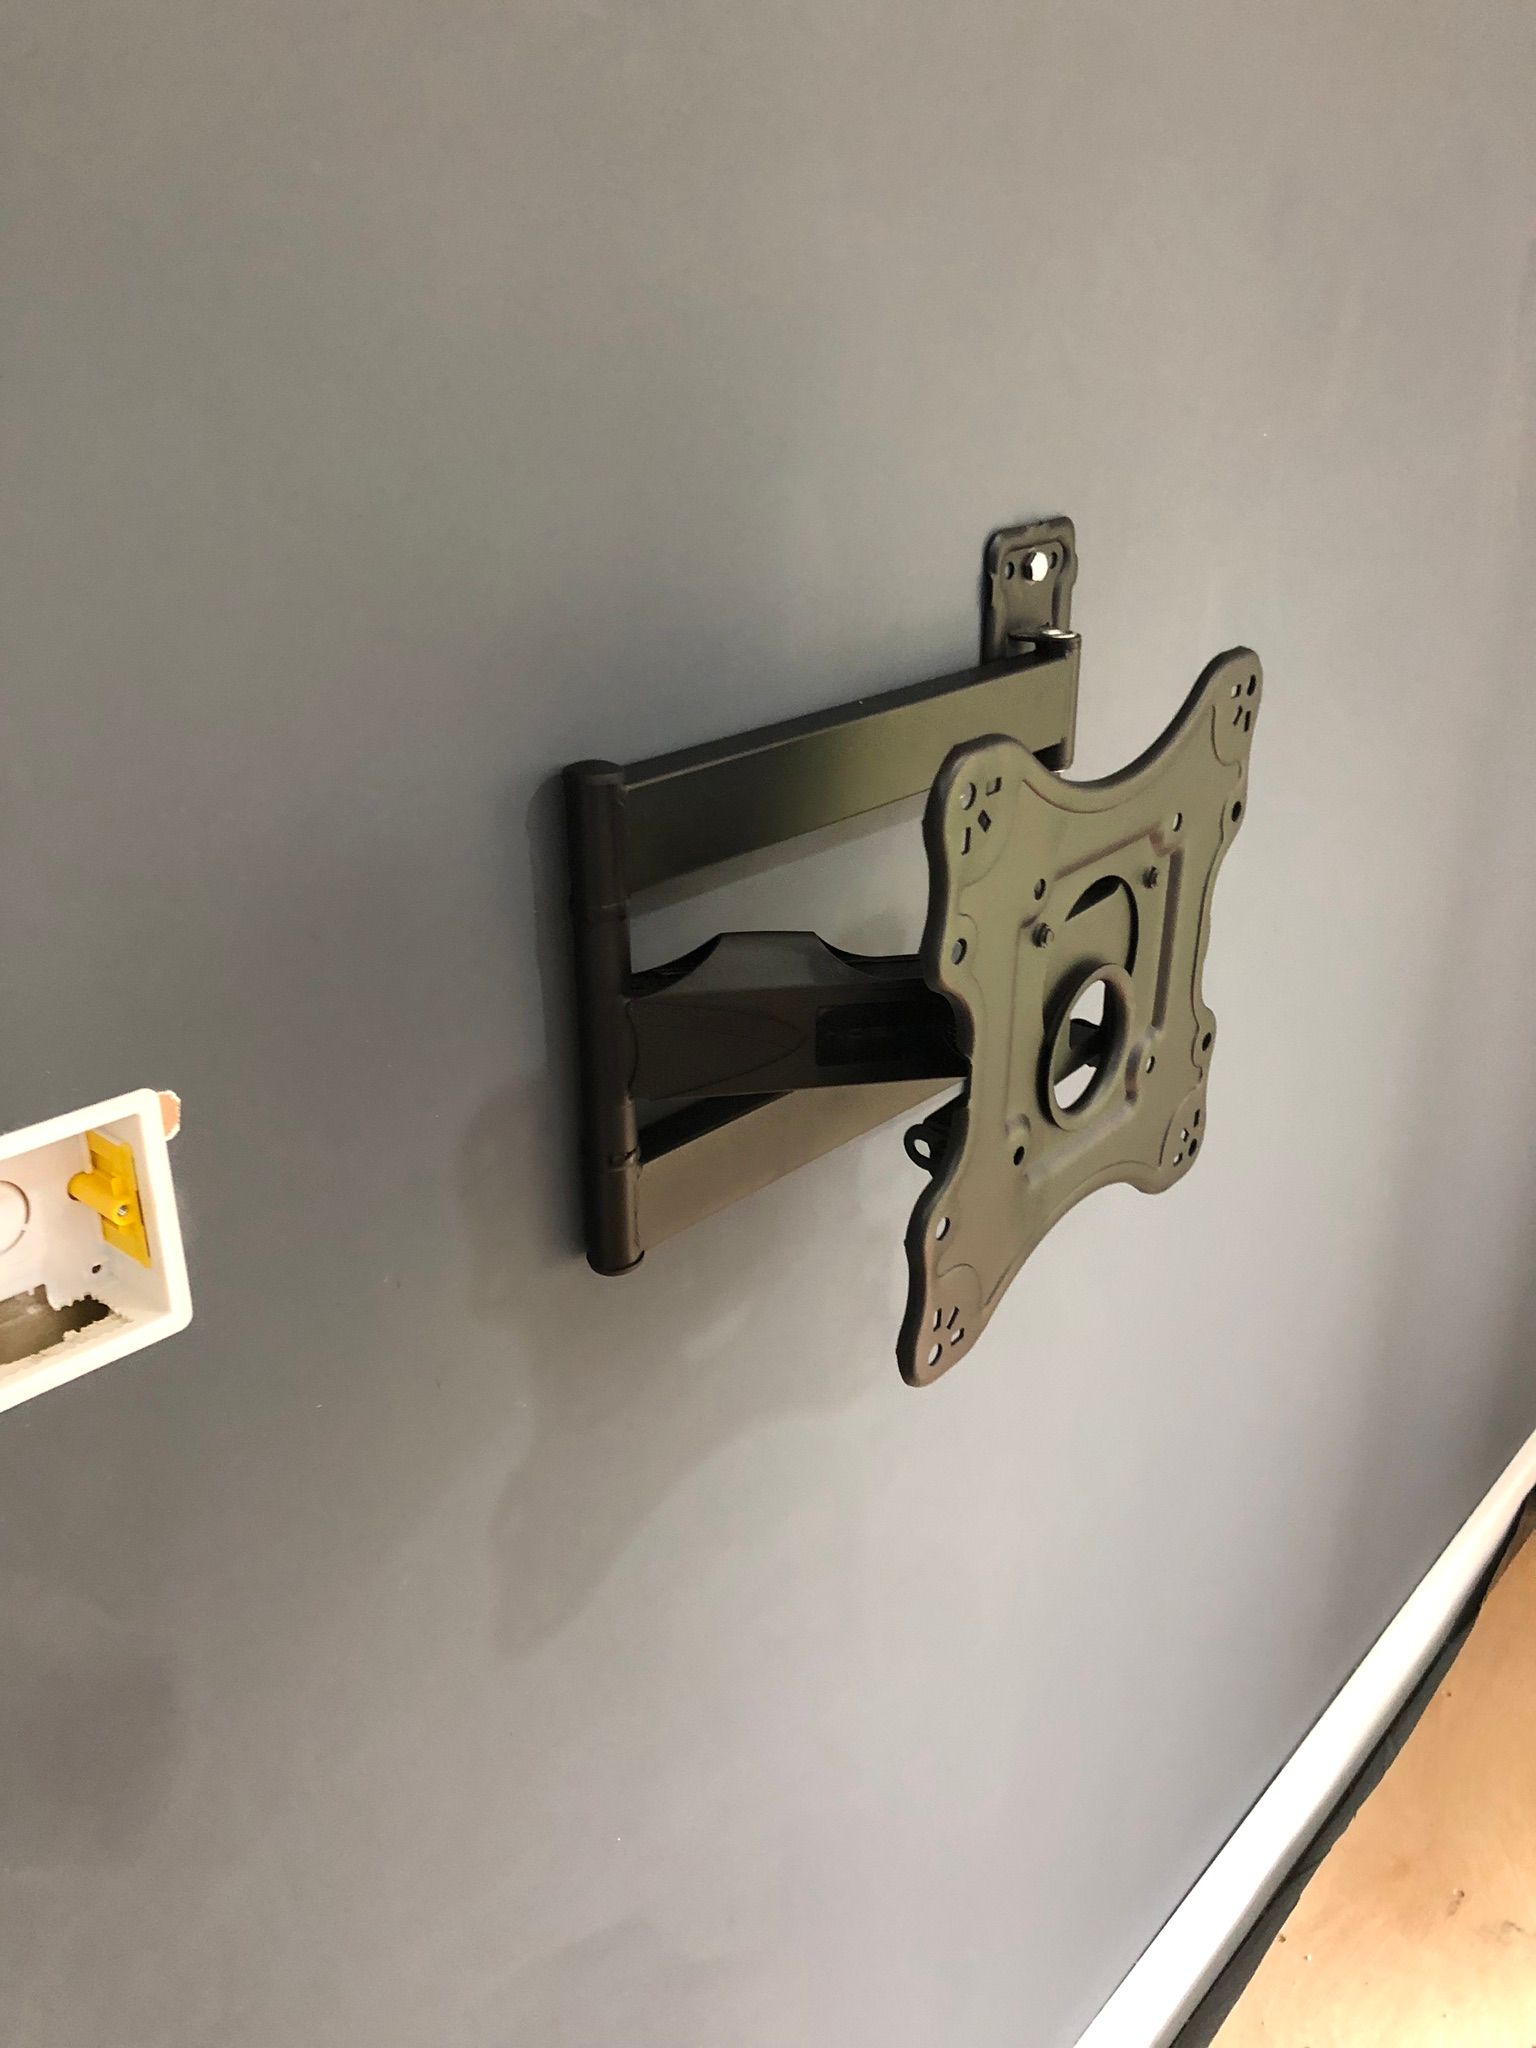
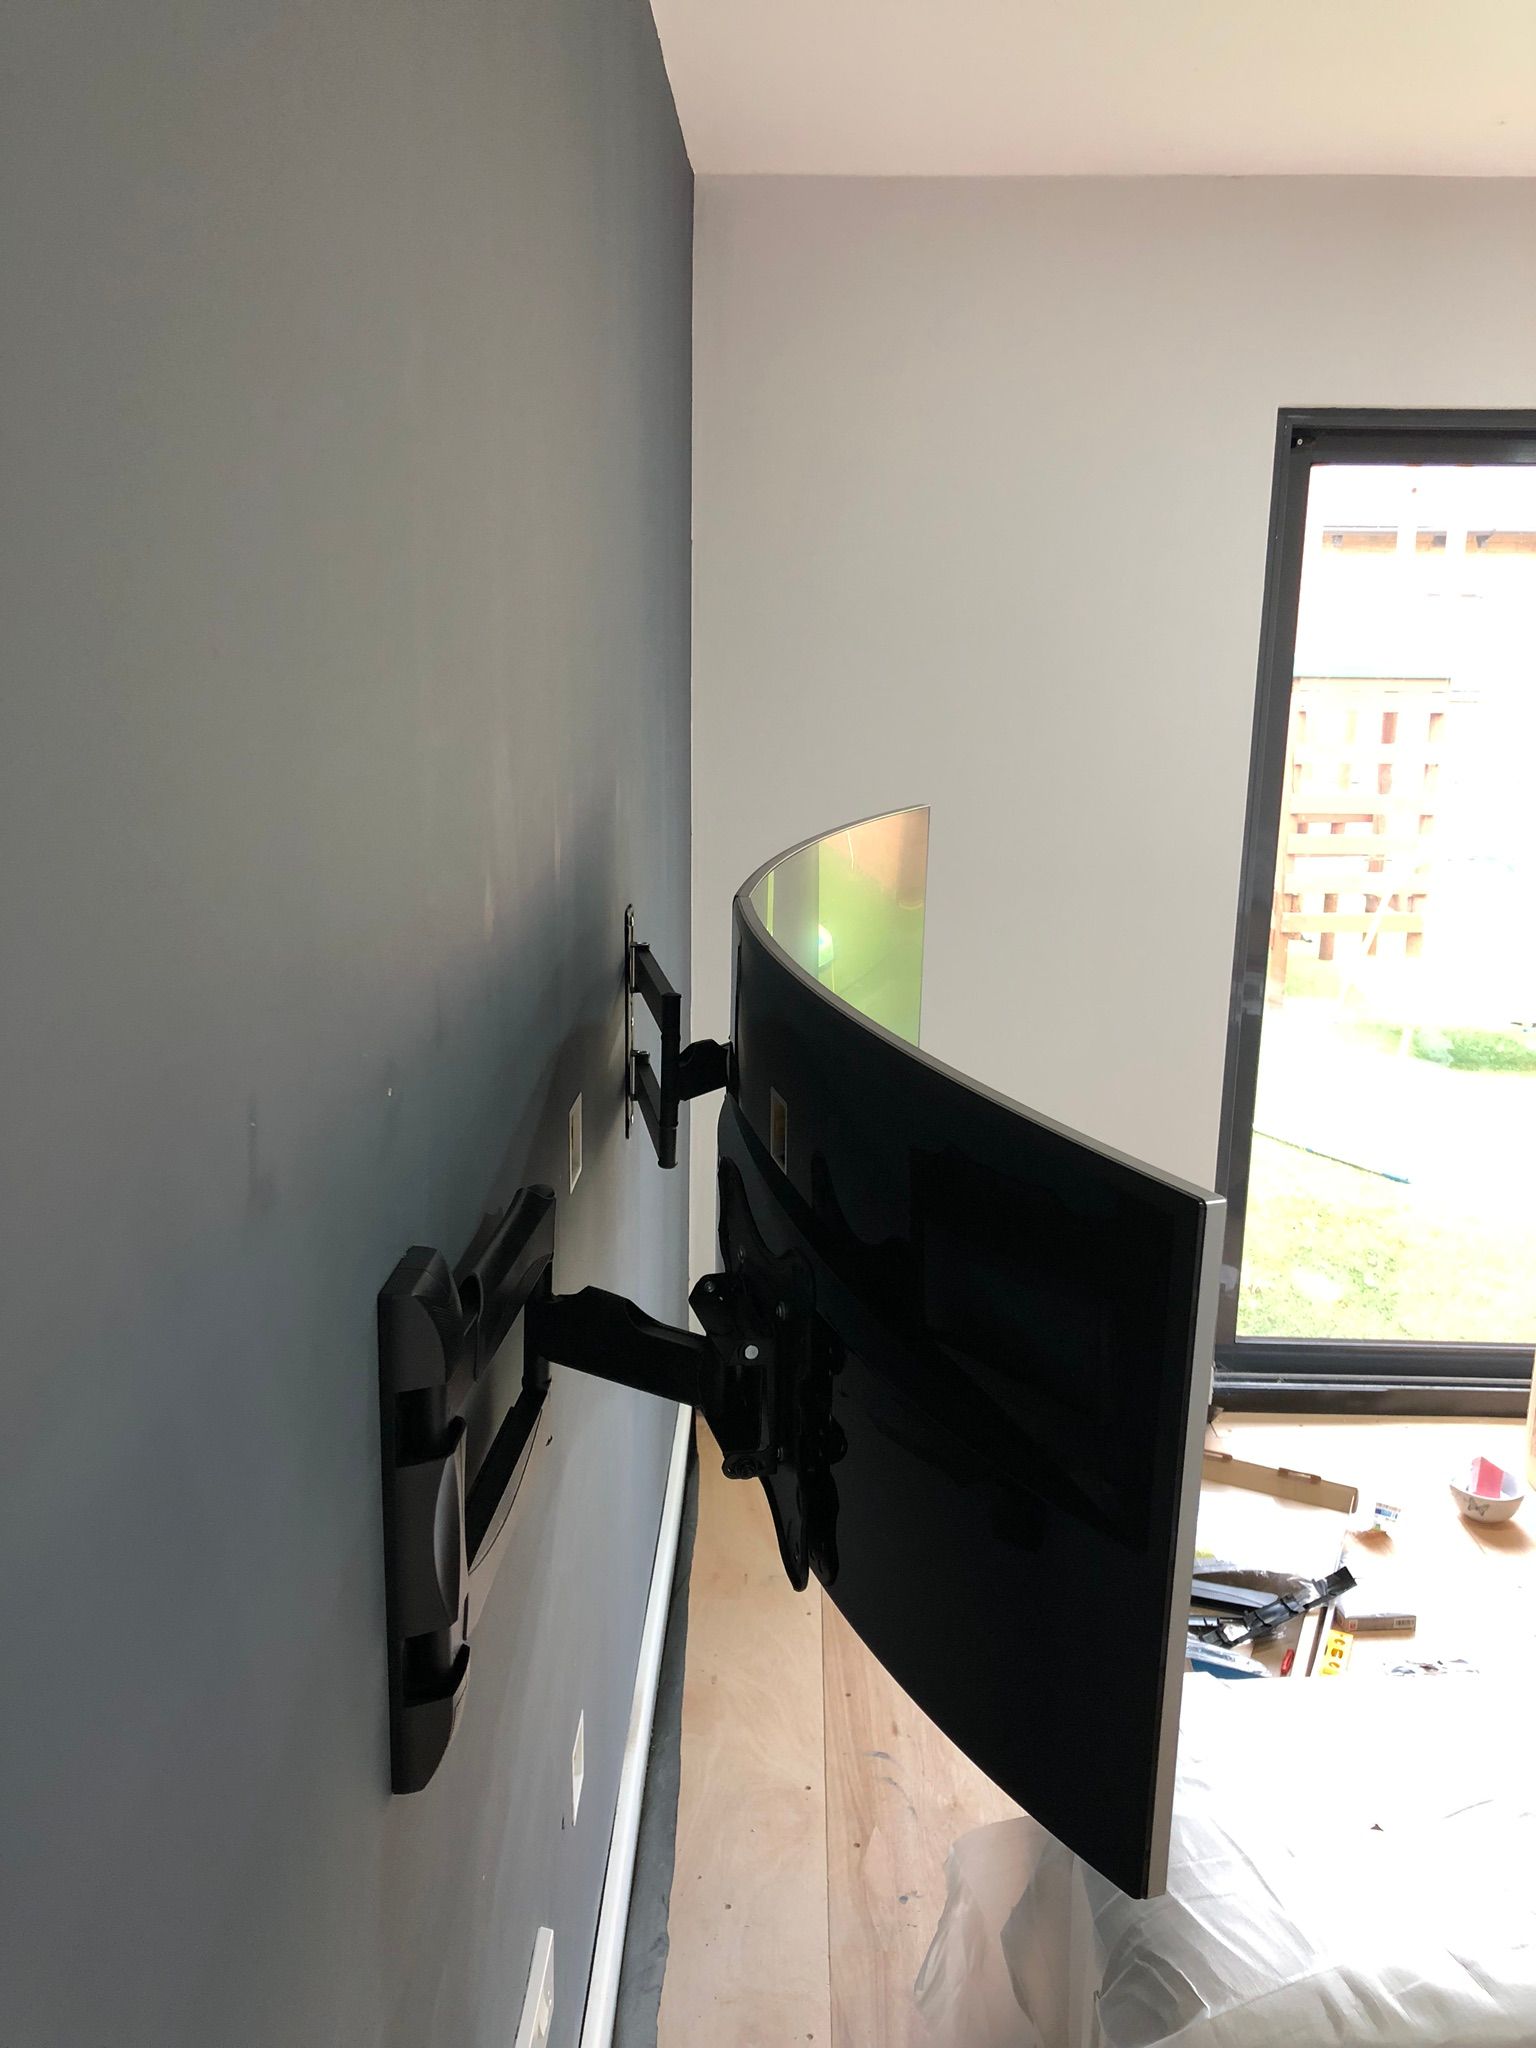

The adjustable arms are excellent, very sturdy and there's plenty of adjustment for positioning the monitors just right. I did have some trouble with the VESA mount and the LG monitors. The fixing plate that comes with the arms covers the ports on the monitor and I ended up having to cut some of the metal plate away so I could plug in my HDMI and power.
To power the monitors I needed some extra long power cables, the cables that came with the monitor were quite long but just not quite long enough to feed through the wall and under the desk.
- LG 34" Ultrawide Curved monitor
- Adjustable tilt/swivel wall mount arms
- 3m Clover leaf power cable for monitors
- 5m HDMI cable
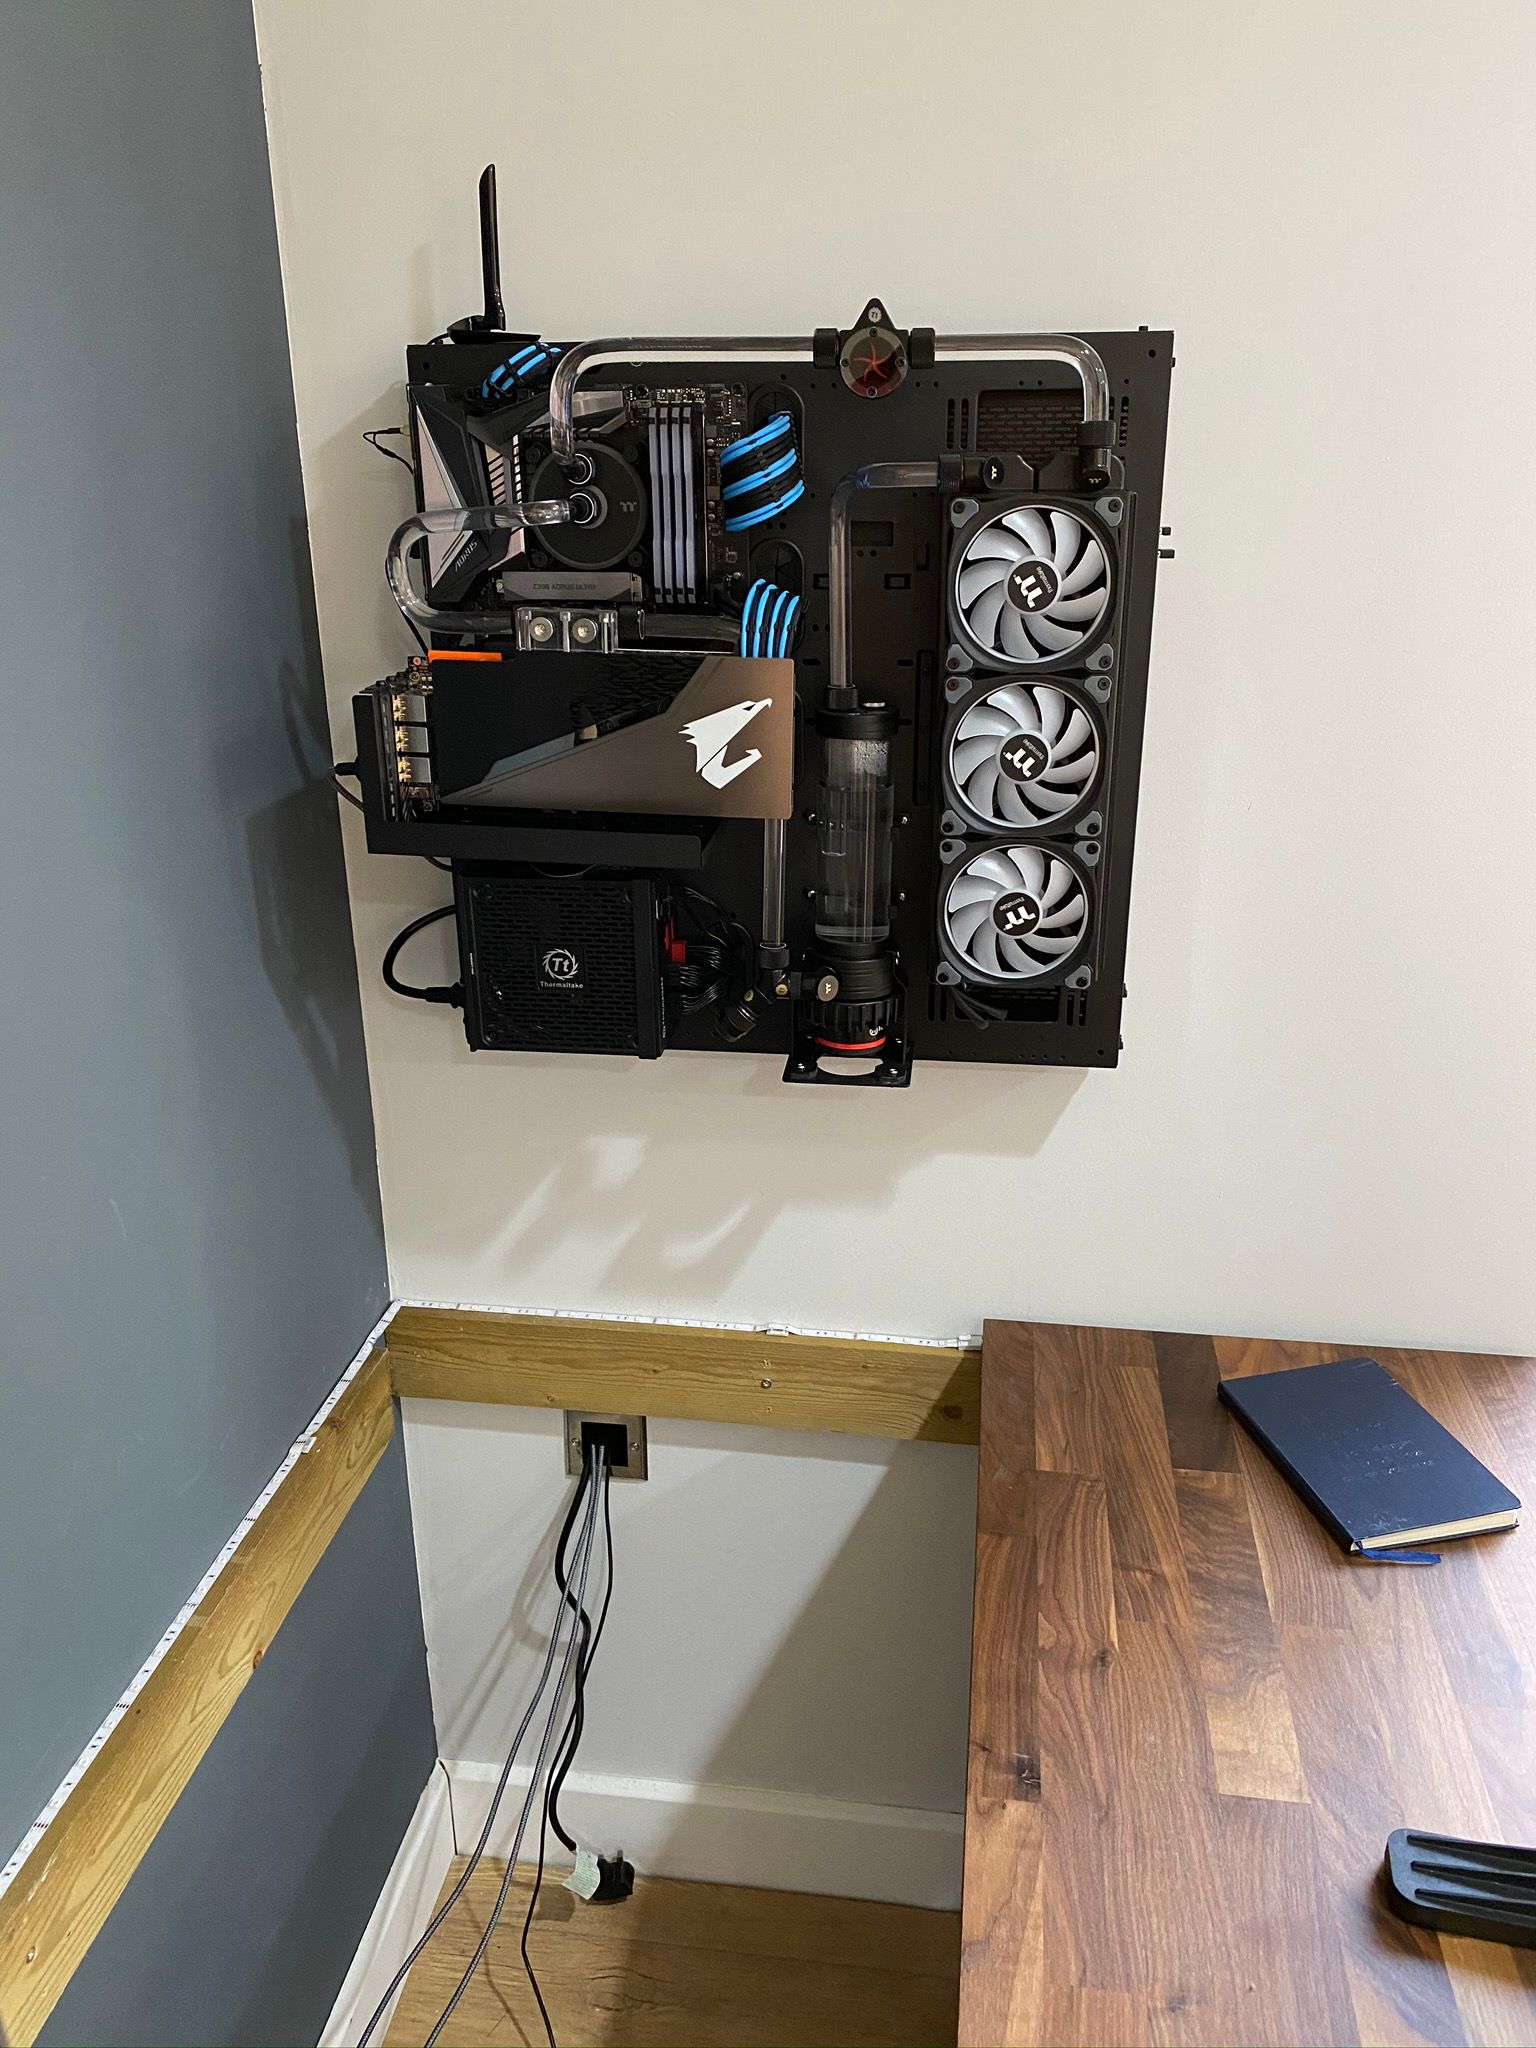
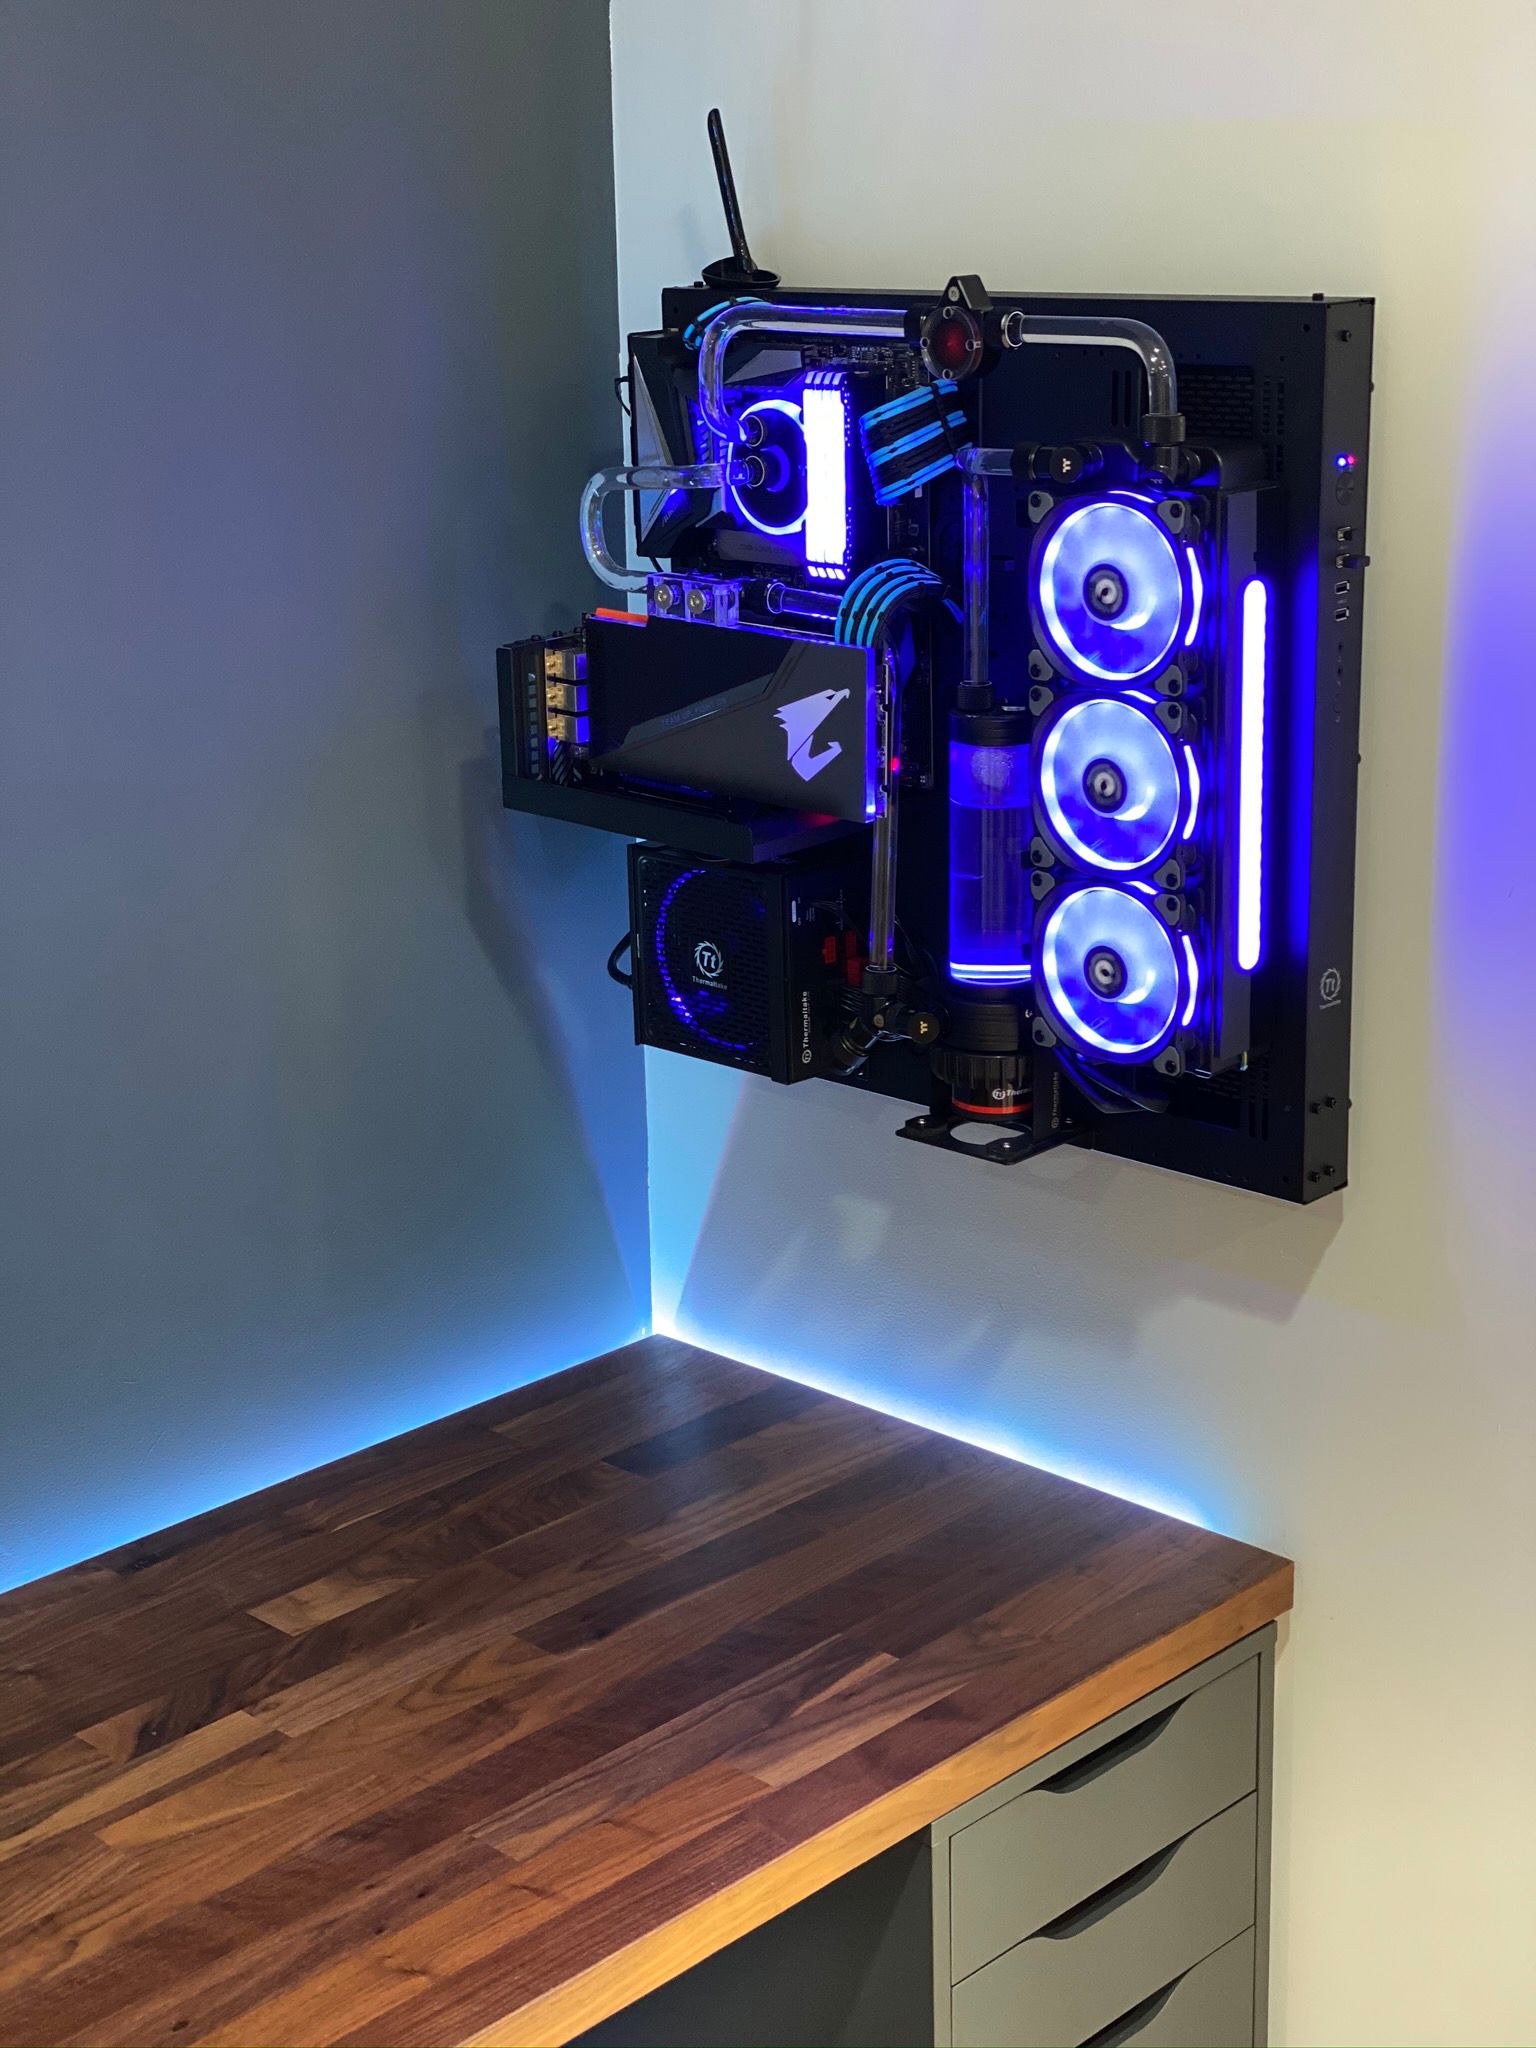
The Computer
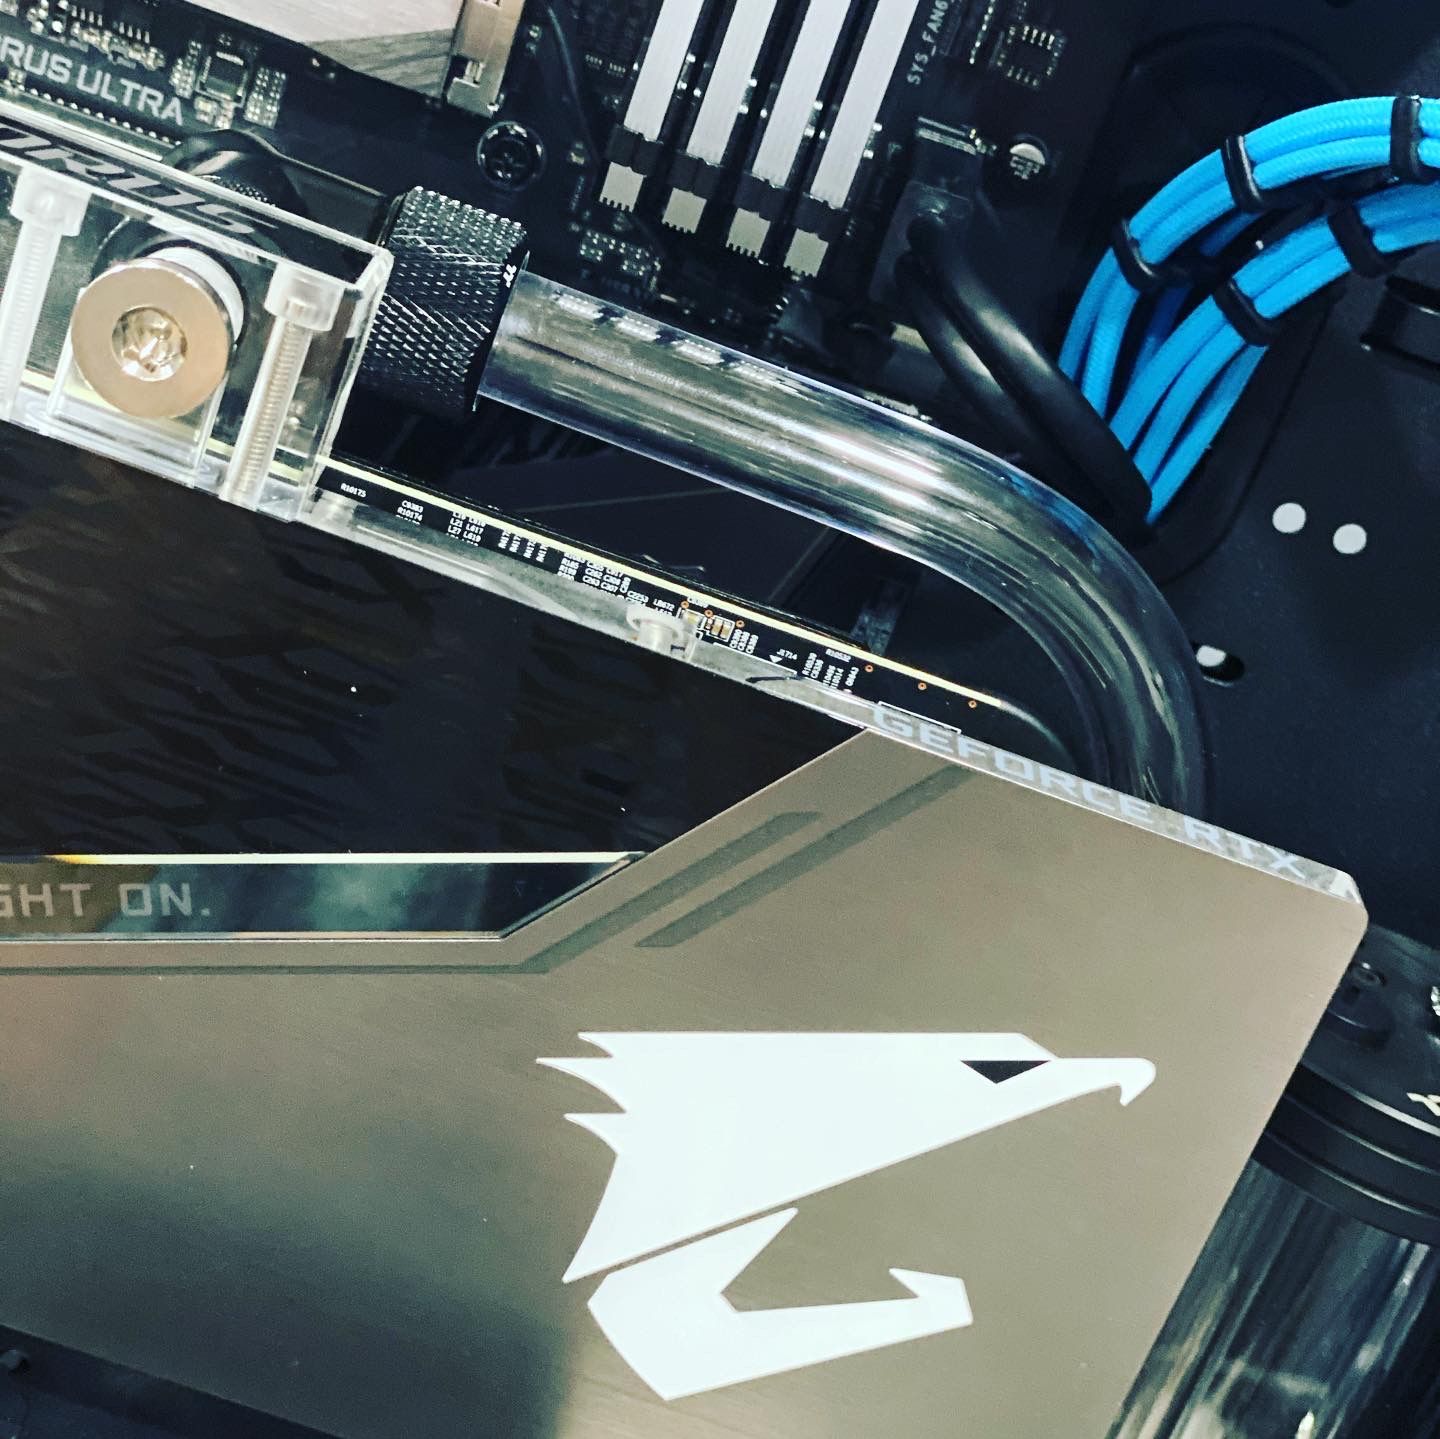
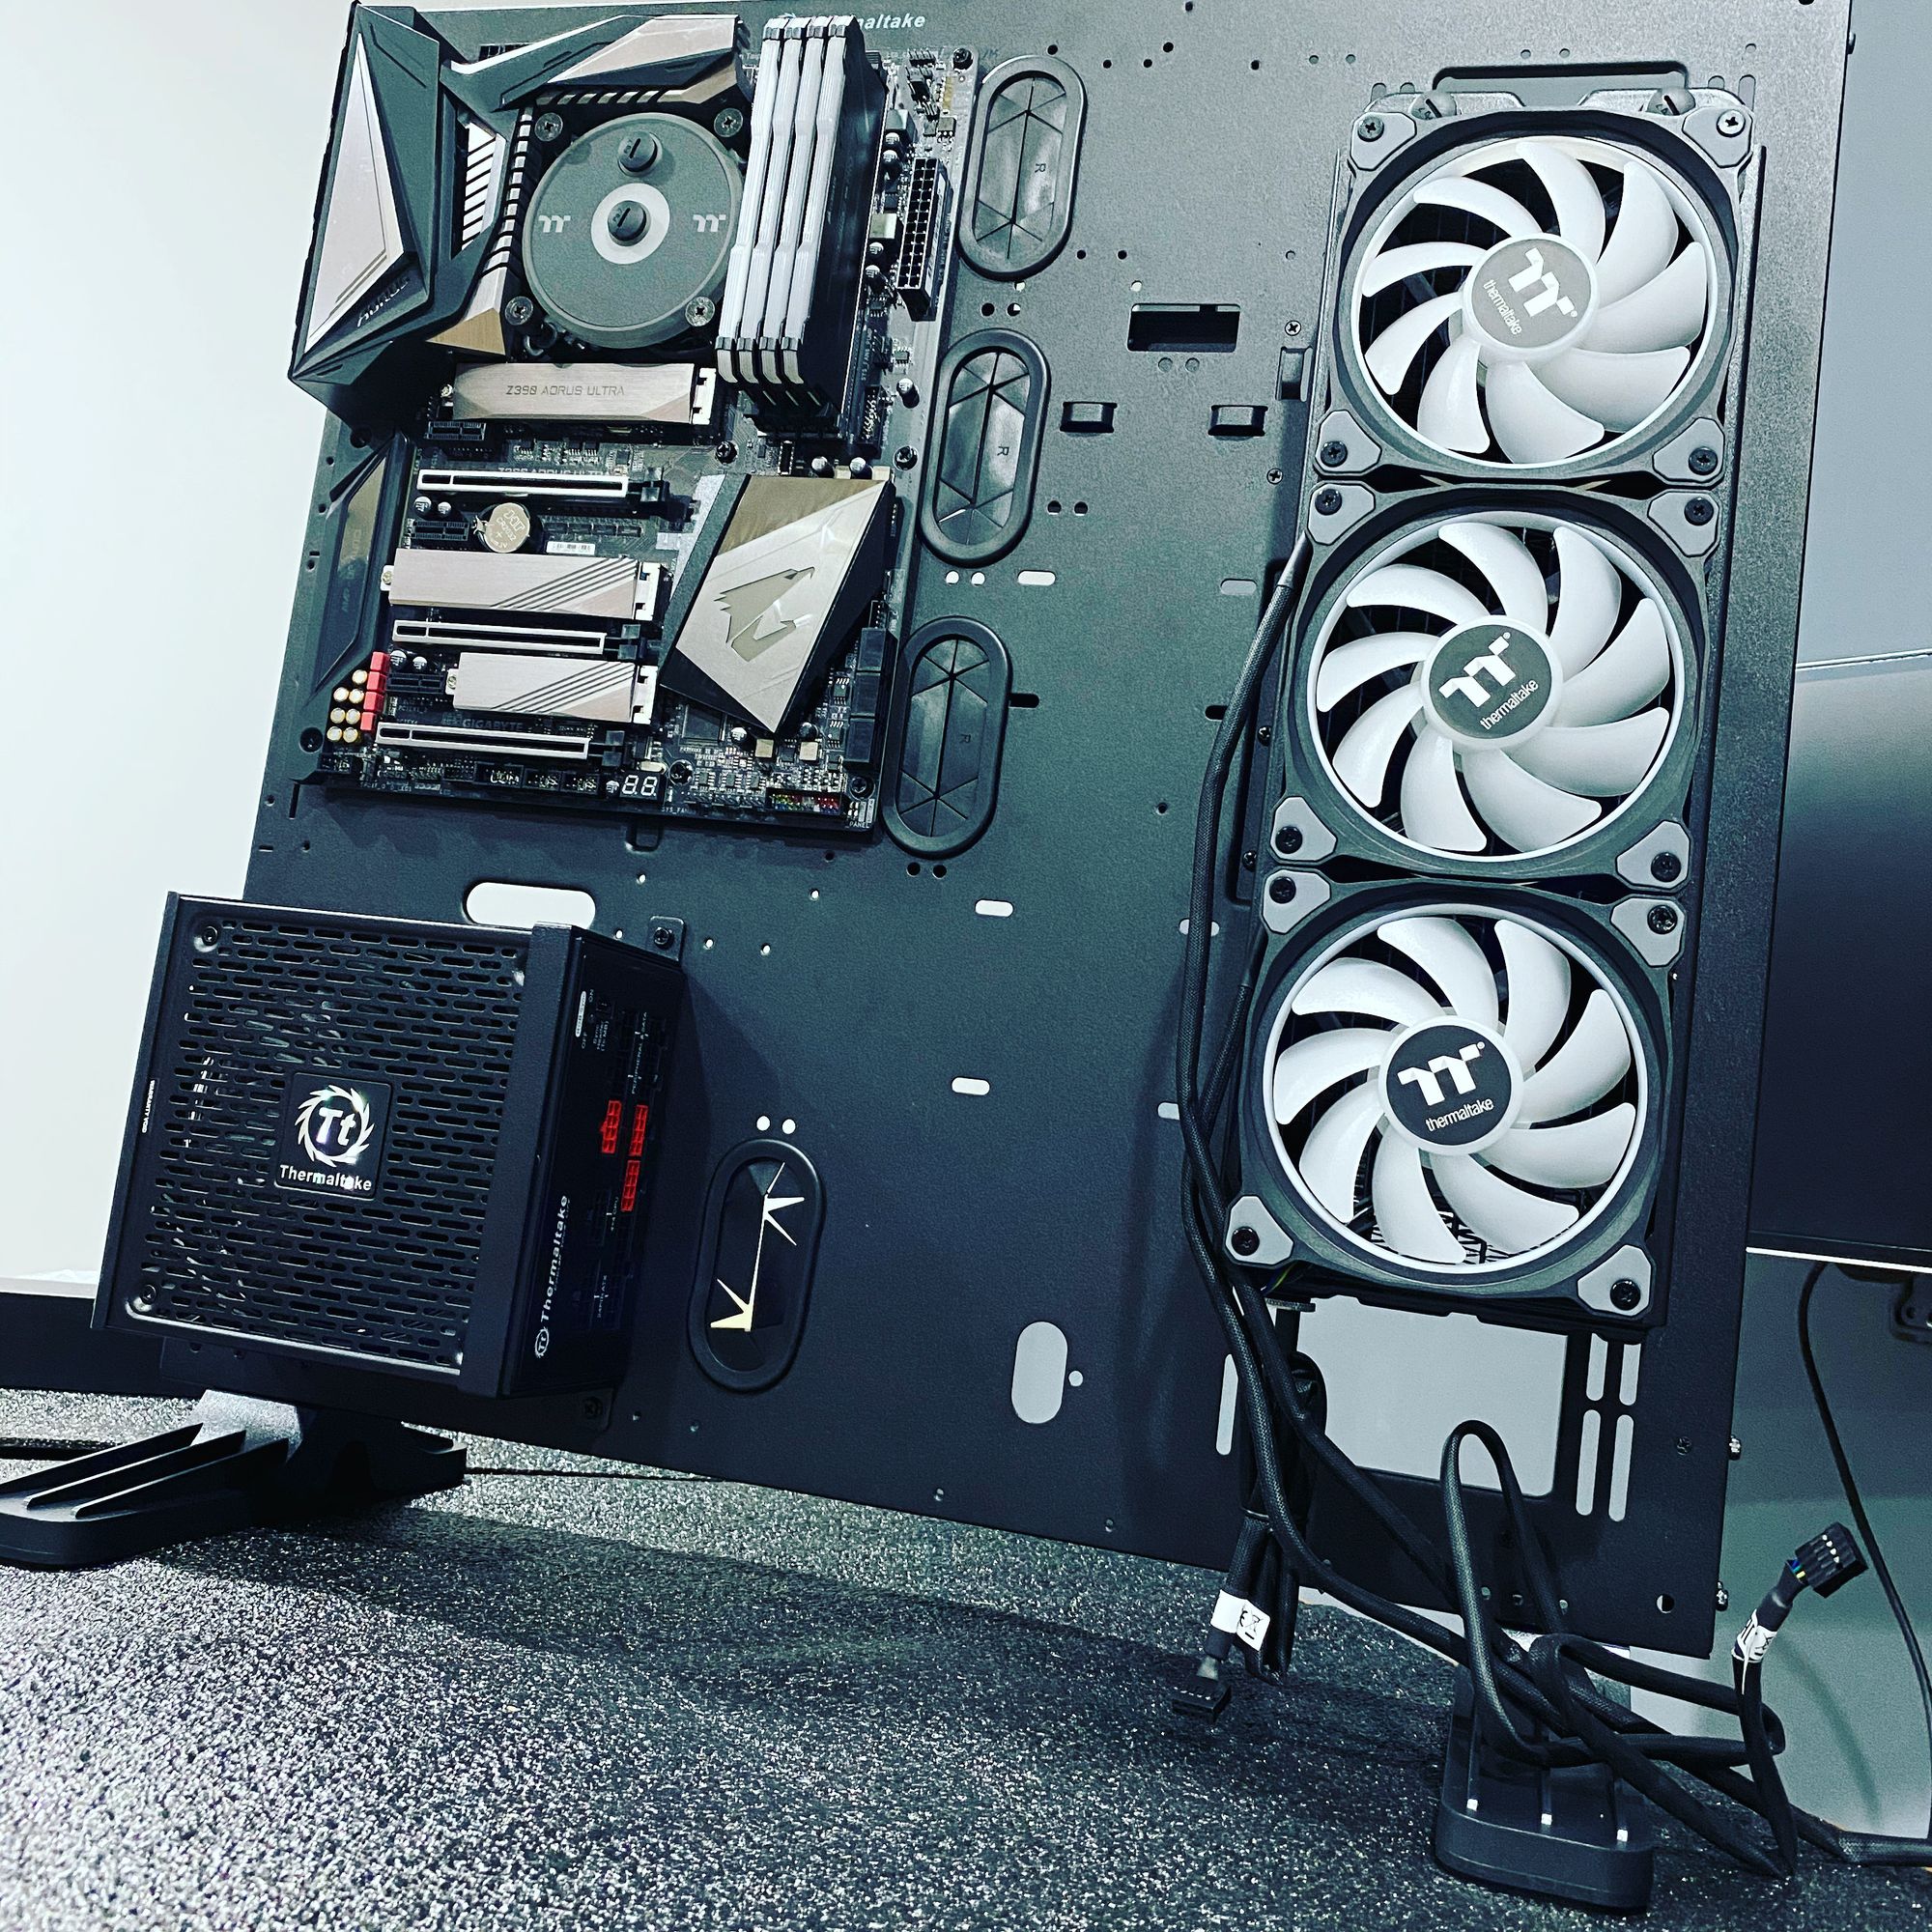
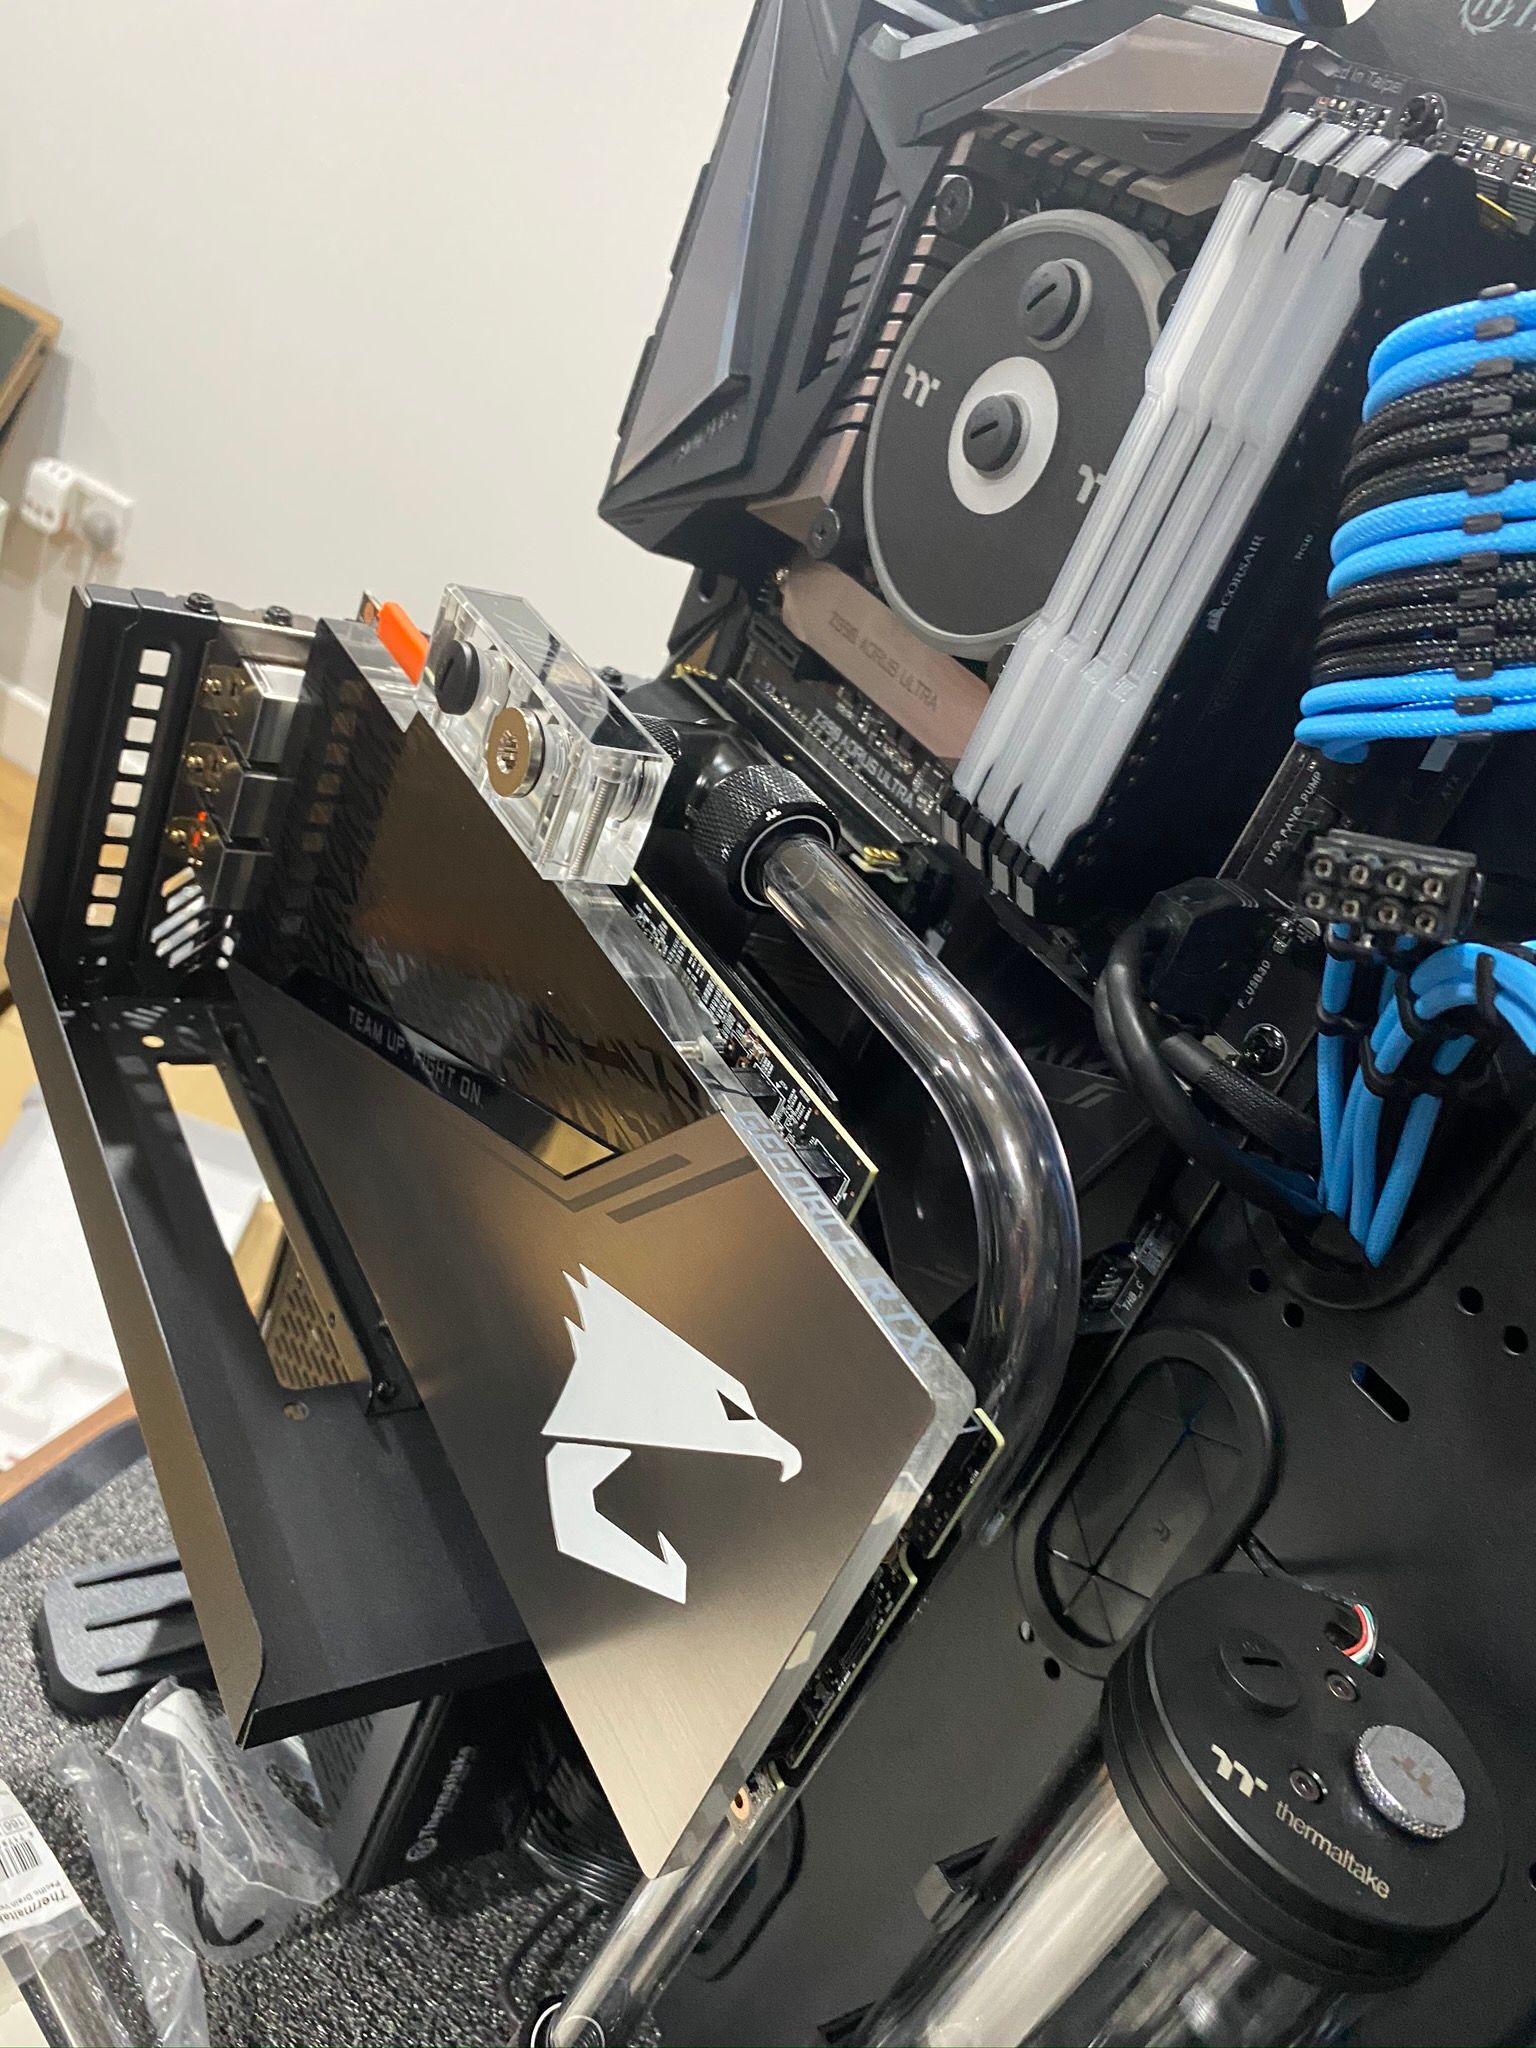
This office build all started out when I decided to build my own custom watercooled PC. I always loved the look of the Thermaltake Core P5 open case which could be wall mounted.
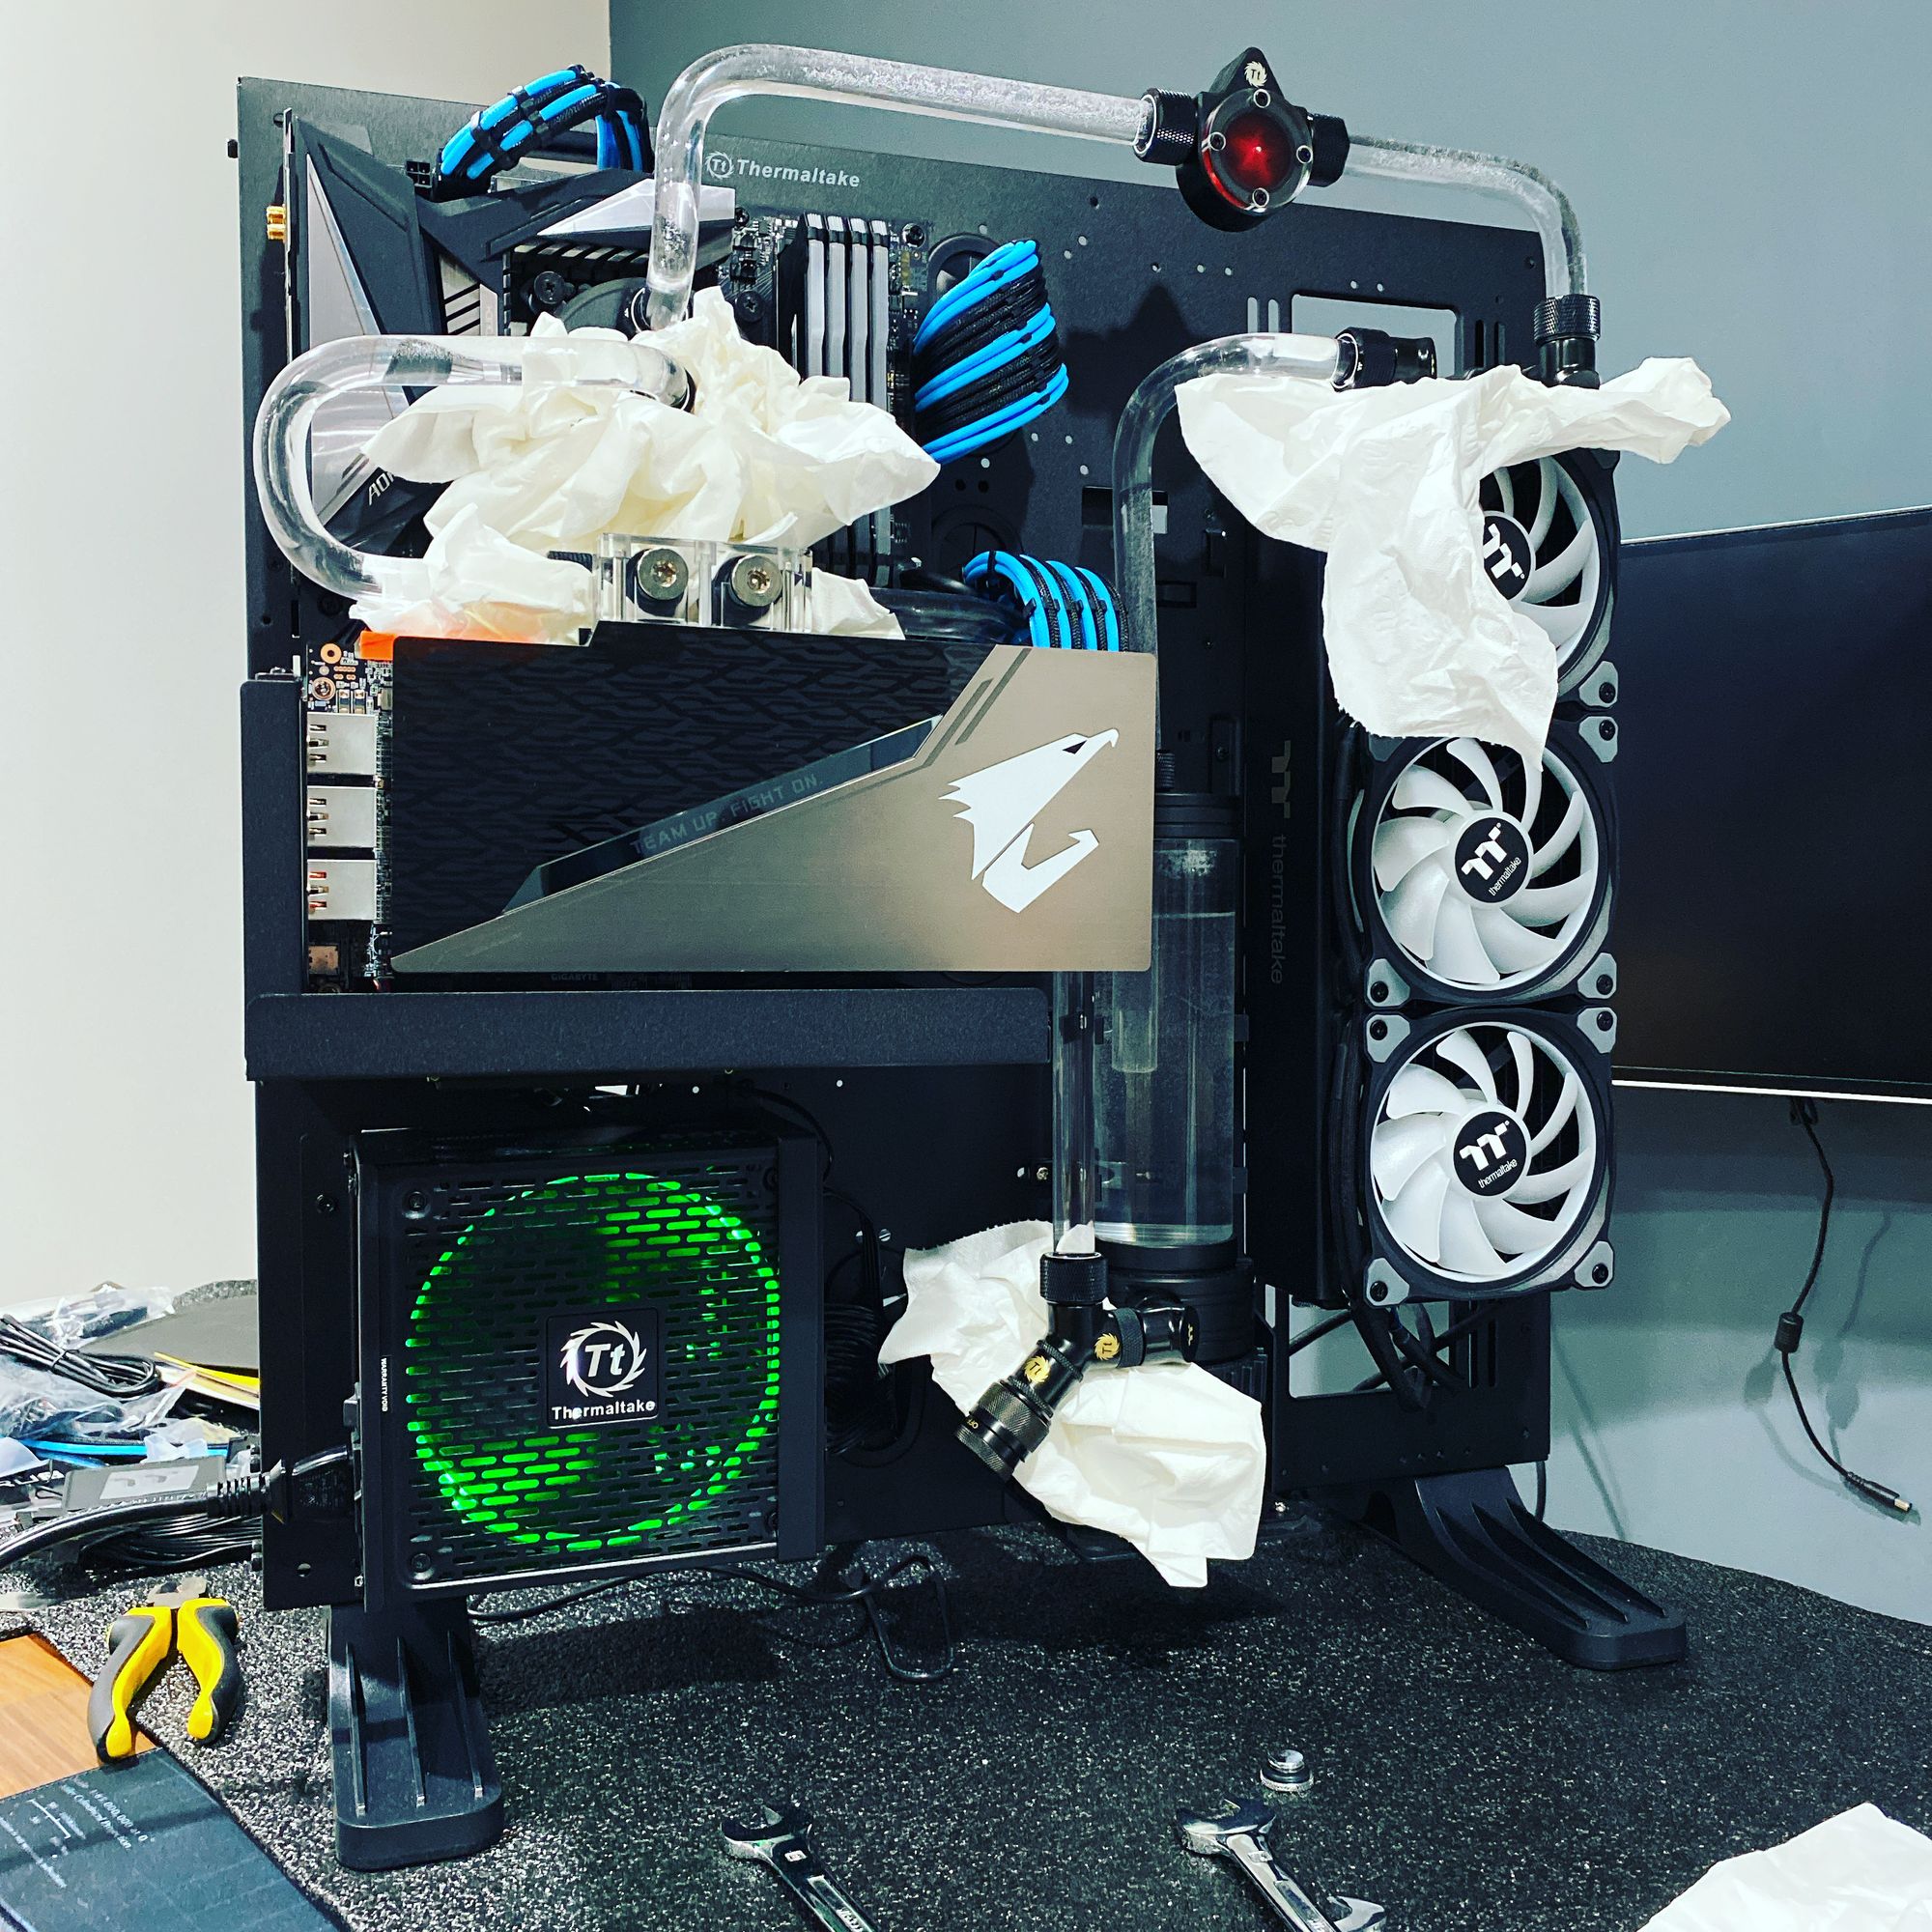
My previous PC was a standard dell workstation which I had for 7 years. I have built PC's in the past and wanted to custom build this one and give myself a challenge. A challenge it was too, I ended up using around 3m of tubing while learning how to do the bends. I wont be going into too much detail on the PC build as i'm hoping to create a follow on post with full details of the build.
Hard line tube bending is difficult, if its your first time get some spare tubing your going to need it :)
Below are some pics of the PC build in its various stages, including my leak testing which amazingly went very well, not a single leak
Wall mounted PC
Wall mounting the PC was one of my main goals when I set out on this journey and was all part of the clean desk setup vision. The cables needed to be hidden and I wanted the PC to look like it was floating above the desk.
Peripherals
After spending so much effort hiding the cables for the monitors and PC I had to go with a wireless keyboard and mouse. The MX Master 3 mouse was a no brainer for me and the new Logitech G915 keyboard looked good but very expensive, but I thought it will be used every day so the cost is justified.
I used to spend most nights coding listening to music through my headphones due to my home office been within the main house, but now I have a separate office I can get some decent speakers. After lots of research I decided on the Audioengine A2+ wireless with an Audioengine S8 subwoofer. The speakers sound and look great.
I really enjoy watching tutorial videos online and have always wanted to at some point share my knowledge and create my own videos. So as this is my ultimate home office I decided to get equipped ready to start producing some videos. For this I needed a decent mic, camera and webcam. For the mic I went for the Rode NT-USB mic along with the Rode boom arm. For the camera I chose the Cannon EOS 200D camera with a rode compact mic and a Joby gorilla tripod which is excellent. The tripod legs can be wrapped around anything and can also be arranged to be used as a selfie stick. I also needed a webcam to use for video conferencing and streaming going forward so chose the Logitech C920 HD Pro.
Build Specs
- Aorus Ultra motherboard
- Intel i9-9900k
- Samsung 970 Evo Plus 1TB
- 64gb Corsair Vengeance RGB Pro
- Aorus GeForce RTX 2080 Super Waterforce
- Thermaltake Core P5 Tempered Glass Case
- Thermaltake RGB watercooling (pump, CPU block, radiator, flow indicator)
Peripherals
- Logitech G915 wireless RGB keyboard
- Logitech MX master 3 mouse
- AudioEngine A2+ wireless speakers
- AudioEngine S8 subwoofer
- Rode NT-USB mic
- Rode swivel mount boom arm
- Logitech C920 HD Pro webcam
- Cannon EOS 200D
- Rode VideoMicro compact on camera mic
- Joby gorilla tripod
Checkout my Instagram for more photos and progress on the setup


Final pics